Arcade | Control Panel | Design | Hardware | LEGO
Wicked 80’s Flare – The Top Complete
In a rush to complete the top, I hurry to order more pieces. However, this time, I plan to finally give it some wicked 80’s flare, azure-colored tiles!
In a rush to complete the top, I hurry to order more pieces. However, this time, I plan to finally give it some wicked 80’s flare, azure-colored tiles!
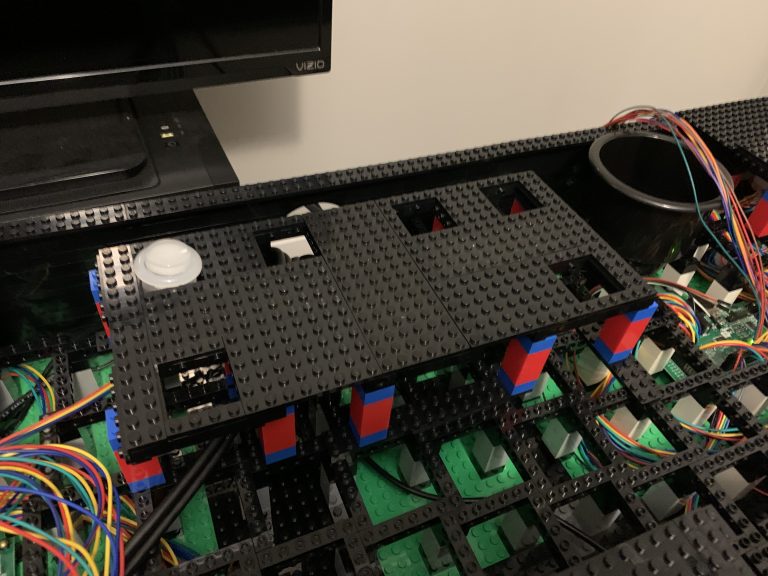
Figuring out how to mount the buttons was a huge step forward. Now I can start wiring up players 1 and 2, which will be a wiring nightmare.
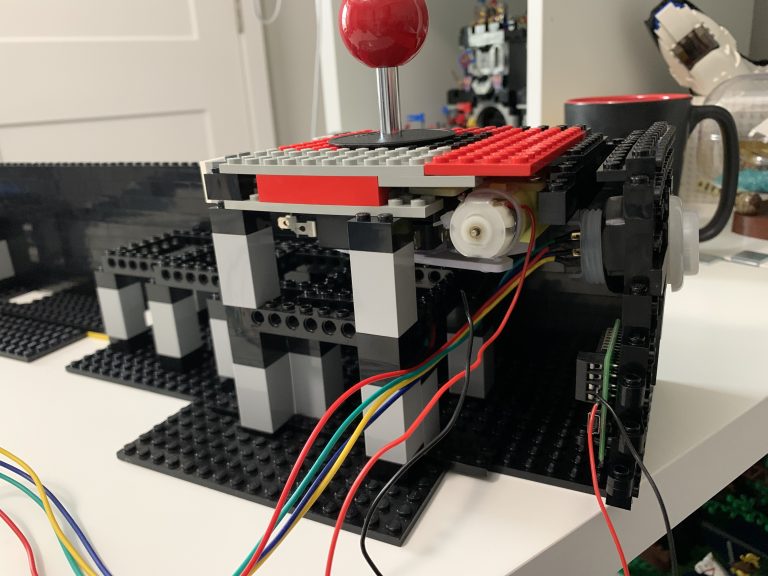
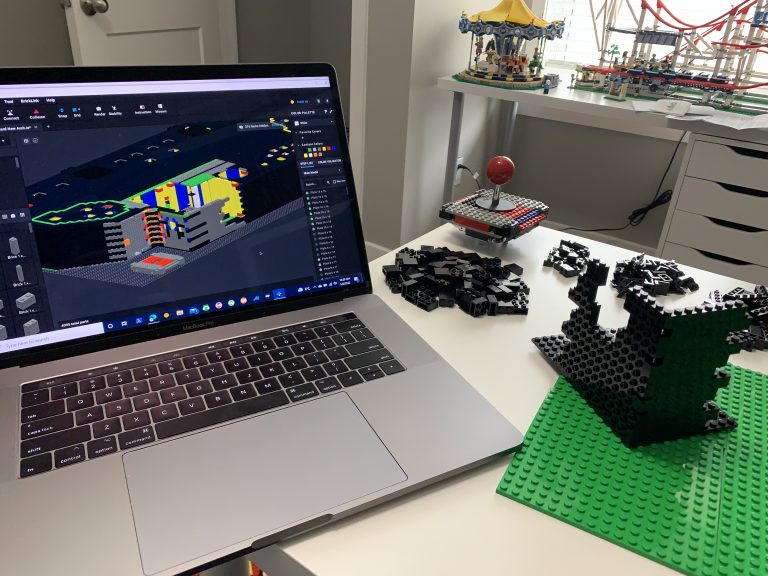
This will cover the installation of the first joystick. I also install the first circuit board, using only LEGO® brick, not screws. This controls the directional movement allowed by the joystick.
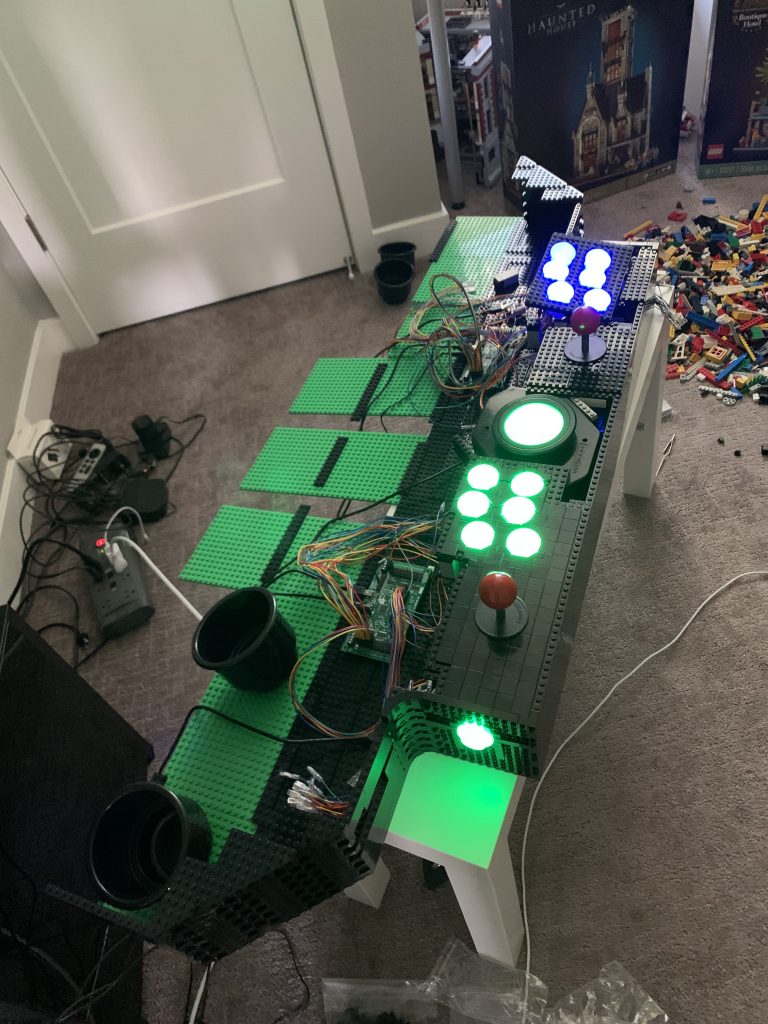
Beginning the build is going to consist of a lot of LEGO® brick! So, I won’t go much into exactly what I order, as I’ll be ordering bits and pieces throughout this process. Instead, I’ll provide key points along the way as I attempt to build this massive structure.

The time has come to order and test the question, can we mount arcade controls into LEGO® bricks WITHOUT modifying the bricks? Likely it’s possible, but really what this will tell me is what difficulties I’ll end up potentially facing and if I need to rethink my strategy about the LEGO and controls.
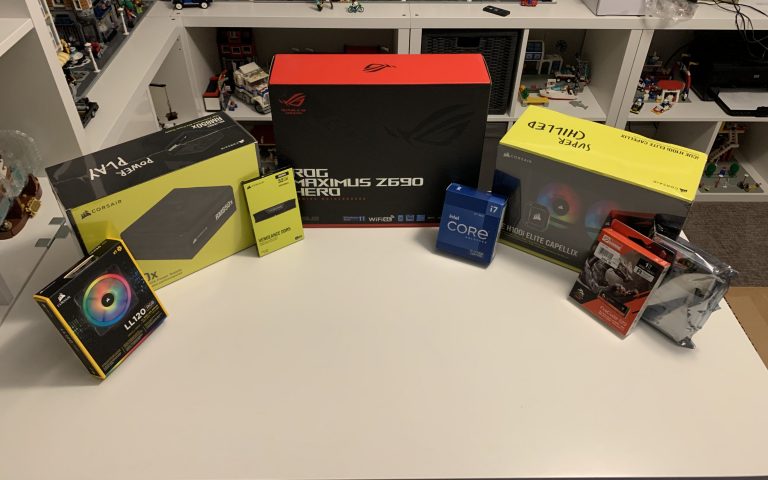
This is literally just an article on the building of the computer. There’s nothing really special here, it’s a computer; however, it’s still part of the process. There also may be some of you who are interested in what I used. I’ll also cover some things that I put into consideration while building the computer for the arcade cabinet.