Loading Up the Arcade: Ultimate First Test
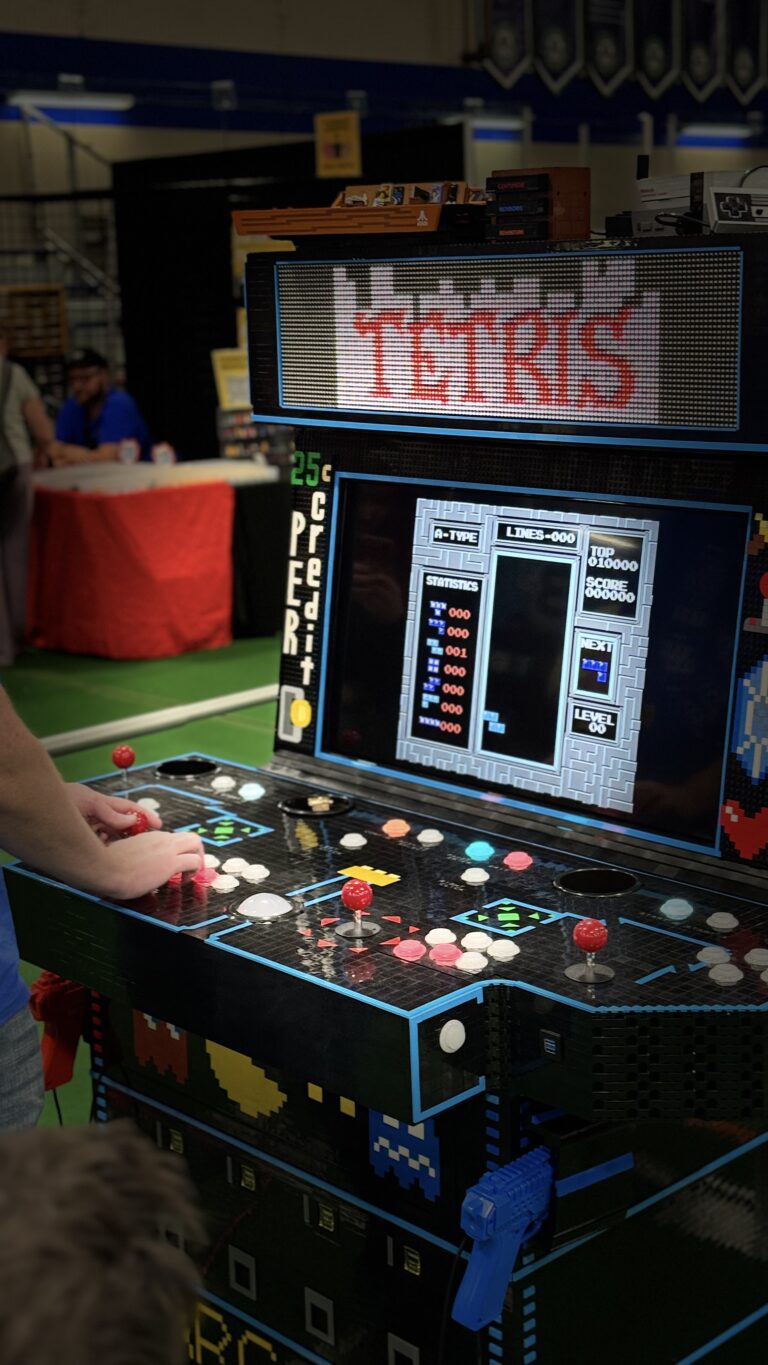
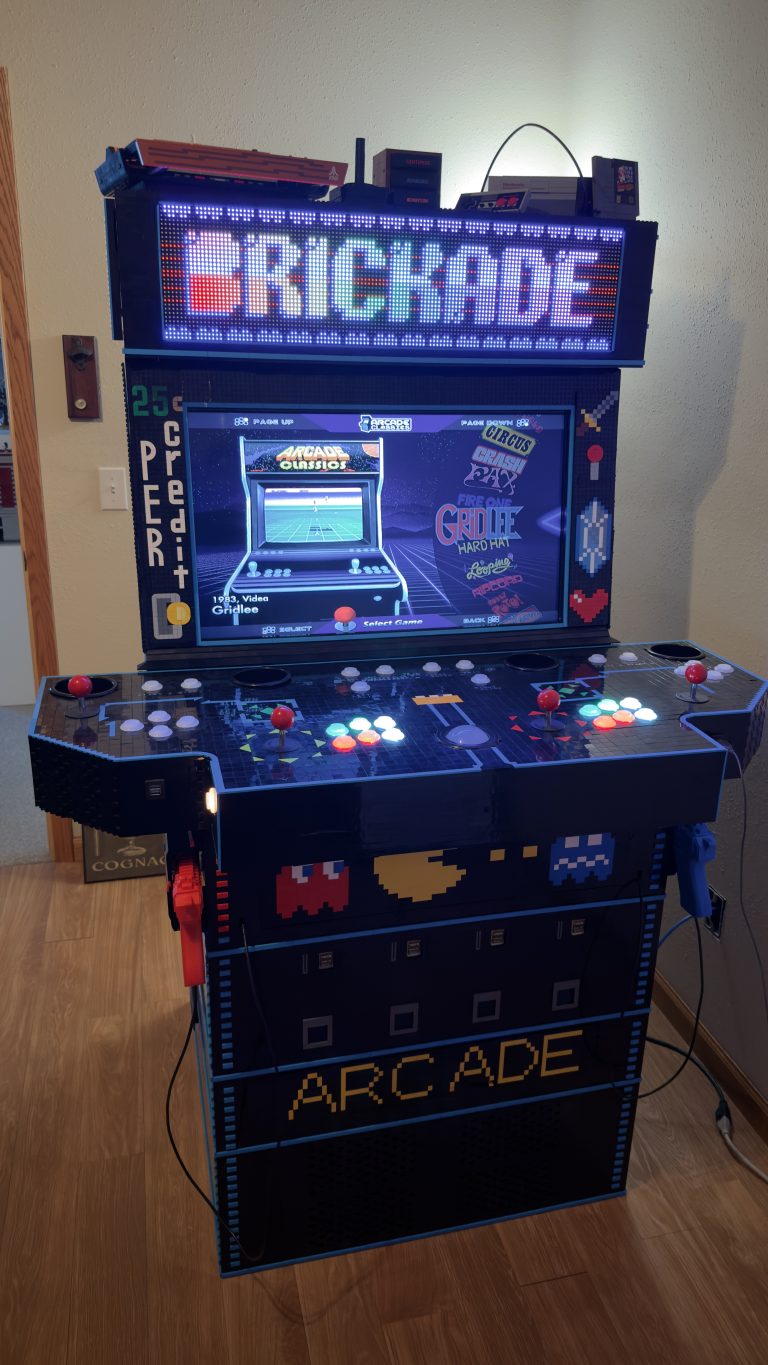
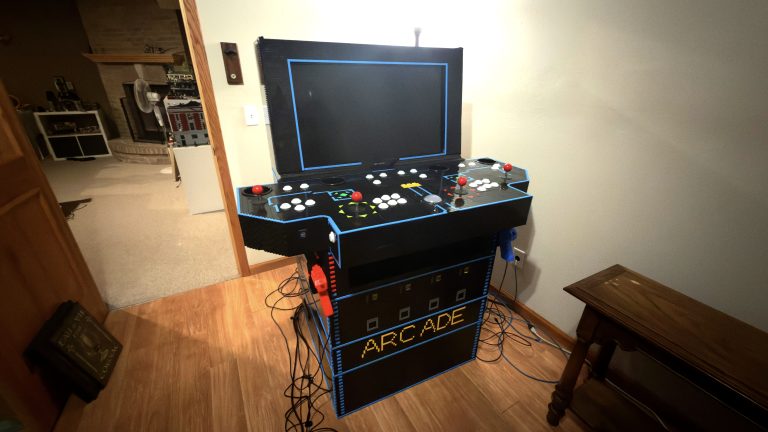
Loading up the arcade: Our ultimate first test of the massive LEGO arcade cabinet – packing the car, driving to Brick Convention, and its successful debut!
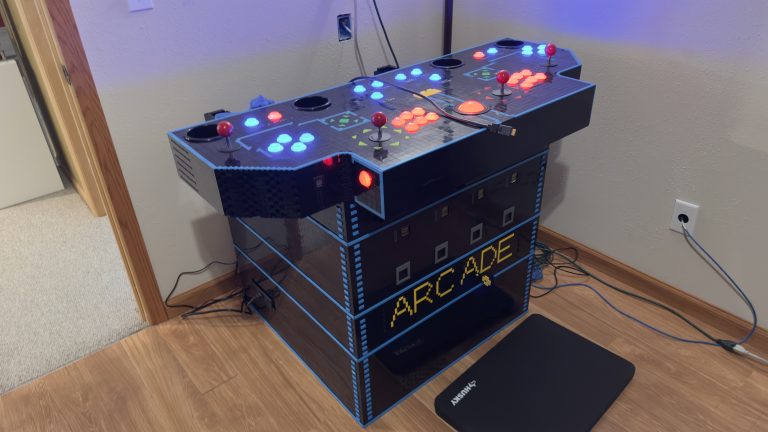
Level up! This post is all about making it better with 4 big LEGO® arcade cabinet upgrades—light guns, storage, a coin bin door, and control panel mods.

In a rush to complete the top, I hurry to order more pieces. However, this time, I plan to finally give it some wicked 80’s flare, azure-colored tiles!
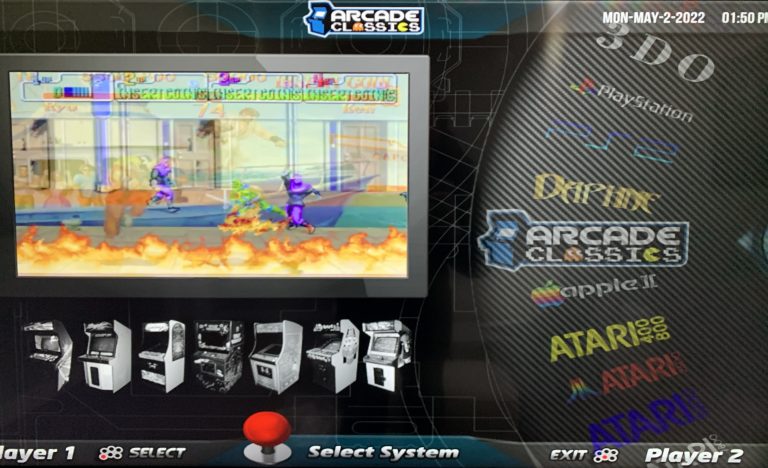
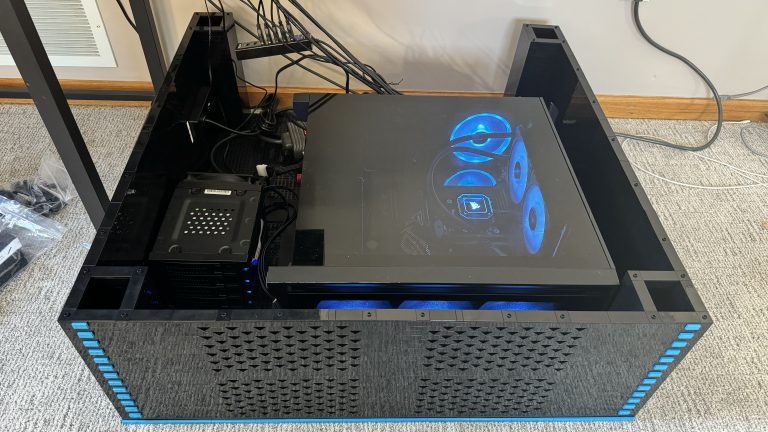
Back when I started this project, I attempted to build an arcade emulator using a small computer called a Raspberry Pi. I got pretty far along in the creation of this device and setting up the arcade software with the emulators, but I quickly learned that this device wasn’t going to be able to accommodate some of the bigger games that I wanted to play, such as PS2. So I scrapped my plans on the Pi and decided to build a full-sized desktop computer instead.
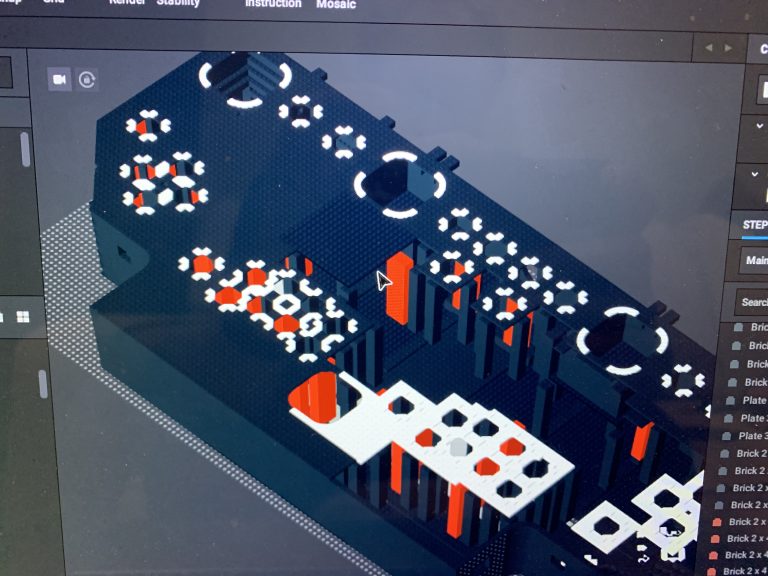
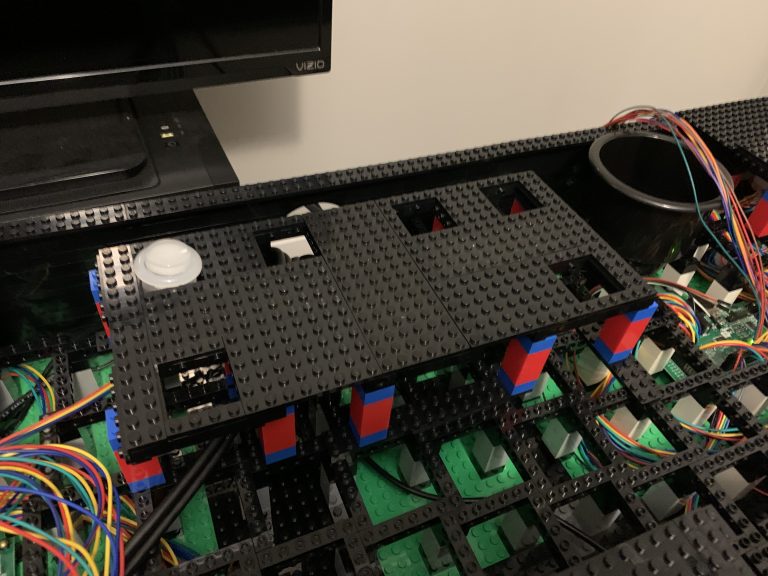
Starting a project like this from a blank canvas might not seem very difficult, but where would one actually even start? Do I start just randomly sticking pieces together and see what works? But how do I know what pieces I need in the first place? Should I buy the hardware first? Oh yeah, then there’s the computer and software to get together too!
So this is still more of an introduction to the whole thing and sadly there really is much to show here in terms of picture or video. This is more about the early process of my thinking through things, seeing if what I was wanting to do was even plausible. I mean it is LEGO® brick right? Anything is possible! So, I’m going to try to keep this very “summary” oriented.