
A Focus at Ways to Catch and Store Coins
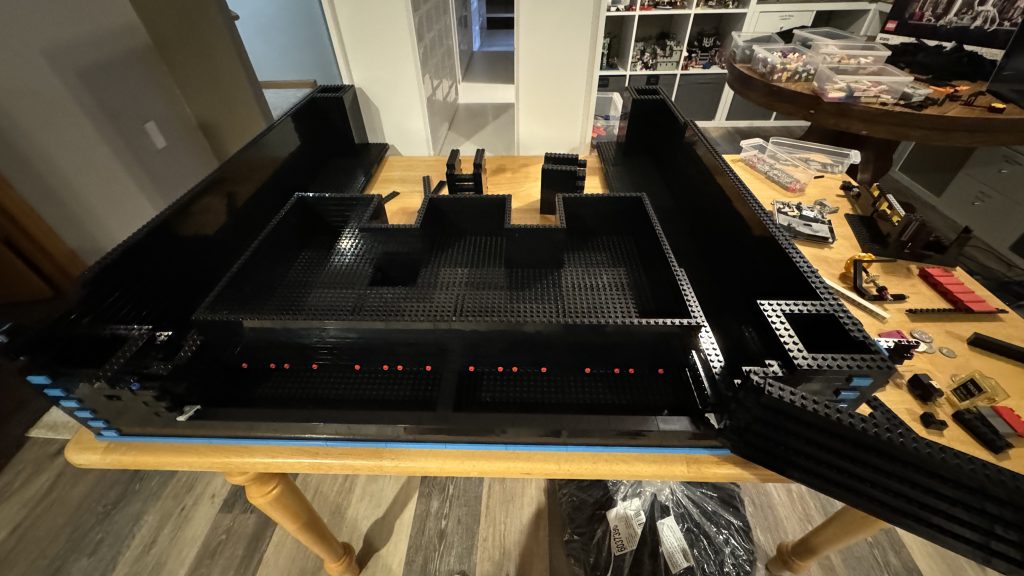
Base is done—time to tackle accepting and receiving coins. I started this a while ago; it’s been tough. First step: build a container to store coins.
Starting at the Bottom – A Place to Store Coins
Taking coin, using LEGO®, and then turning that coin into a credit was indeed a very challenging problem. However, before I get too wrapped up with that issue, I first need a place for the coins to go, and a place to store coins.
So, let’s do what I seem to do best, let’s build another box to put into our box!

I heard you like boxes!
Boxes on Rails
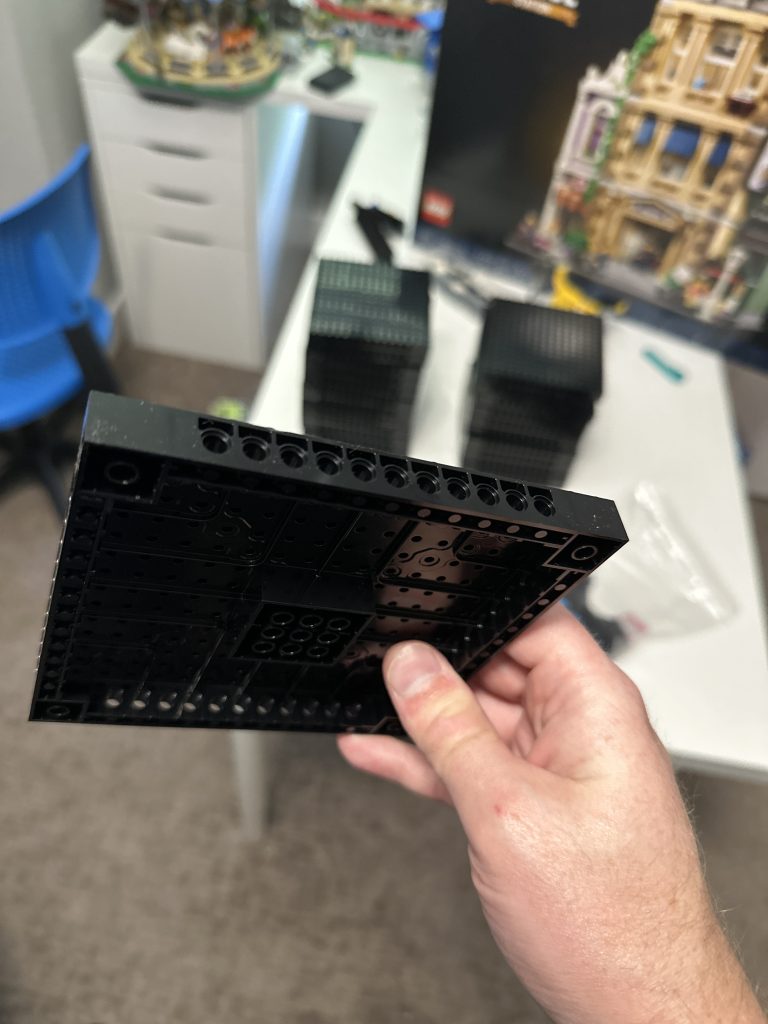
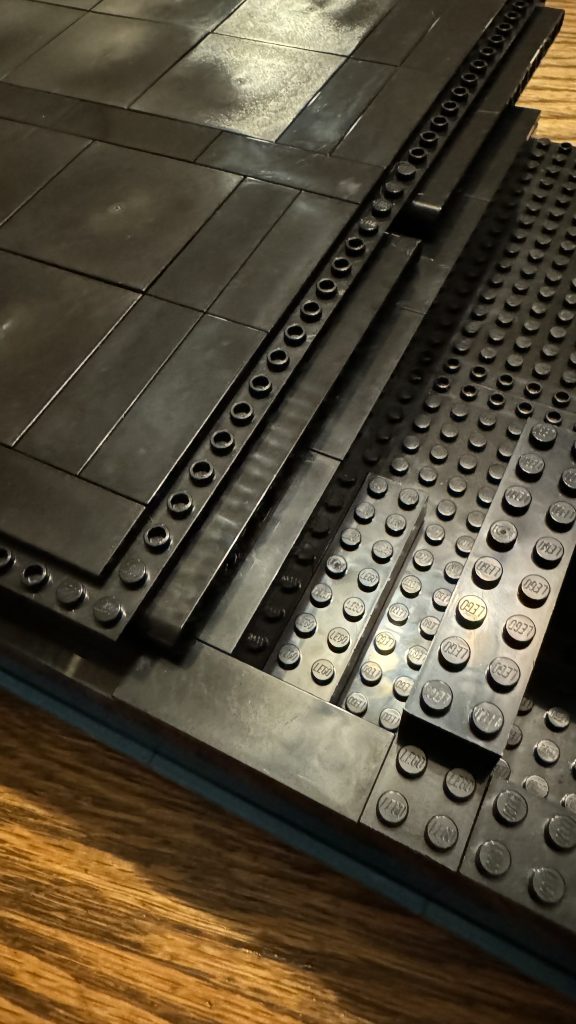
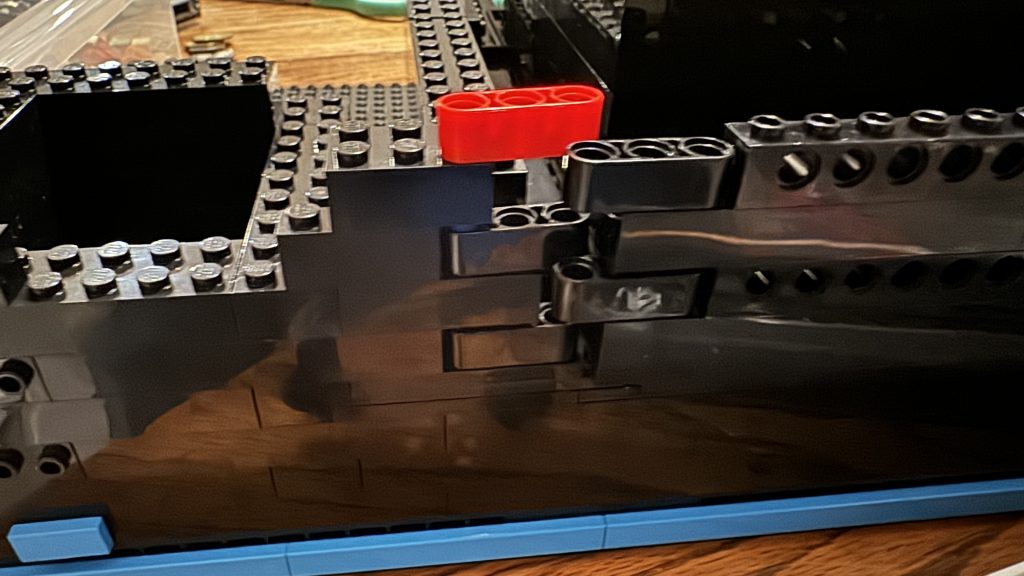
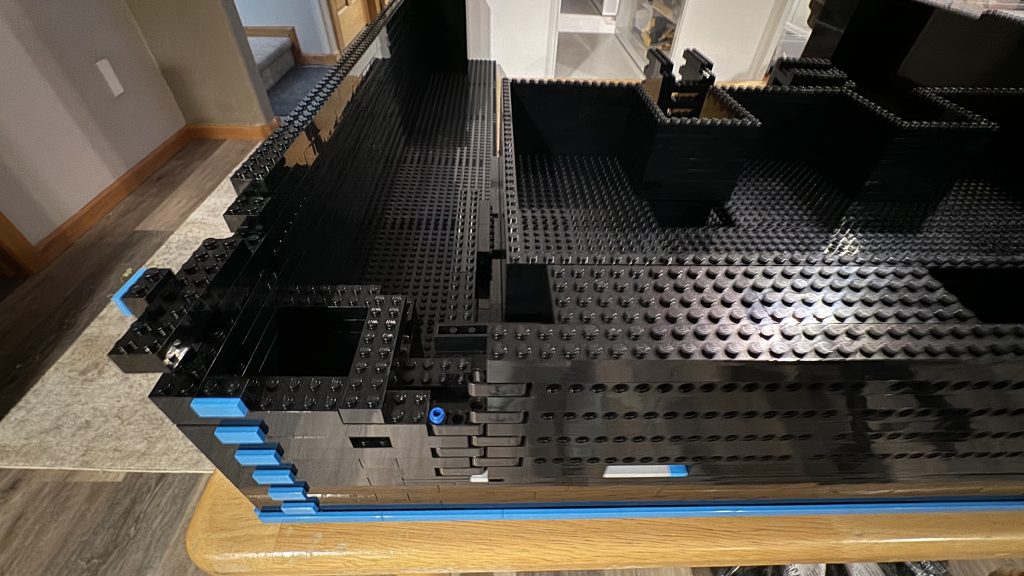
I tried a couple variations of a sliding rail system for a bin, such as Brick, Modified 1 x 4 with Channel and Plate, Modified 1 x 2 with Door Rail pieces. However, I found these rails a bit too small and fragile to support a large bin that will need to hold a bit of weight in coins. So I ended up landing on utilizing Technic 1×15 Liftarm pieces and placing these on tiles.
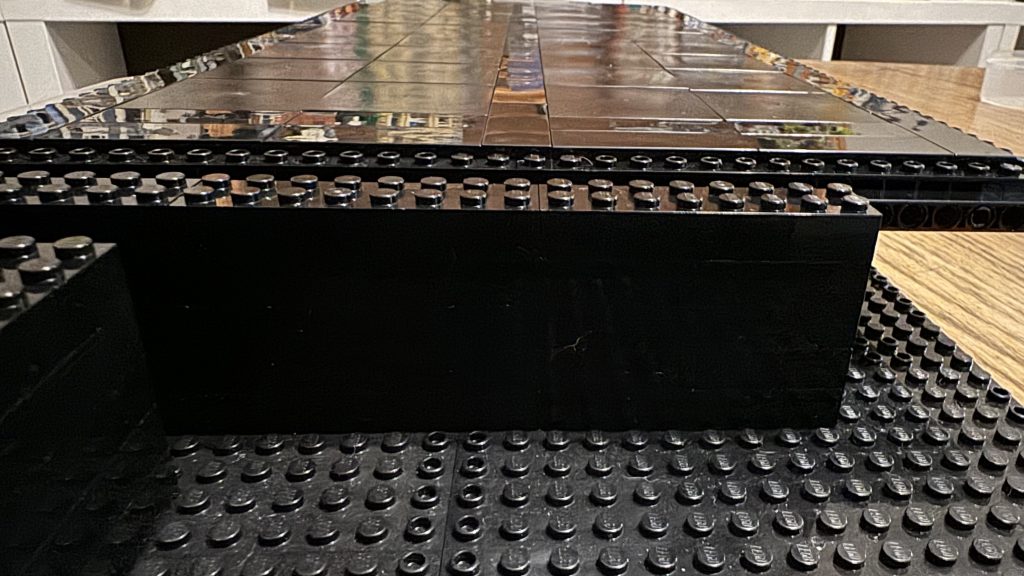
After deciding on the way that the bin would work, I build the structure holding the bin in place.

Next, I work to build a door for the bin to sit behind. This door, at least right now, is very simple with hinges to allow the door to swing open. I use Technic brick for the door because I intend to apply some sort of design to the door like I did for the control panel and the base.
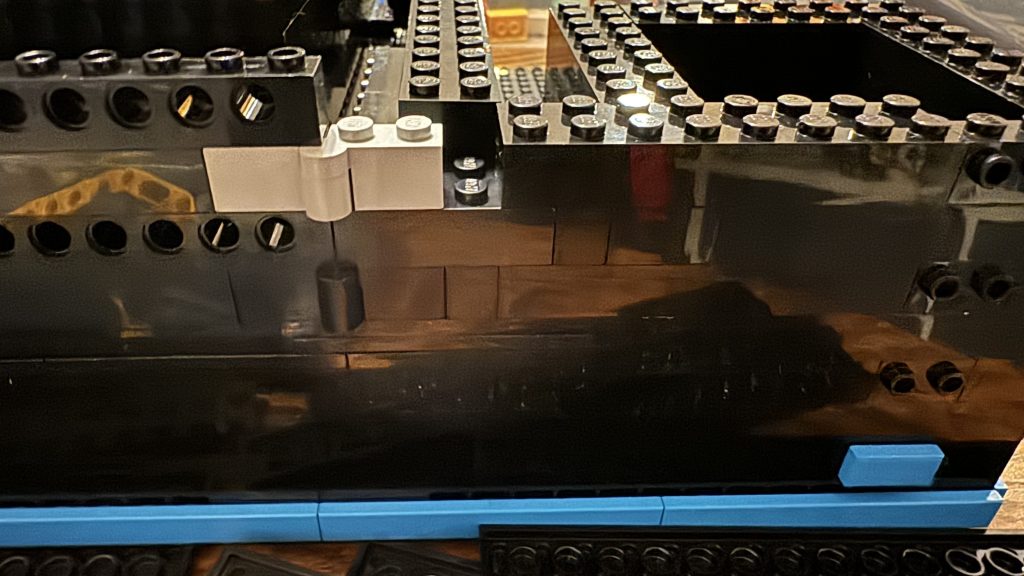
Making the door open and shut easily meant that I couldn’t just use brick. So I try to implement more Technic liftarm pieces to allow for some clearance when the door closes and brick meet. Since the liftarms interlock, I might consider using this to create the locking mechanism for this door.
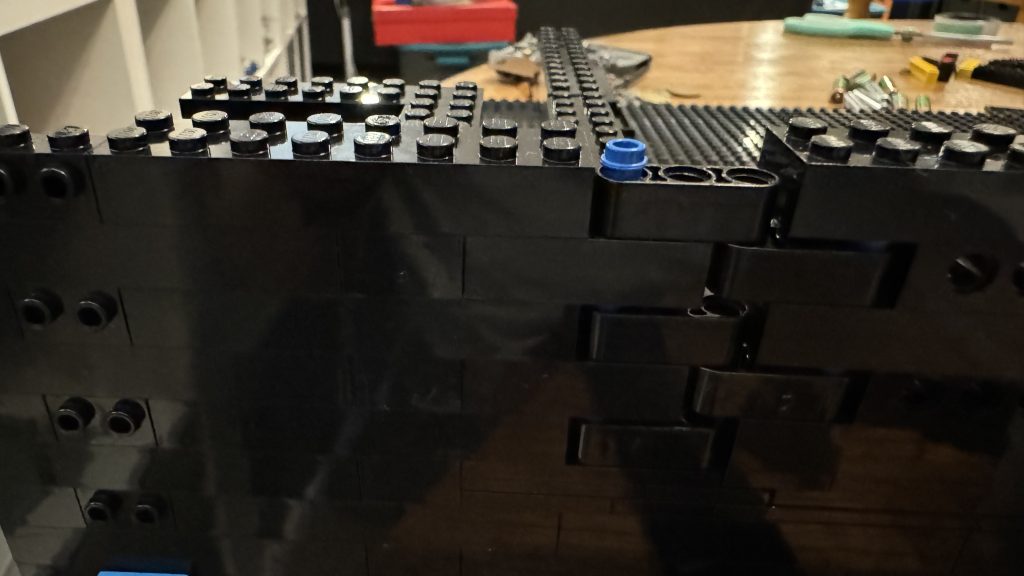
Now that the basics are figured out, I complete the build of the bin to store coins, and finish off the door.
A True Lock, Made of LEGO
Figuring out how to lock the door without a key was a challenge. My first idea—using interlocking liftarms—didn’t work, since a vertical rod would interfere with the internal coin chutes above. So, I switched to a horizontal lever lock design.
So I decide to try a lever lock. A lever lock (also known as a lever tumbler lock) works using a set of flat pieces called levers, which must all be lifted to the correct height by a specially-shaped key in order for the lock to open. If the wrong key is used, the levers won’t line up correctly, and lock stays blocked.
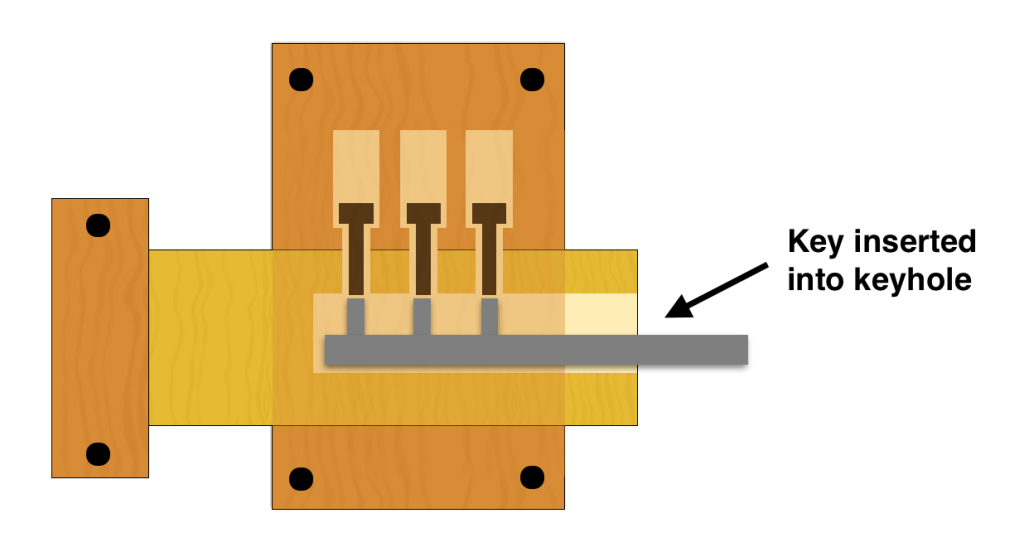
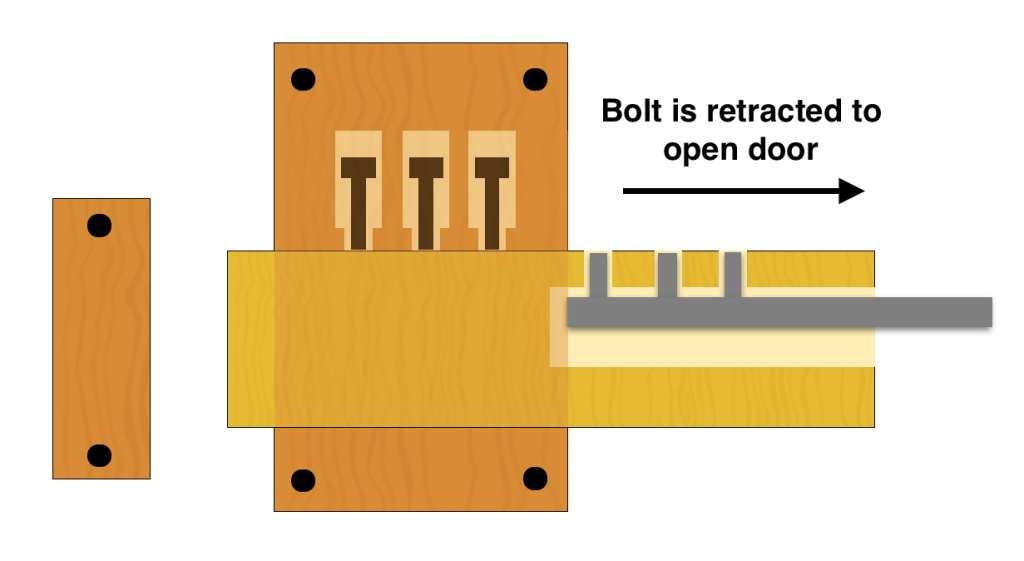
Using LEGO Technic parts, I built three levers hanging from an axle. Behind them, a long brick (acting as a rod) holds a pin that gets blocked when the levers hang down. Each lever has a uniquely placed slope that the key pushes up. When all levers are in the correct position, the pin can pass freely through.
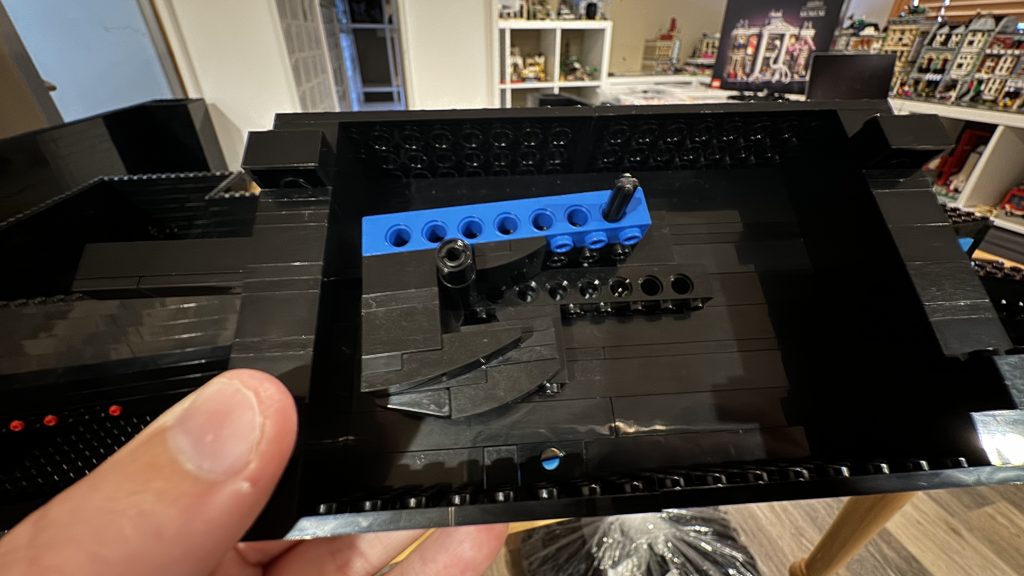
I enclosed this mechanism in a box and mounted it on the back of the door. In the locked position, the rod sticks out past the edge of the door, preventing it from opening. I had to flip the rod upside-down so it could slide freely without the studs catching on the levers.
Check out the video below for a demonstration.
It’s no Fort Knox, but it works!