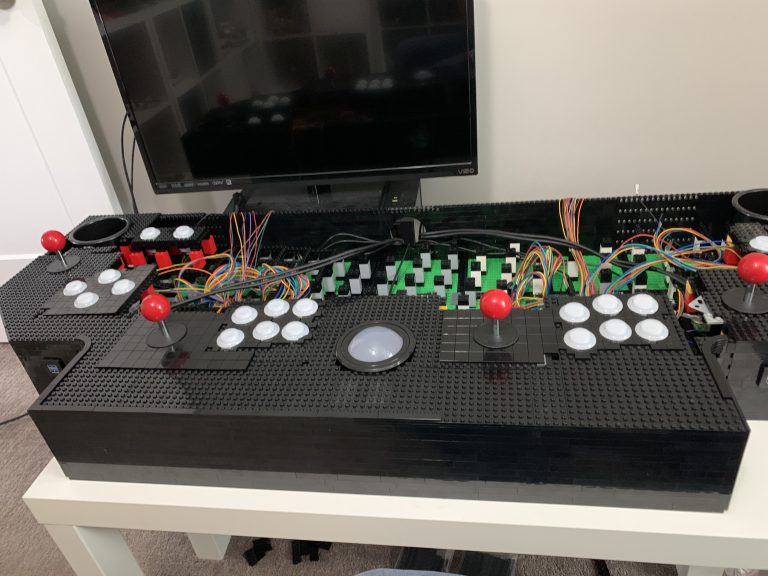

The Arcade Base, a New Challenge
With the control panel finished, it’s time to move forward. The arcade base, a new challenge begins. The goal, build a sturdy foundation that capable of not only holding a lot of weight and not toppling over easily, but that’s also strong enough to transport without everything falling apart?
The Brick of Choice
With the control panel, I used 16×16 plates, but for something that will need to hold everything together and support a lot of weight, I worry about plates staying held together. So, I turn my attention to LEGO® Technic™ and start eyeing a very formidible piece, the 16×16 brick with pin holes on the sides.
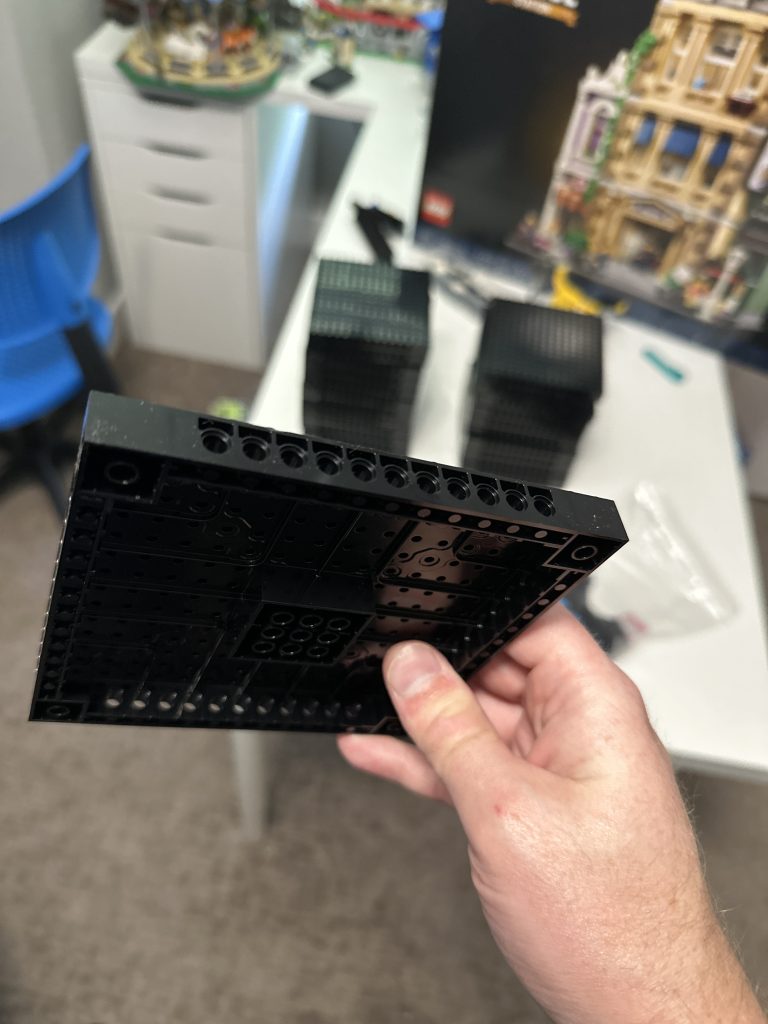
These seem to be very durable bricks, well braced, and the pin holes can be used for adding extra connection points to hopefully hold everything together under such enormous weight. That said, I have no real idea what I’m talking about. So if anyone has a better suggestion, please leave it in the comment section below. Though, for now, I plan to move forward and use these seemingly strong bricks.
They Are Not Cheap
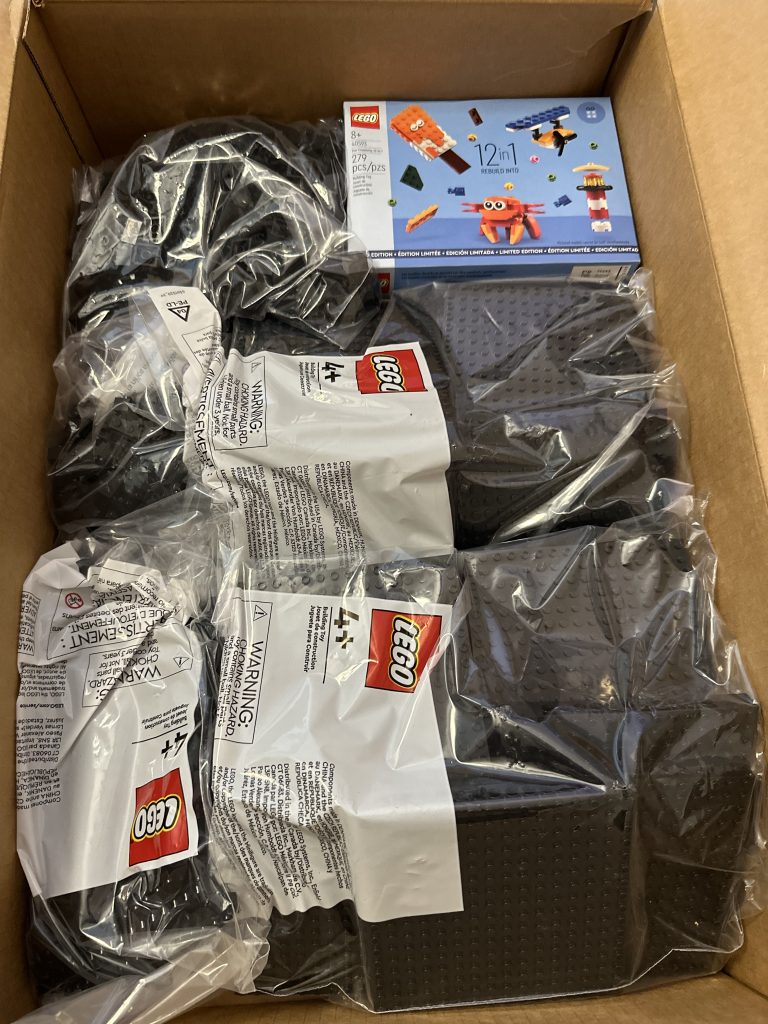
As I type this, each one of these buggers cost almost $3.50, ugh! But the show must go on! I place my very first order for these, 24 of them. The cost, $81.12, ouch that hurts! And after a few days of waiting, they arrive.

Arcade Base, a New Challenge – Weight and Structure
The idea here is that I want to build the arcade base in sections, sections that can be easily taken apart for easier future transport if I decide to take this thing and show it off somewhere at a show. A tall arcade created out of brick concerned me a little with how tippable it might be, so I considered adding a minifridge to the bottom of the arcade. However, early on, after building the computer, I realized that the computer itself should be heavy enough to weigh the full cabinet solidly to the ground.
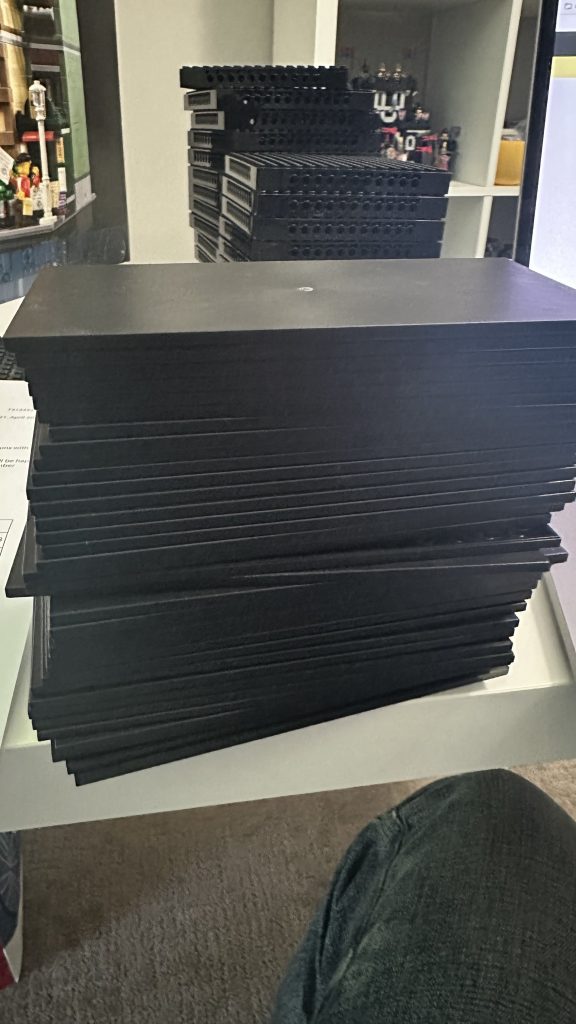
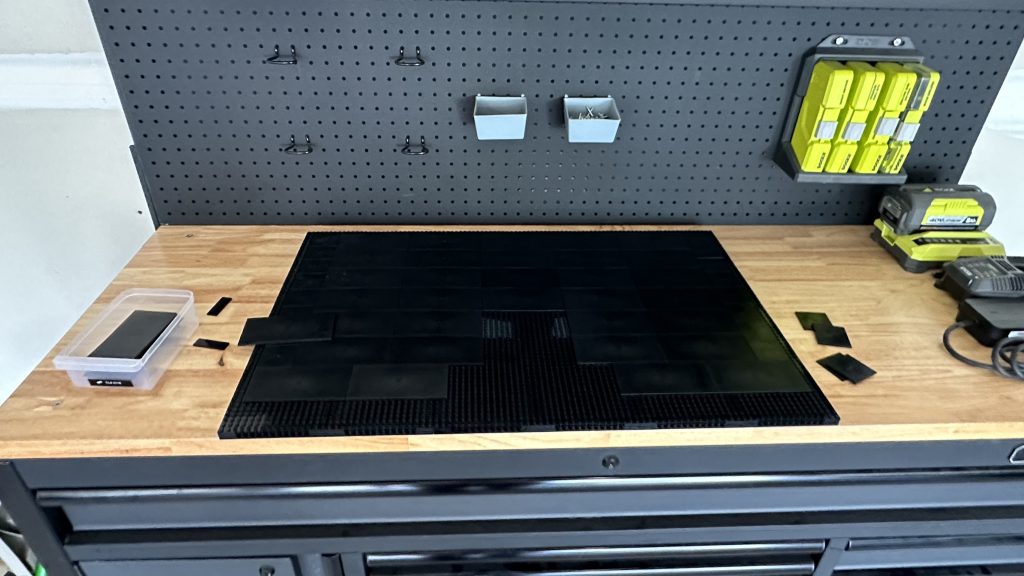
I did though choose to lay tiles along the bottom of the base where the computer will rest, only so that the computer wasn’t sitting on top of any studs. For that, I chose to purchase the 8×16 tiles, 40 of them to be exact, all in the same order. Time to break open the box!
Arcade Base, a New Challenge – The Build
Starting out, I stuck pins into the holes of the 16×16 brick and then started piecing them together. Once I was satisfied with the size of the base, I attempt to attach the 8×16 tiles. Quickly, I realize that doing that with such large tiles on top of carpet is near impossible.
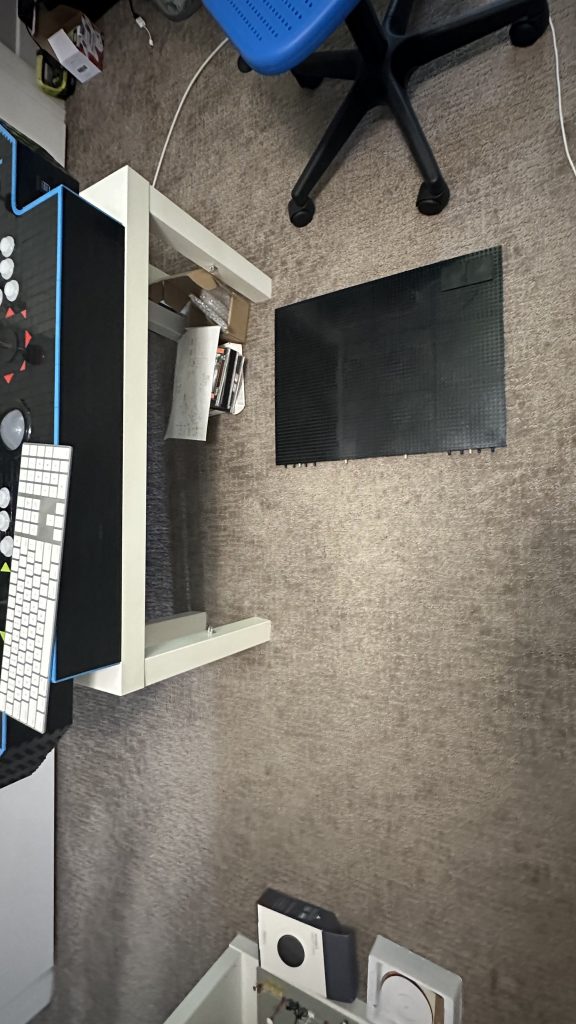
So I bring the base out to my workbench for a nice hard and flat surface to work on. Pushing these massive tiles down onto the studs is a very difficult task. So I had to eventually resort to using a rubber mallet to hammer them into place.
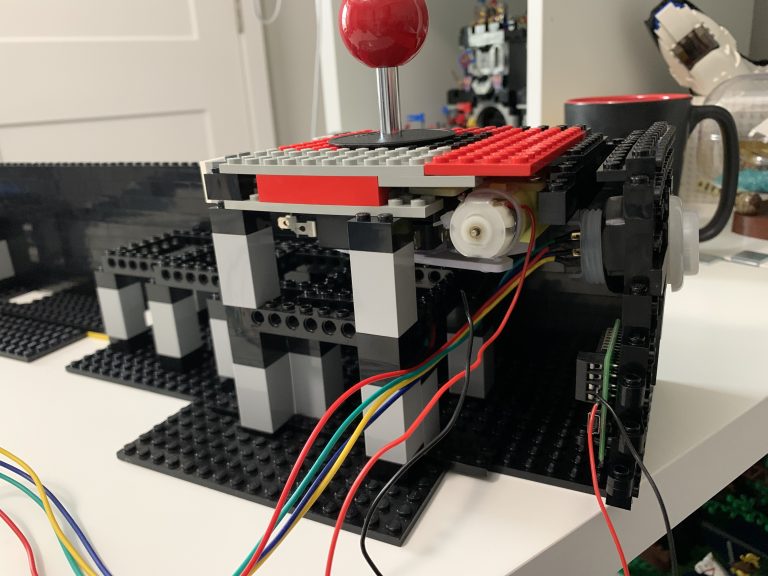
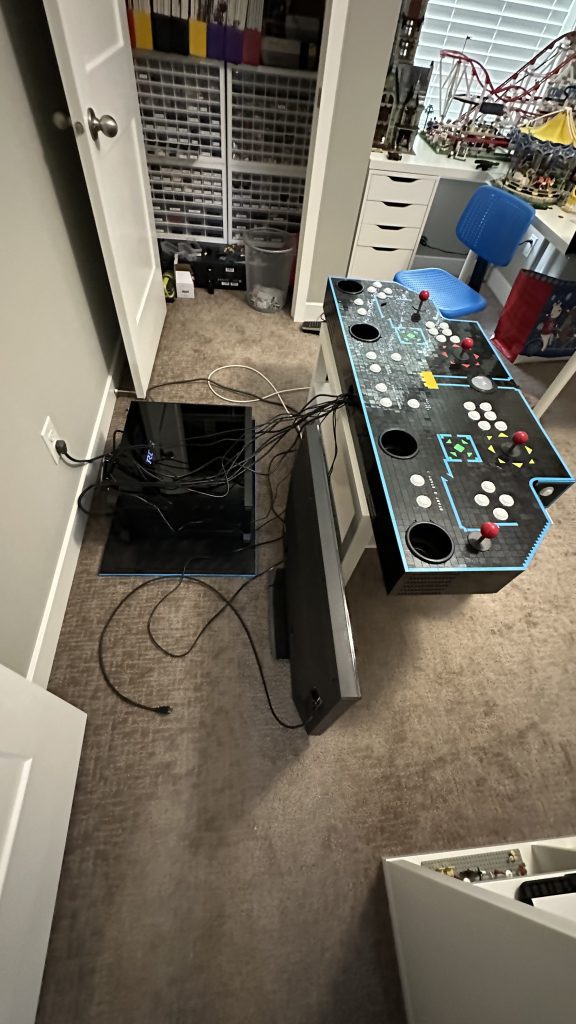
Let’s see how the computer looks sitting on top.
Ugh! $85 for those bricks, and that’s as far as they took me!? Well, back to the LEGO® shop!

Clearly, the size of the base is unreasonably small, but before I purchase more brick and enlargen it, I think it’s time to acquire a vast number of my brick of choice for building up.
The 2×8 Brick
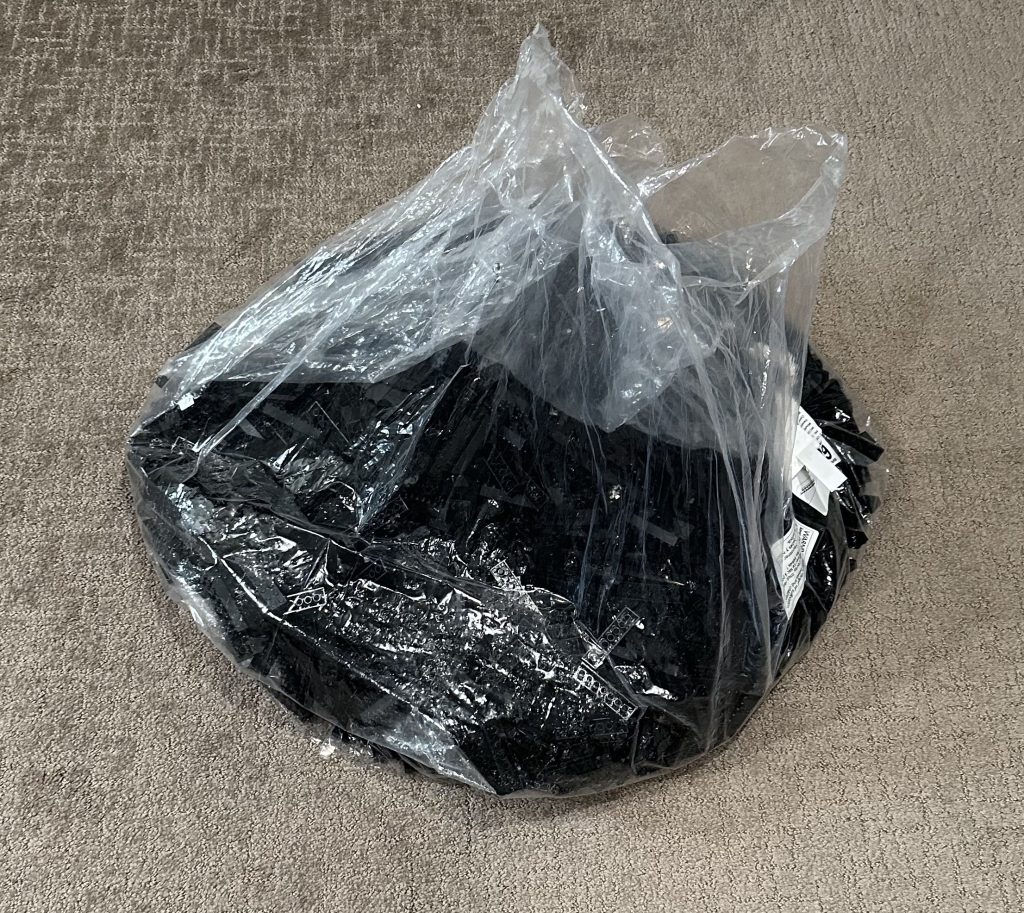
Taking a leap of faith, I chose to build the arcade cabinet up using only 2×8 brick. As a result, I know that I will need alot of these brick. So to start, I place my first order with LEGO® for 2,000 brick.
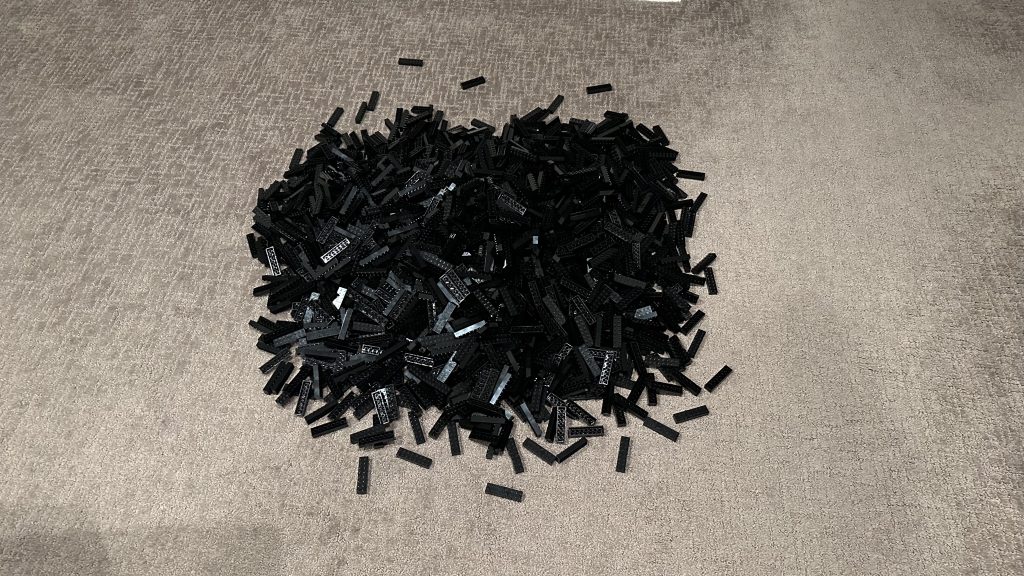
My first task is counting the brick, so I first I count out groups of 10, and then pile them into groups of 100 across my floor. I know I ordered 2,000, but for inventory reasons, I need to make sure I have 2,000.
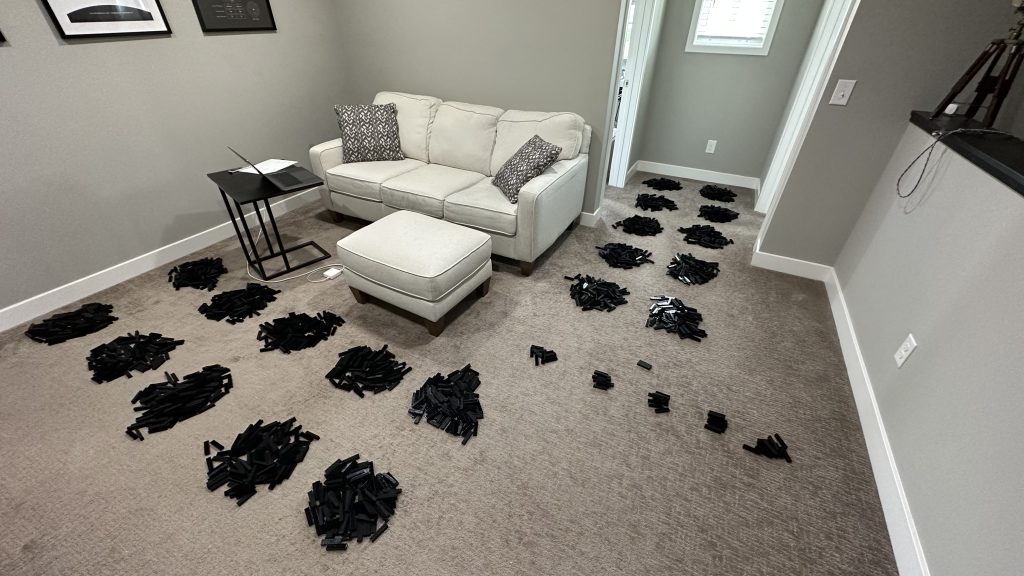
As I suspected, over 2,000 brick.
At this point, I ended up moving in with my girlfriend, so progress stops for a little bit. However, shortly before this, as I continued working on the software adding games and mapping out controls. I hit a couple of snags.
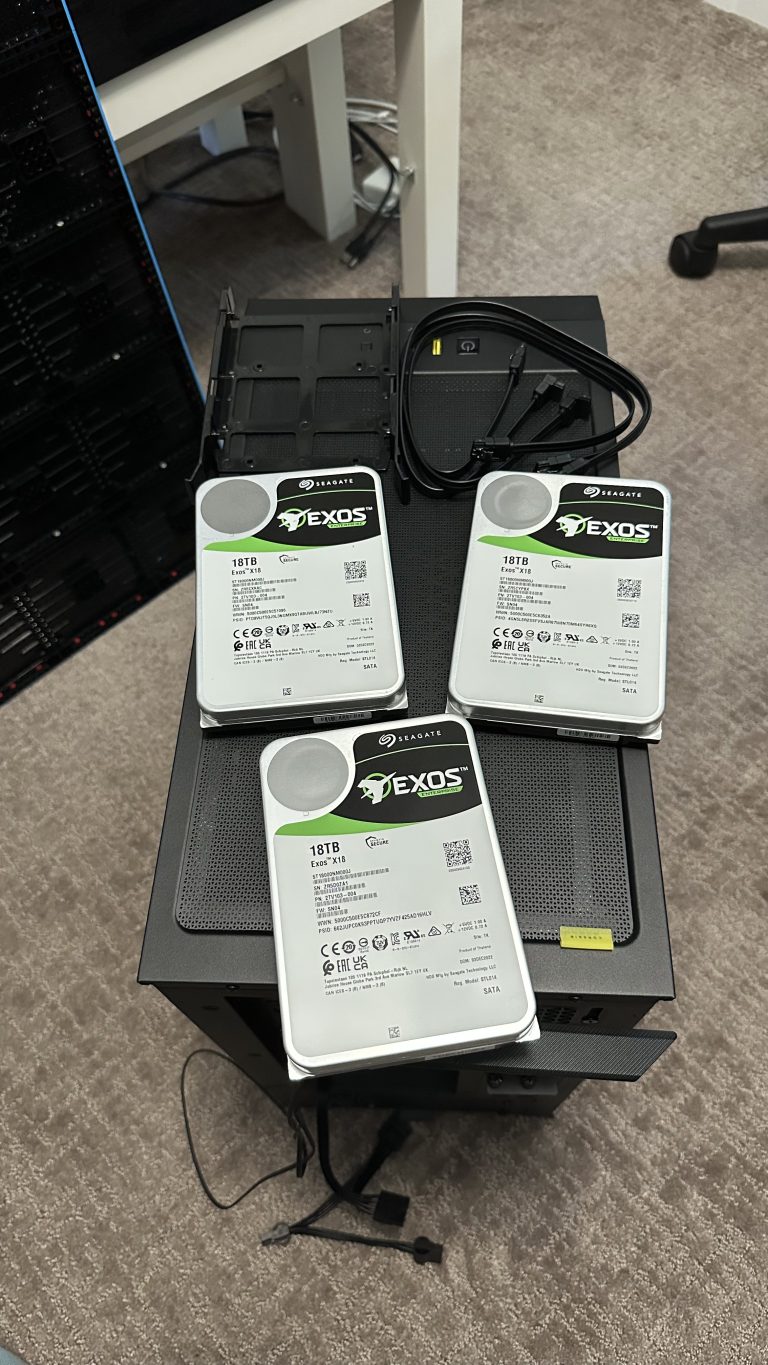
First, I ran out of disk space, 2 TB wasn’t enough. Second, if my computer crashed, I had no backups! All of my work, would be gone. So time to loop back and resolve those issues! Nerd post incoming, this next one will be technical!