A Long Hiatus, Now Progress
It’s been almost two years since I last posted about the arcade, and after a long hiatus, now progress. I’m sure you might have thought that I had given up. Sadly, shortly after my prior update, I was hit by health issues that prevented me from continuing work on the arcade for a few months. Coincidently, at the same time, I met someone and got married. This involved moving, wedding, honeymoon, and various family outings. As a result, my time became sorely limited and I stopped taking the time to provide updates on the progress of the arcade.
Exciting News, Progress
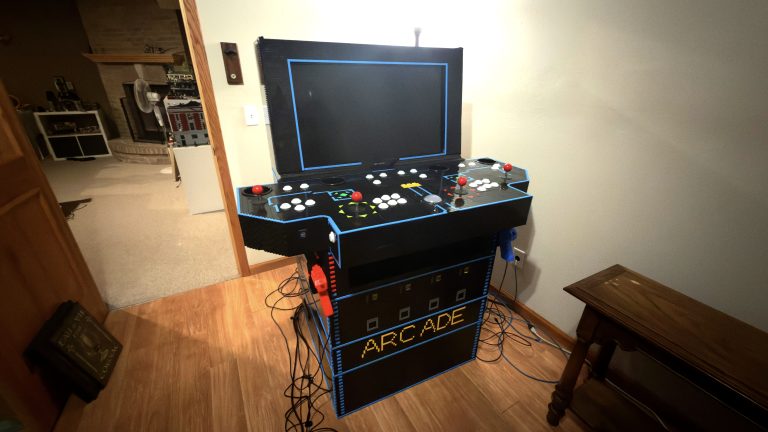
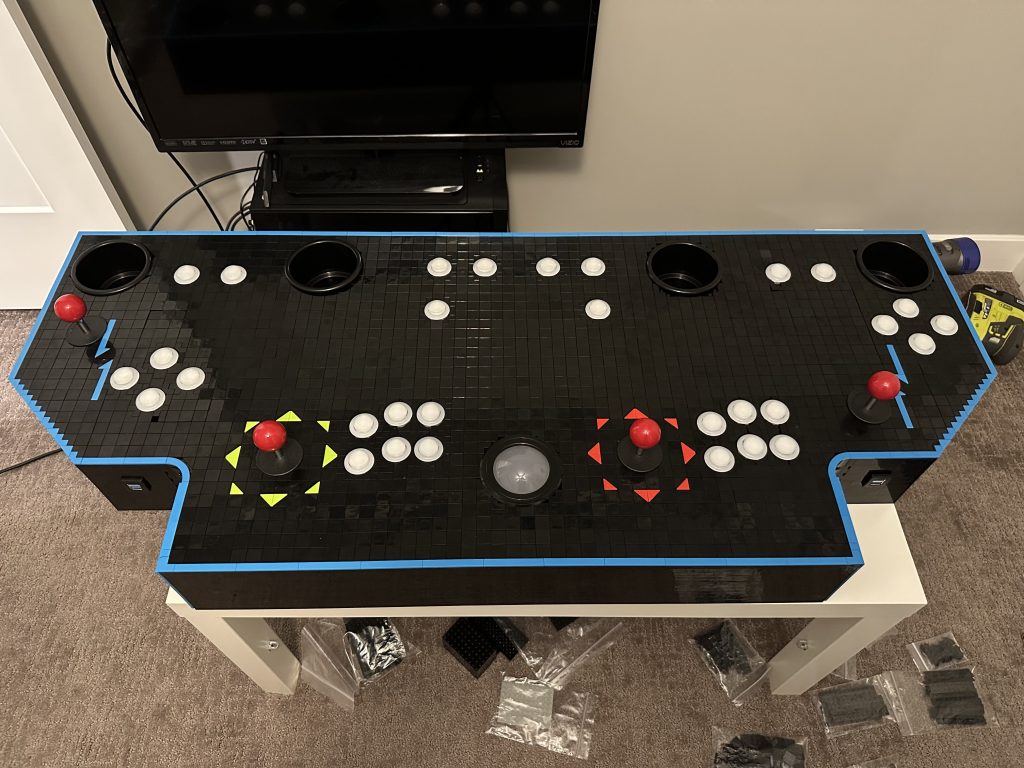
Significant progress has been made! At this time, I’m not sure if I’ll include everything in one post or make a couple. However, first things first, the control panel. As we left off, back in my post two years ago, it looked much like the picture below.
But there’s so much unused, empty, black space in the middle. It needs more color! But what could I possibly add here that would add to the design and not take away from the panel? How about added functionality?
Why not build in wireless charging stations?!

The Hiatus Ends, Updating the Design
I start out by modifying the digital version and figuring out how I want the new design to look. The design must show a clear spot to set your phone so that it charges. After a few iterations, I end up on this pattern.
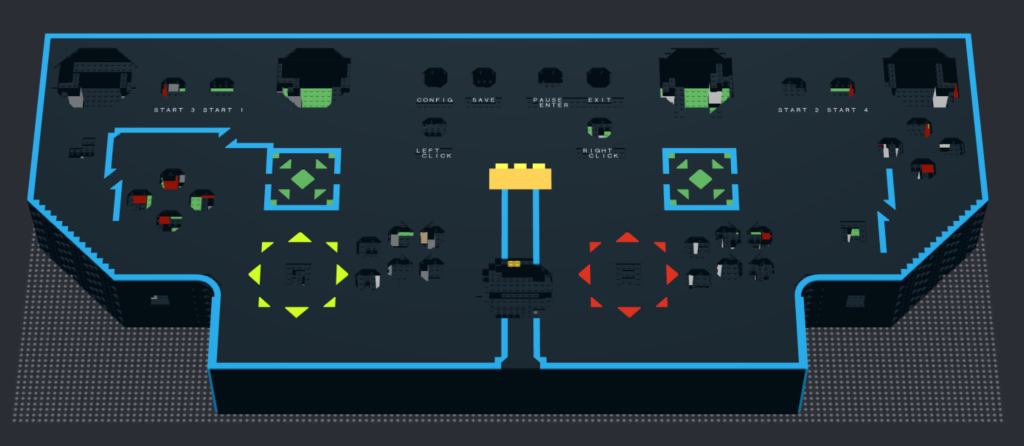
You may have noticed something else changed here, I’ve now added lettering now to the common buttons in the top row.
Squirrel!
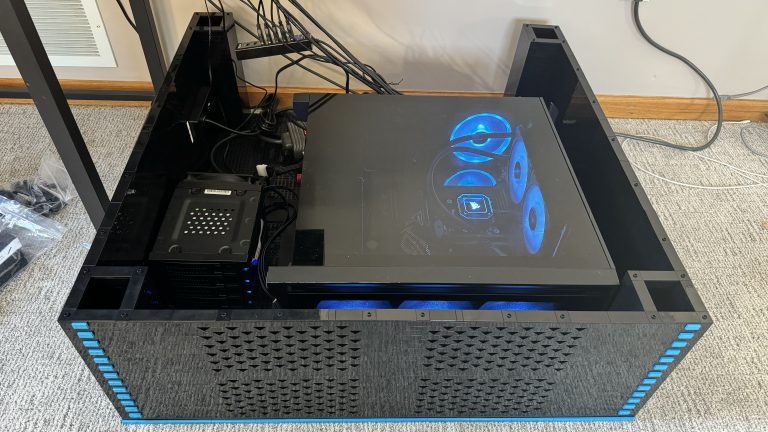
At this point, I begin working on many different aspects of the arcade all at one time. I’ve now begun work on the base, which I’ll cover in another article. I’m modifying the UI of the software. I’m beginning research into the coin mechanism that the arcade will have. And I’m adding final touches to the control panel itself.
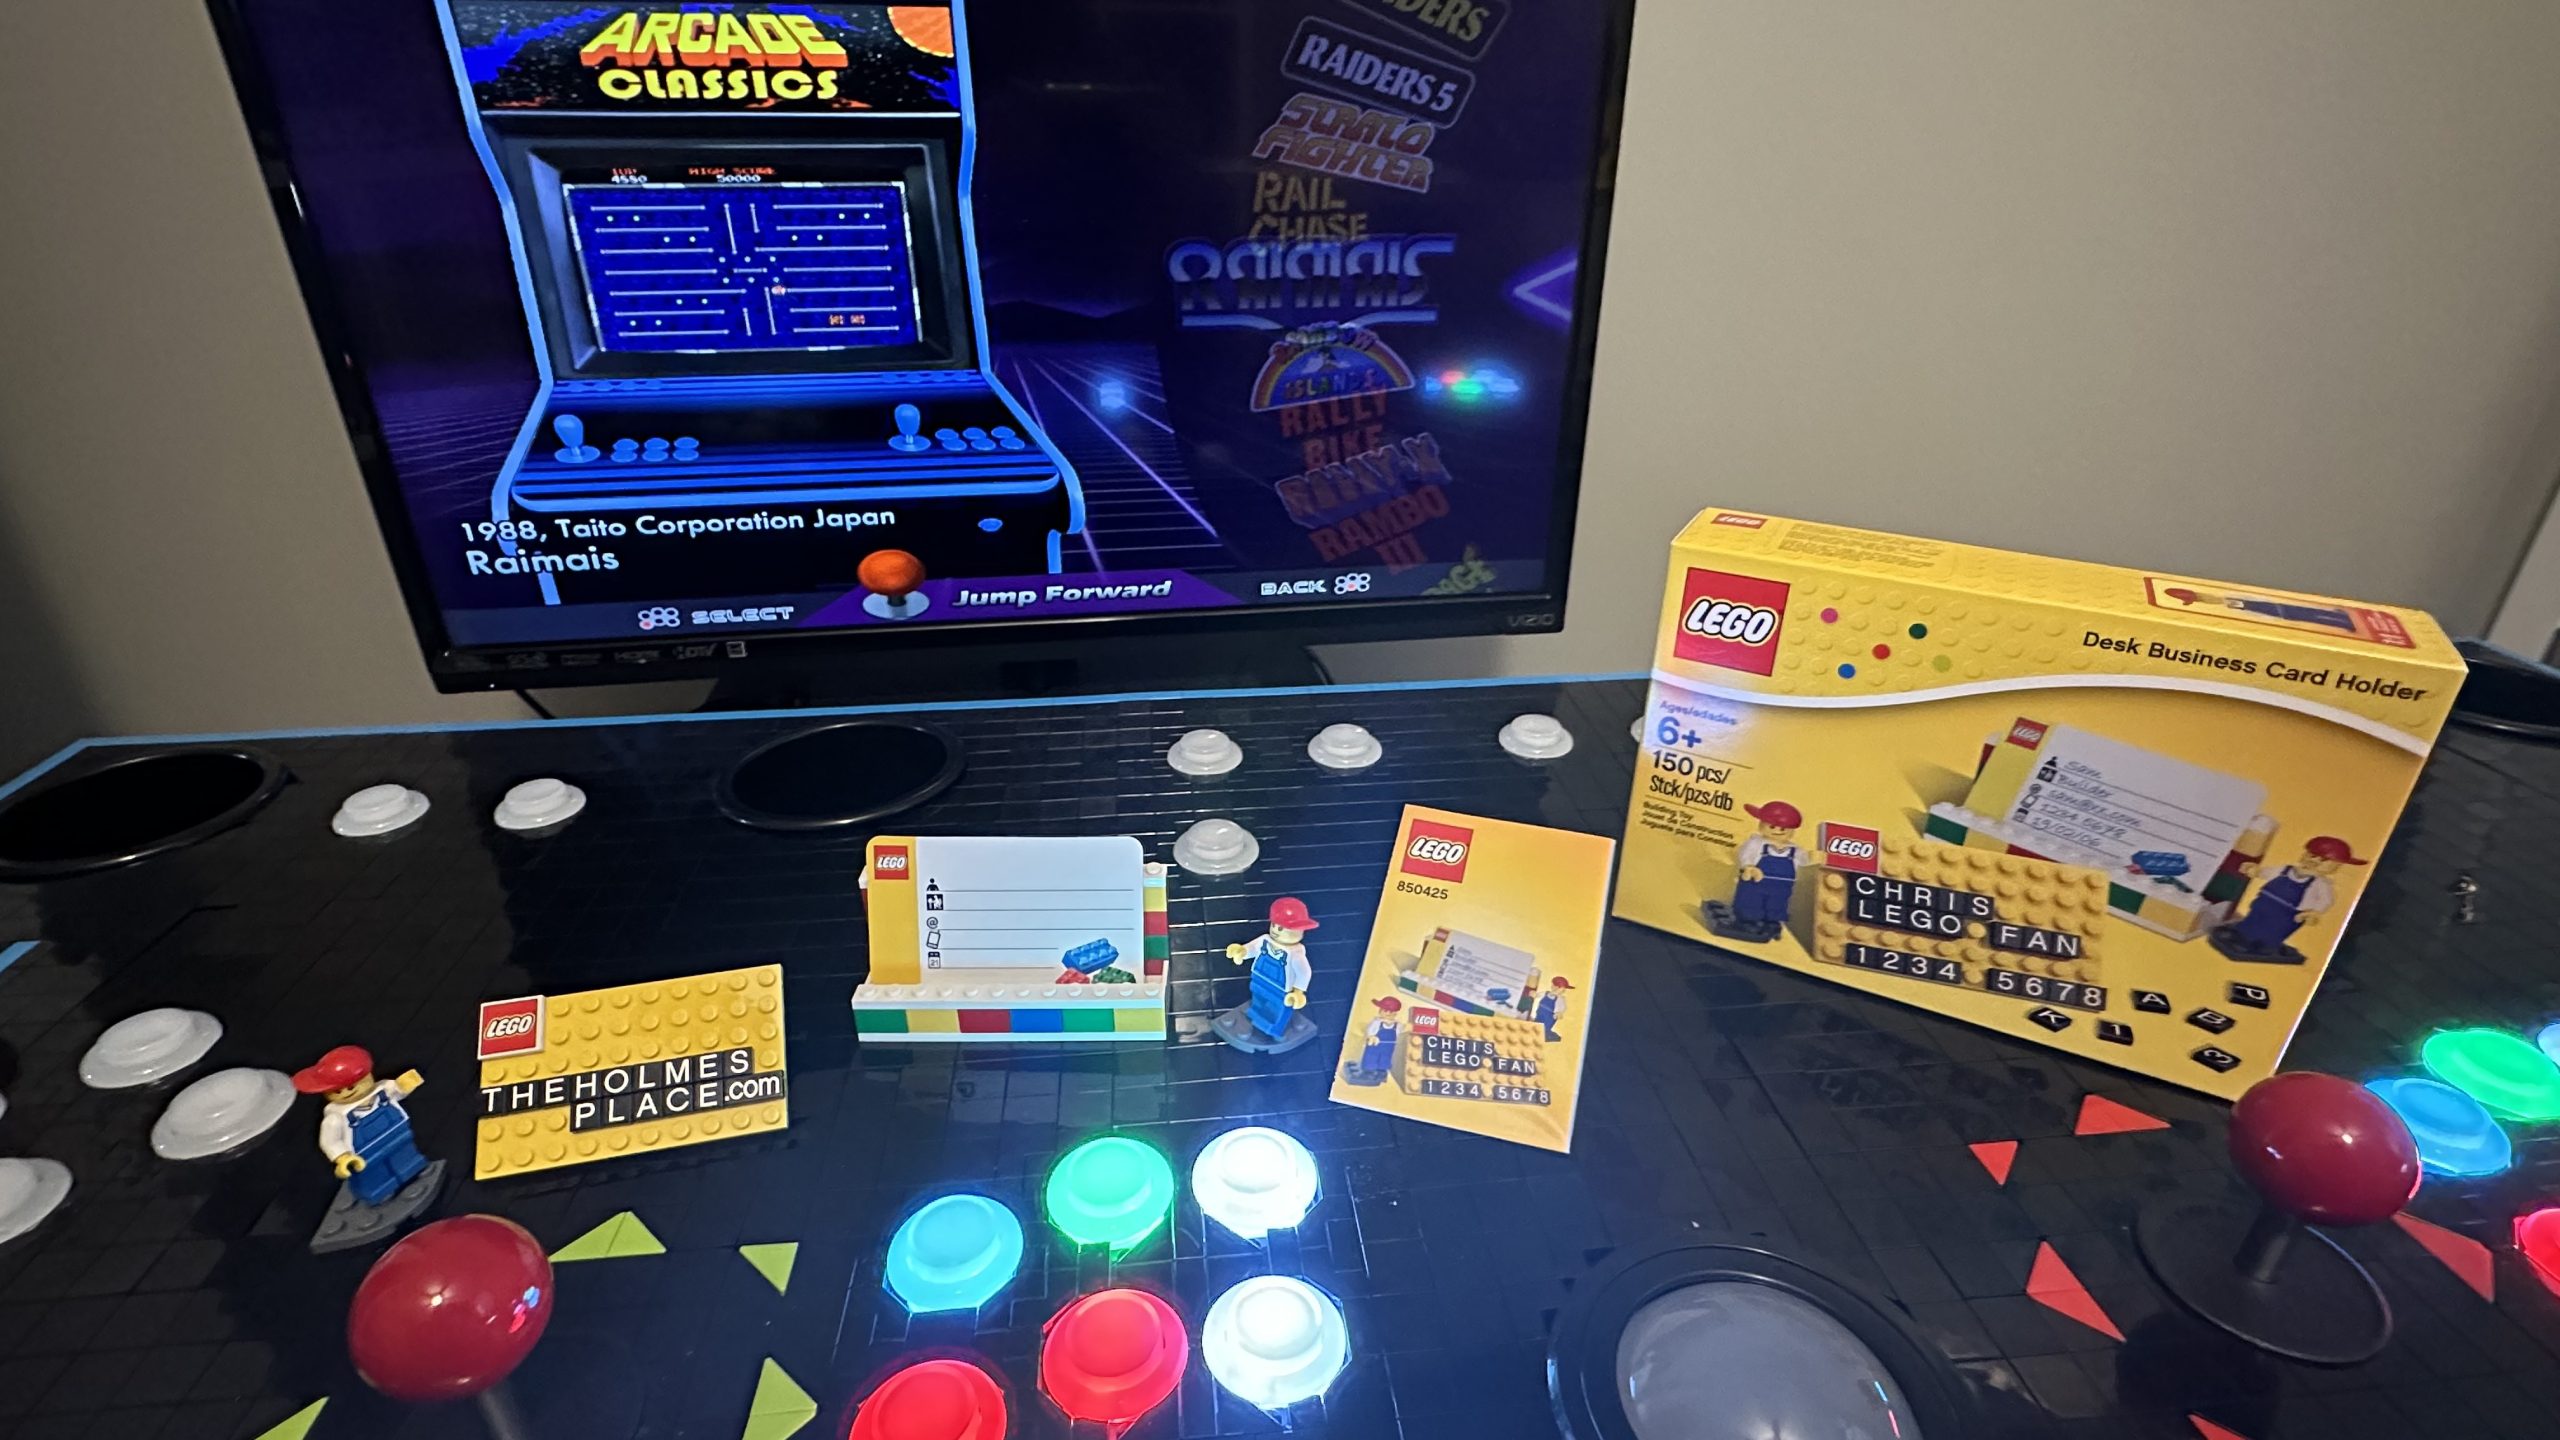
With the control panel, I want to have clear labeling for common buttons that don’t really ever change function from one game type to another. In looking into the idea of LEGO® making pieces with lettering, I find that there aren’t many options. At least where the letters were sitting on top of black tiles. Except one, set 850425 Desk Business Card Holder, released in 2012 and sold for $14.99 USD, now valued at over $50.00 USD.
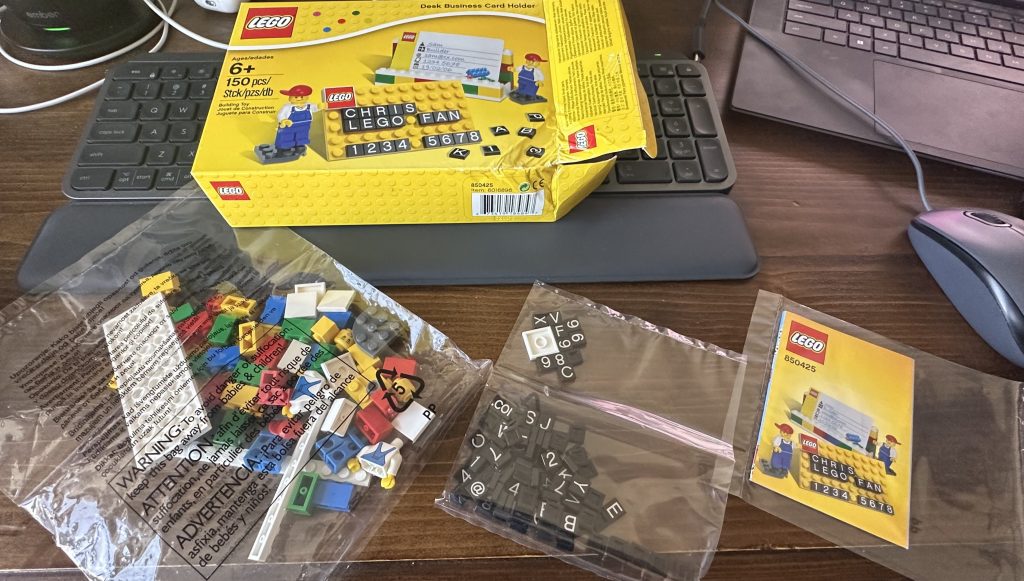
These tiles should work great, except, I need a lot of T’s. This isn’t going to be cheap!
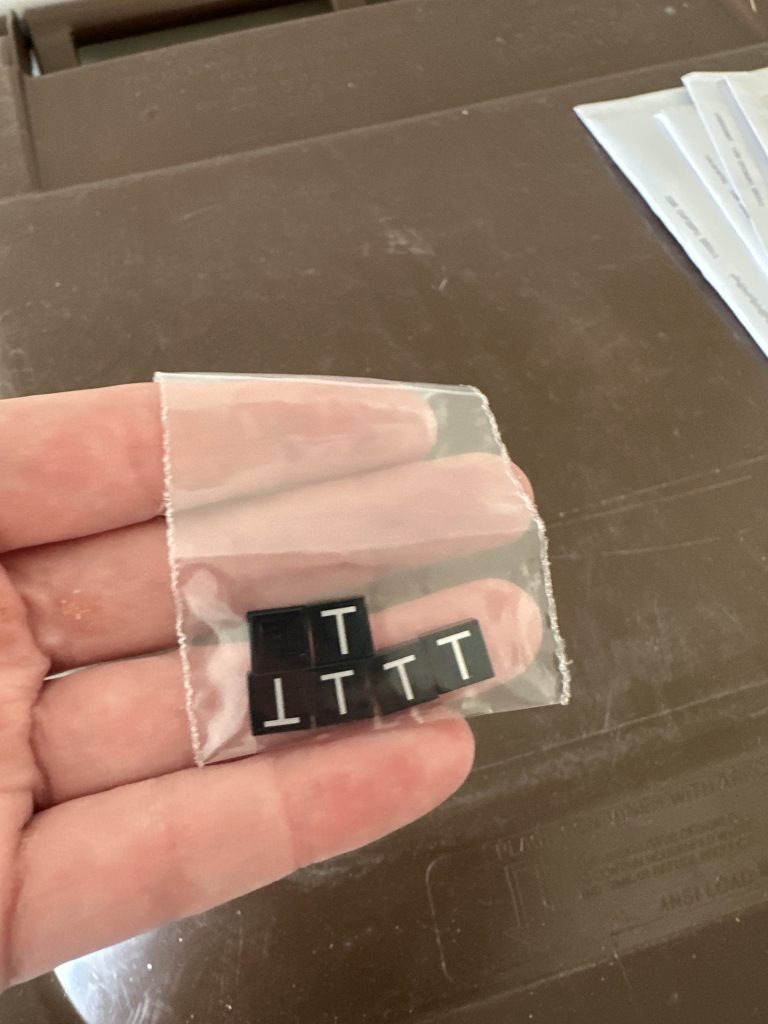
Just these six 1×1 tiles ended up costing me $20.00! So, I ended up finding someone who had a bunch of unopened sets of these, and I purchased all of them for $220. This ended up costing me less in the long run that attempting to purchase each individual lettered tile from various people and paying shipping for each one. I feel a little crazy, but in the end, I think it will look good, and I can still claim that I’m using as much LEGO® as I can.

Now Where Were We? Ah Yes, Chargers!
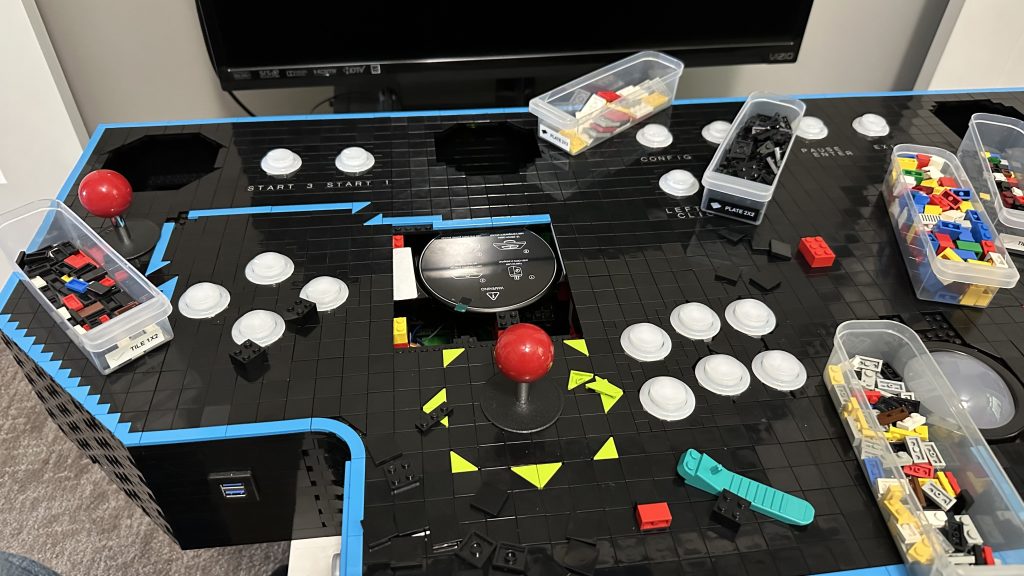
Now that I’m back on track, let’s rip apart this arcade control panel and do some modifications!
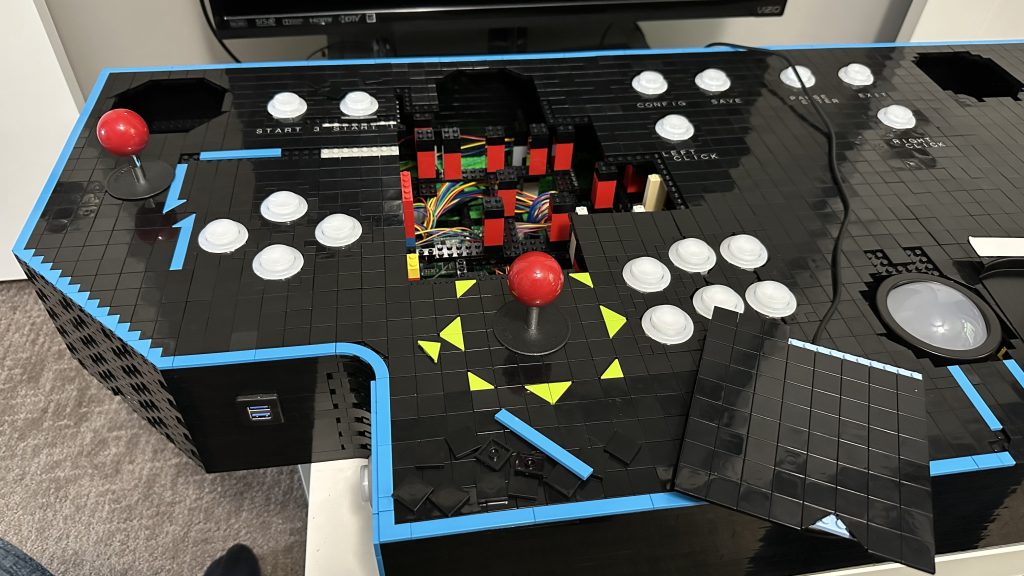
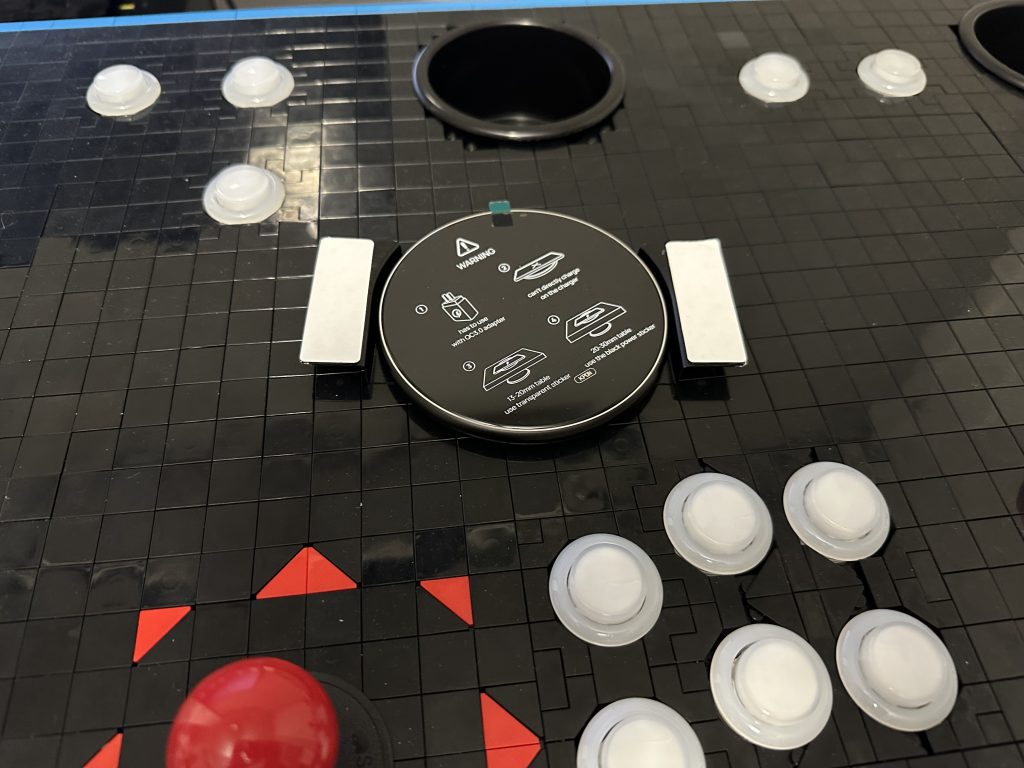
First, to install a mounting bracket to hold the charger to the top of the control panel.
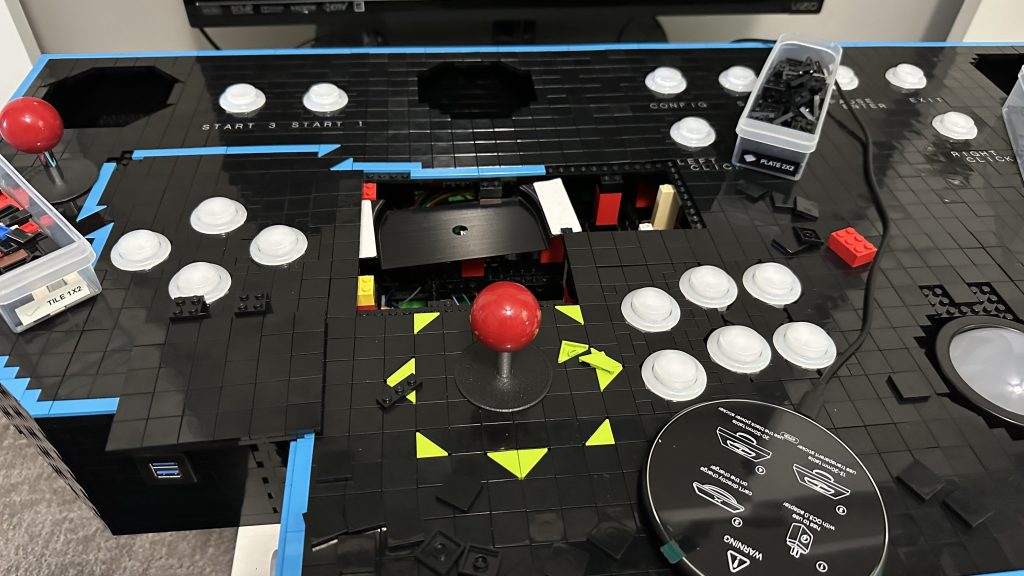
Second, I add the charger and wire it up.
Put back together, added the new colored tiles, and finished! The green “target” arrows basically point to the exact spot to set your phone if you’d like it to charge.
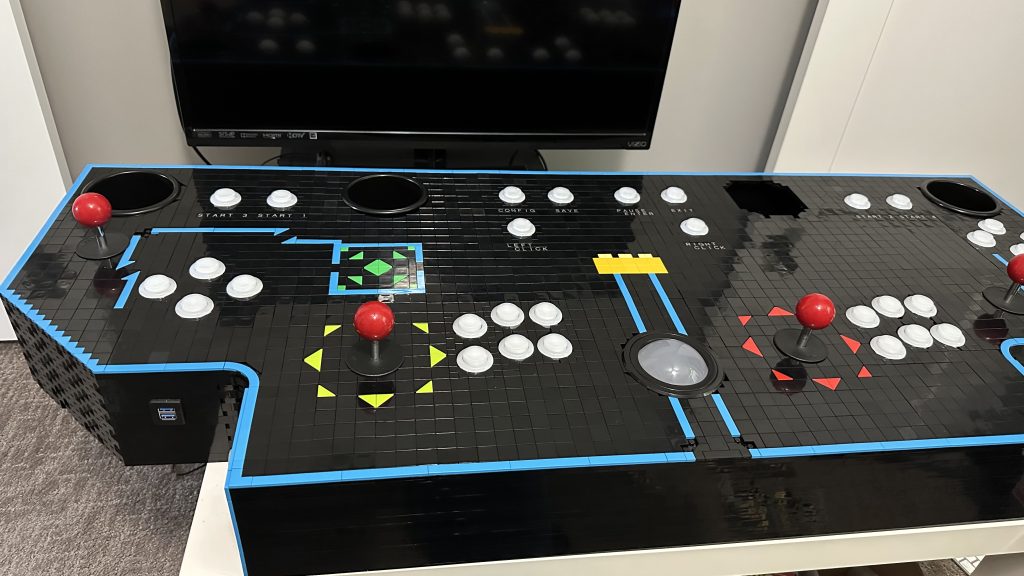
Shortly after this, I add the second charger on the right side of the control panel and add a similar design patter over there.
At this point, I’m satisfied with the control panel and so begins the next major undertaking of the arcade, the base.