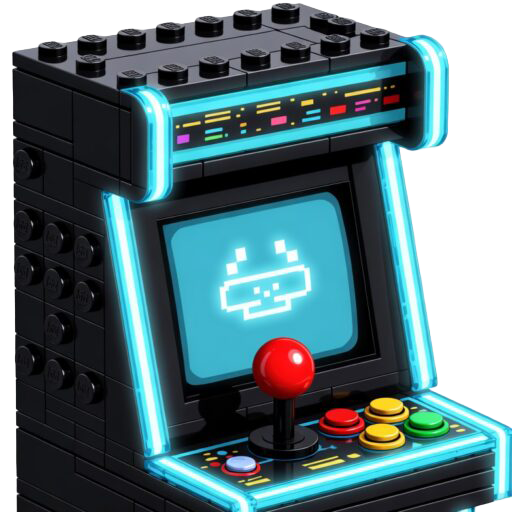

Insert Coin to Play: An Epic Challenge
There are a few things that make an arcade cabinet so recogonizable and iconic—and coin chutes are one of those things. The phrase “insert coin to play”, just makes us want to round up our quarters and press start! This article covers the epic challenge it was to make this a reality using LEGO® brick.
The Goal – Insert Coin to Play
To make this arcade cabinet as as much like the real thing as possible, I realize that I need to take a token, insert it into a coin slot, and allow that token to provide a credit to the game on the computer. I have to start to think about how I’m going to add this using LEGO® brick.
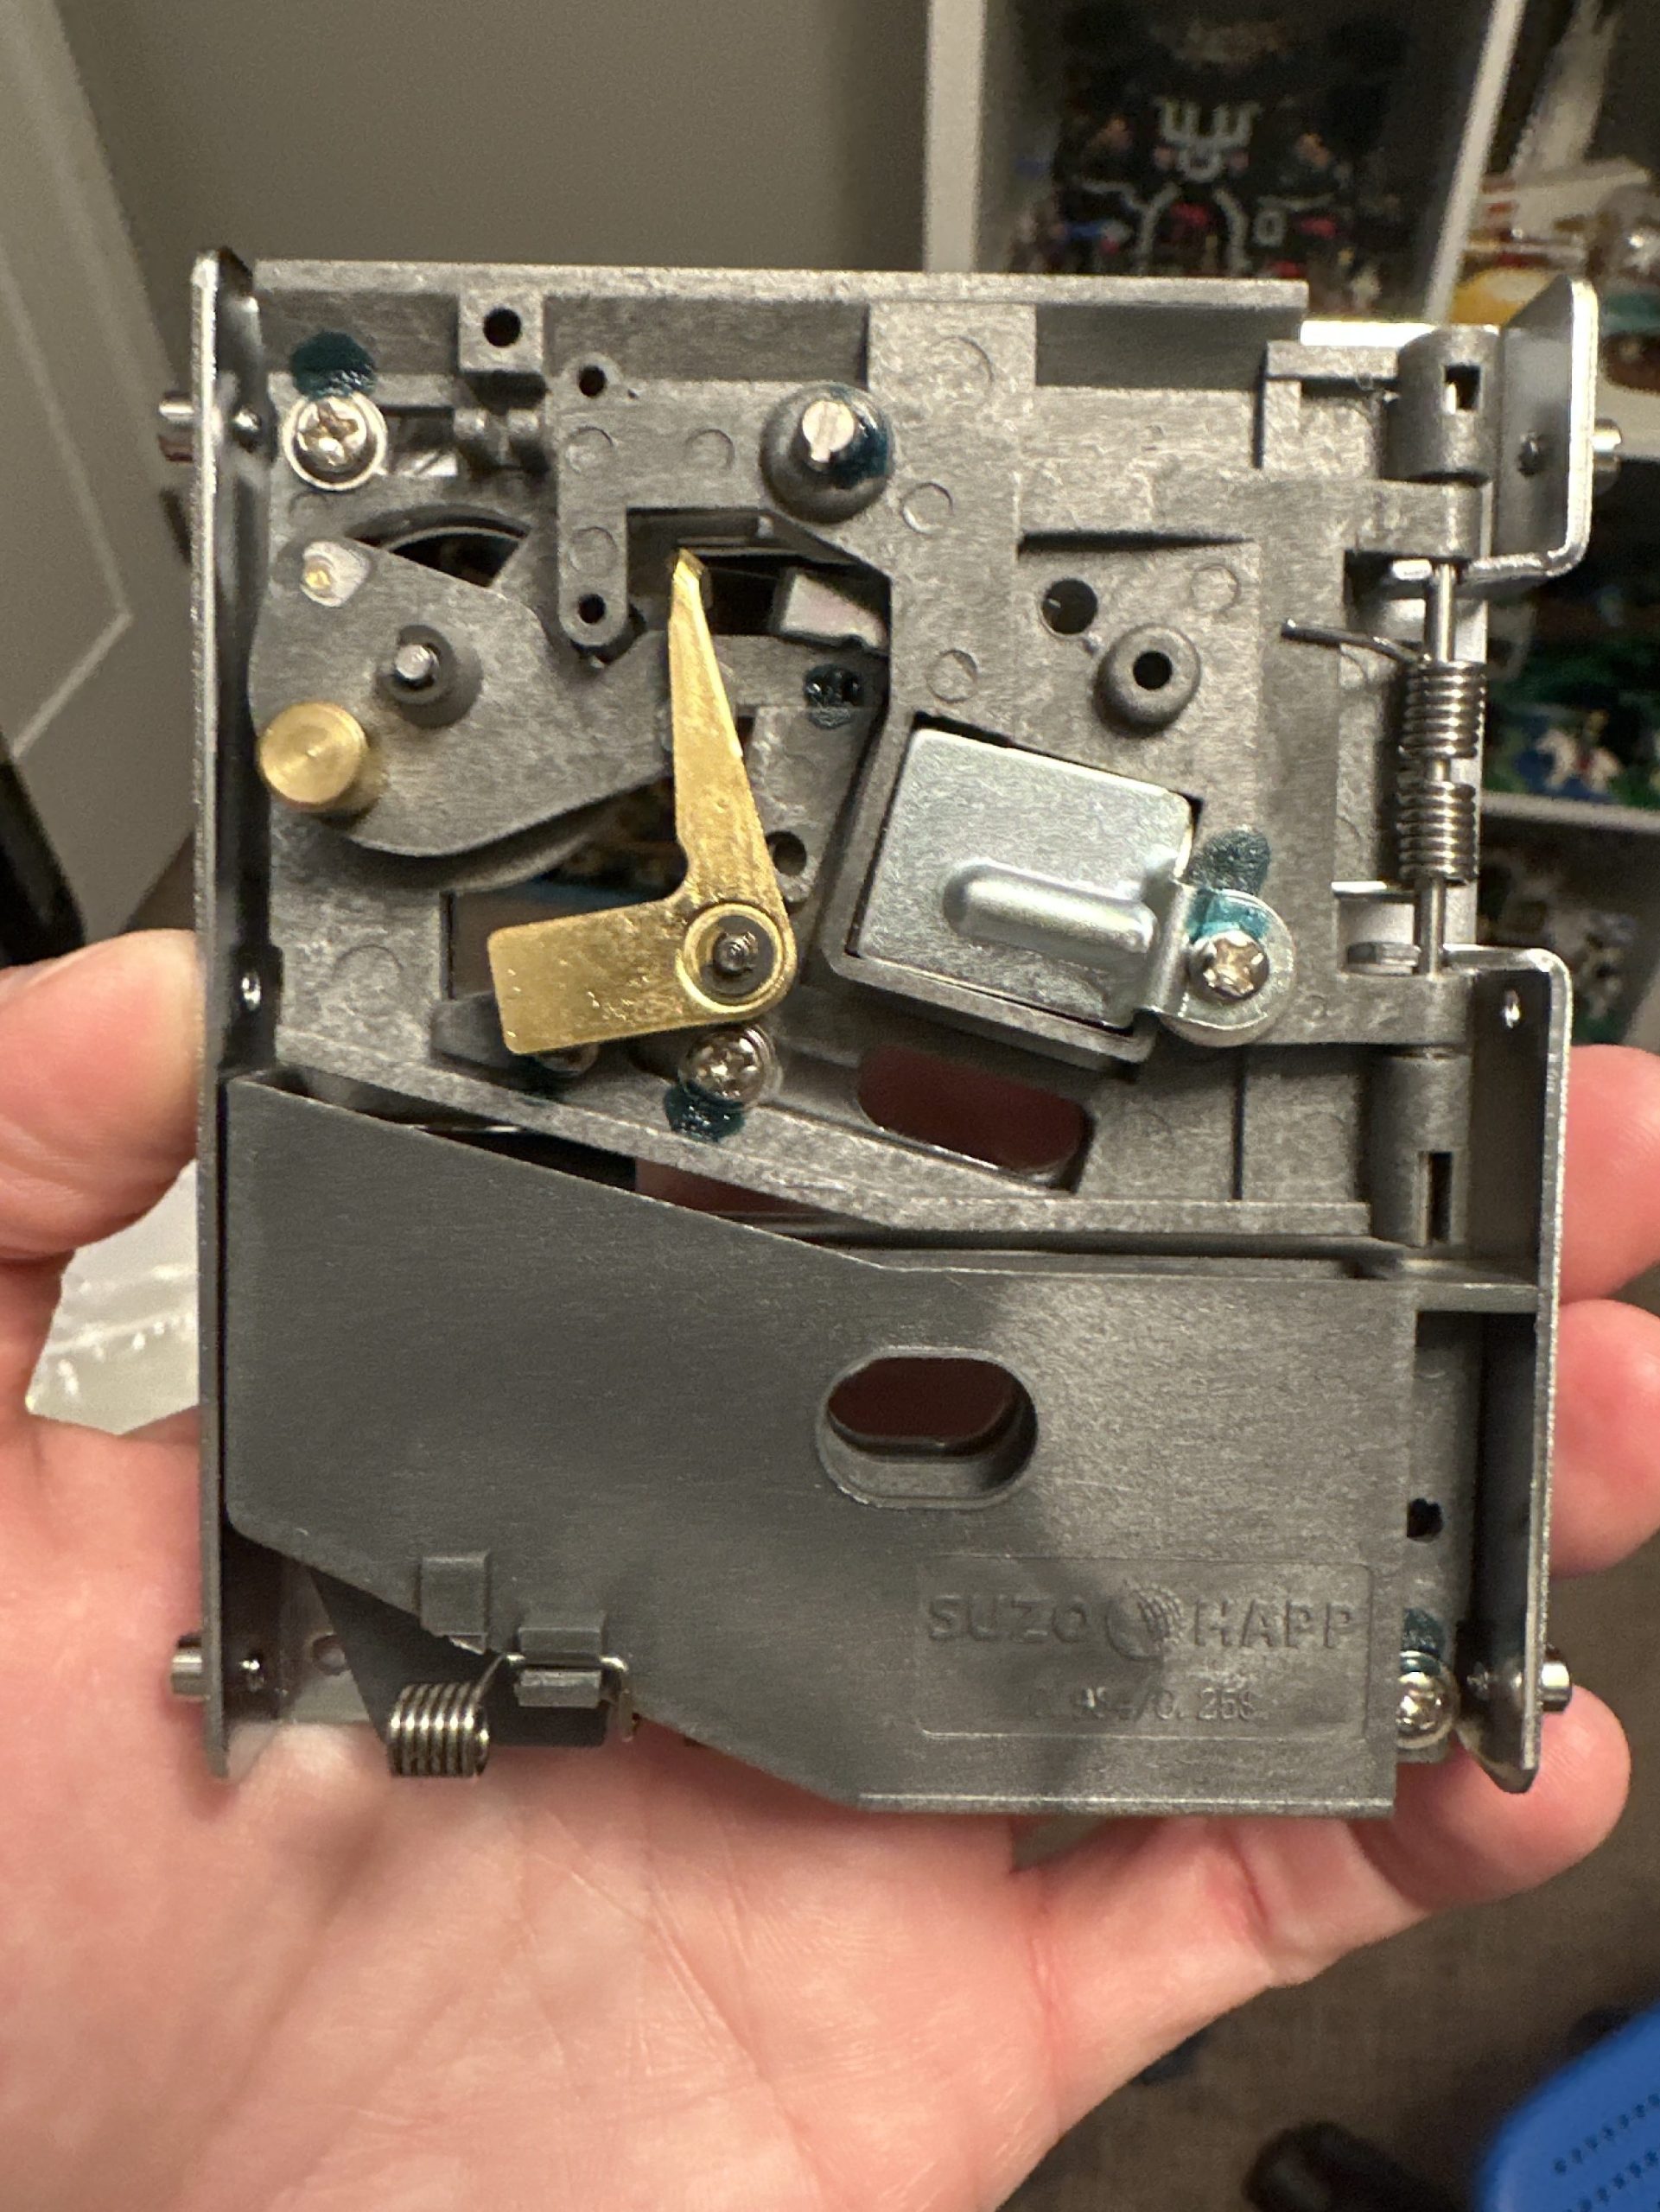
Step 1 – Accquire Actual Coin Mech for a Standard Cabinet
First, I wanted to examine a real coin mech, I decided to purchase from a well-known company named SuzoHapp. I placed an order here for a coin mech that can accept either quarters or tokens, as well as four reject buttons, four switches, and one-hundred tokens. Before long, the order arrives and it’s time to start testing solutions!
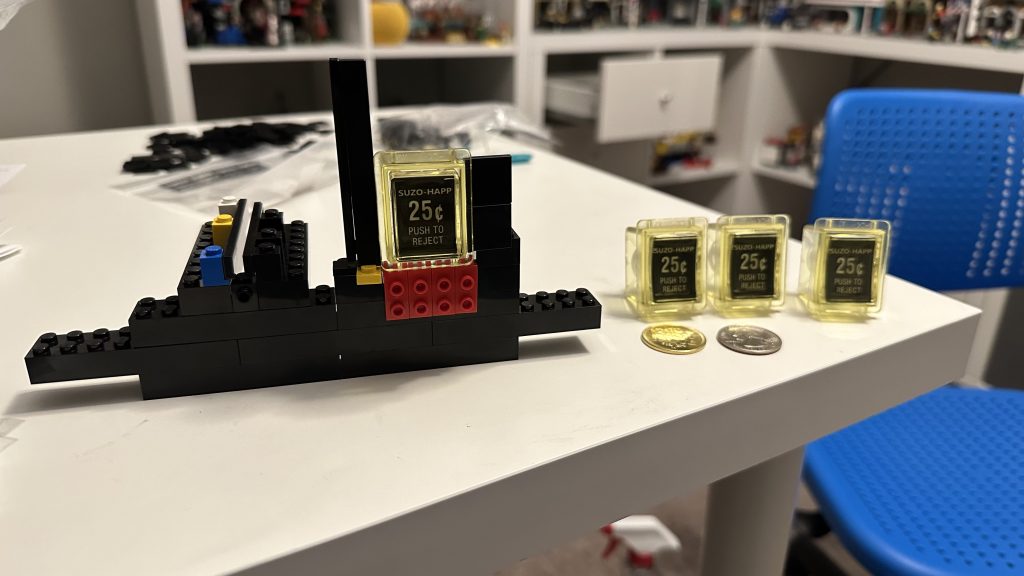
Below is the coin mech that can accept a token or a quarter. The task, convert this entire item to LEGO® brick!
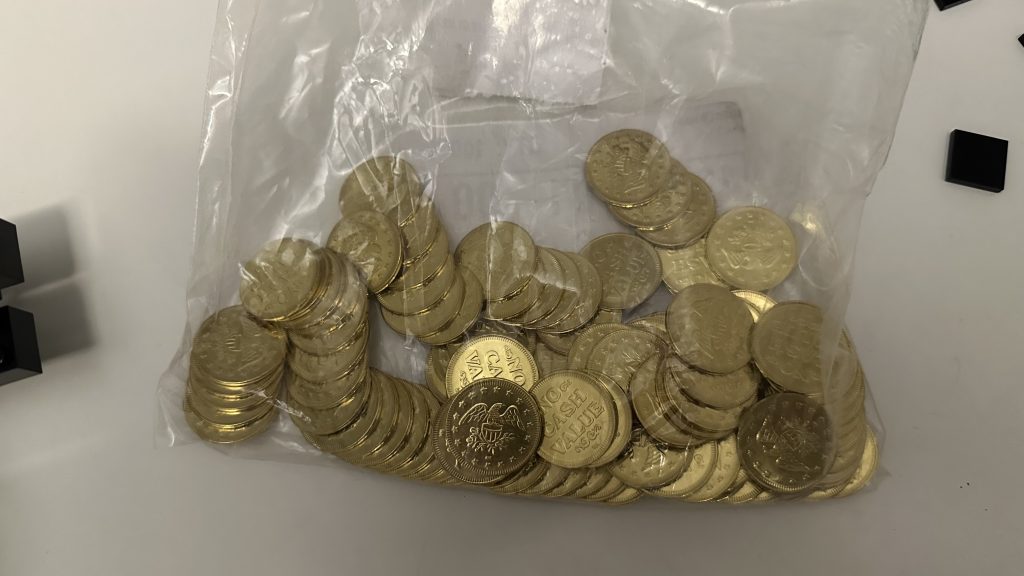
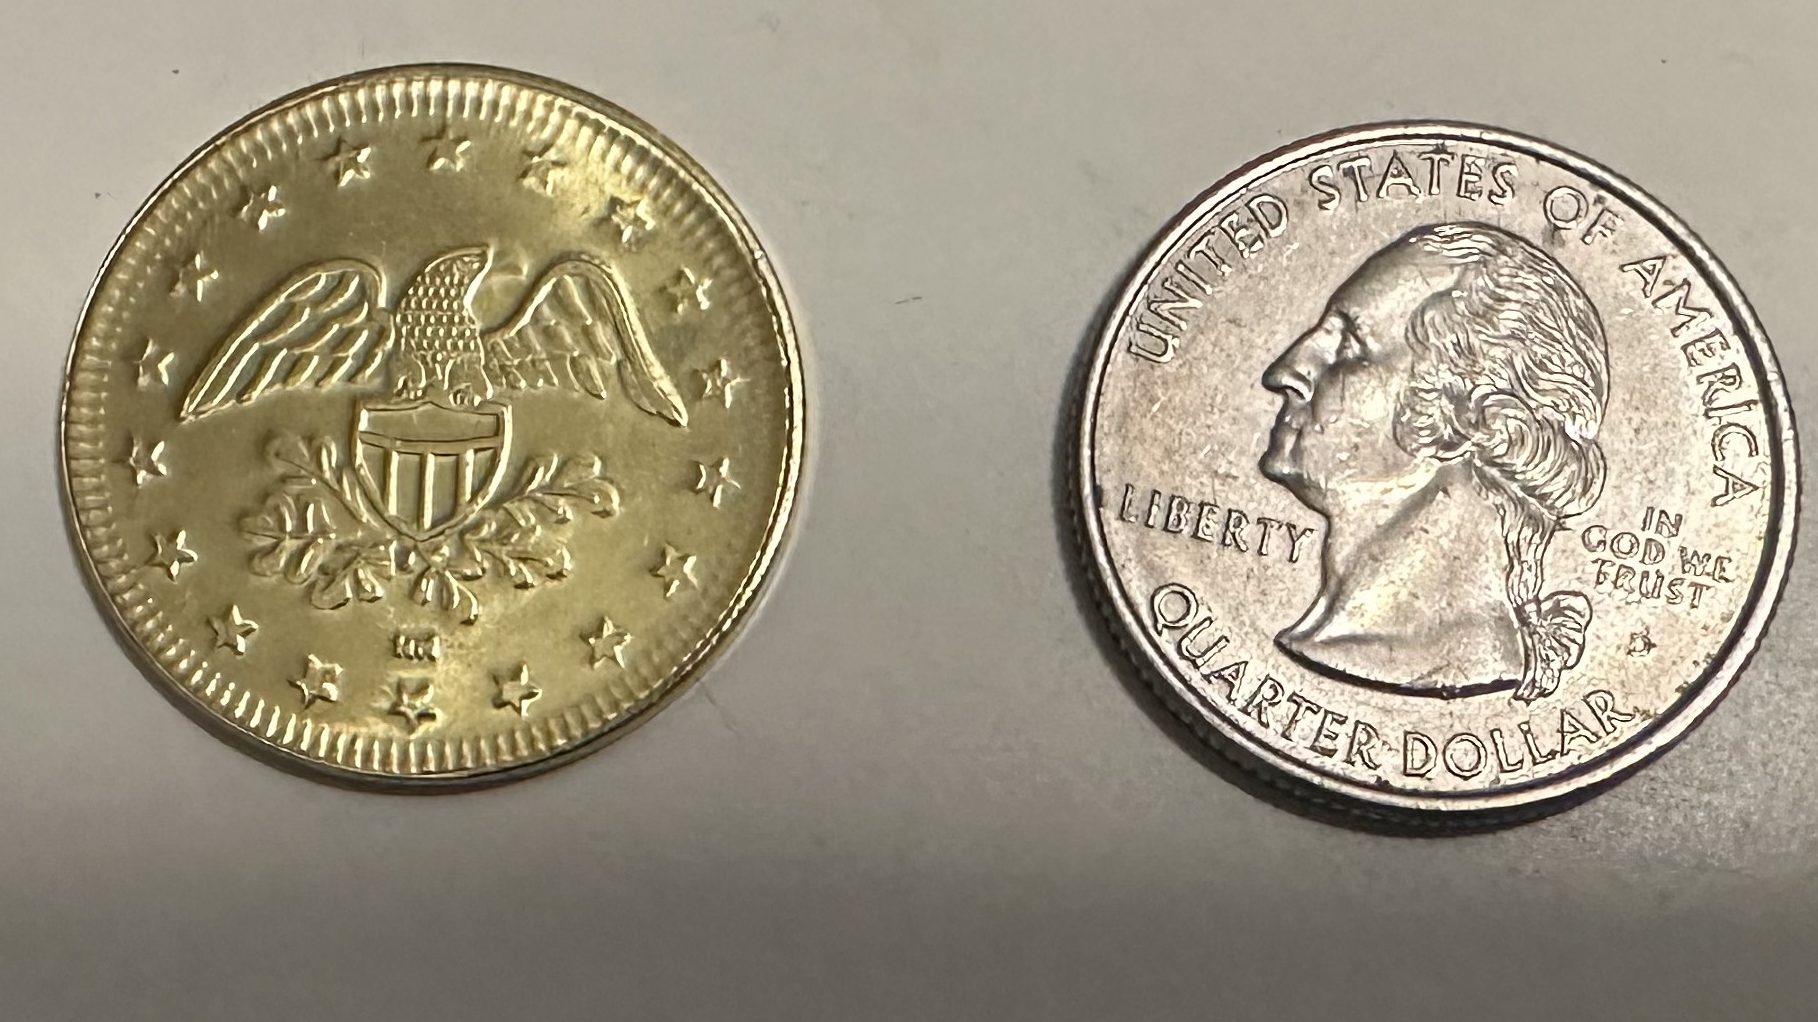
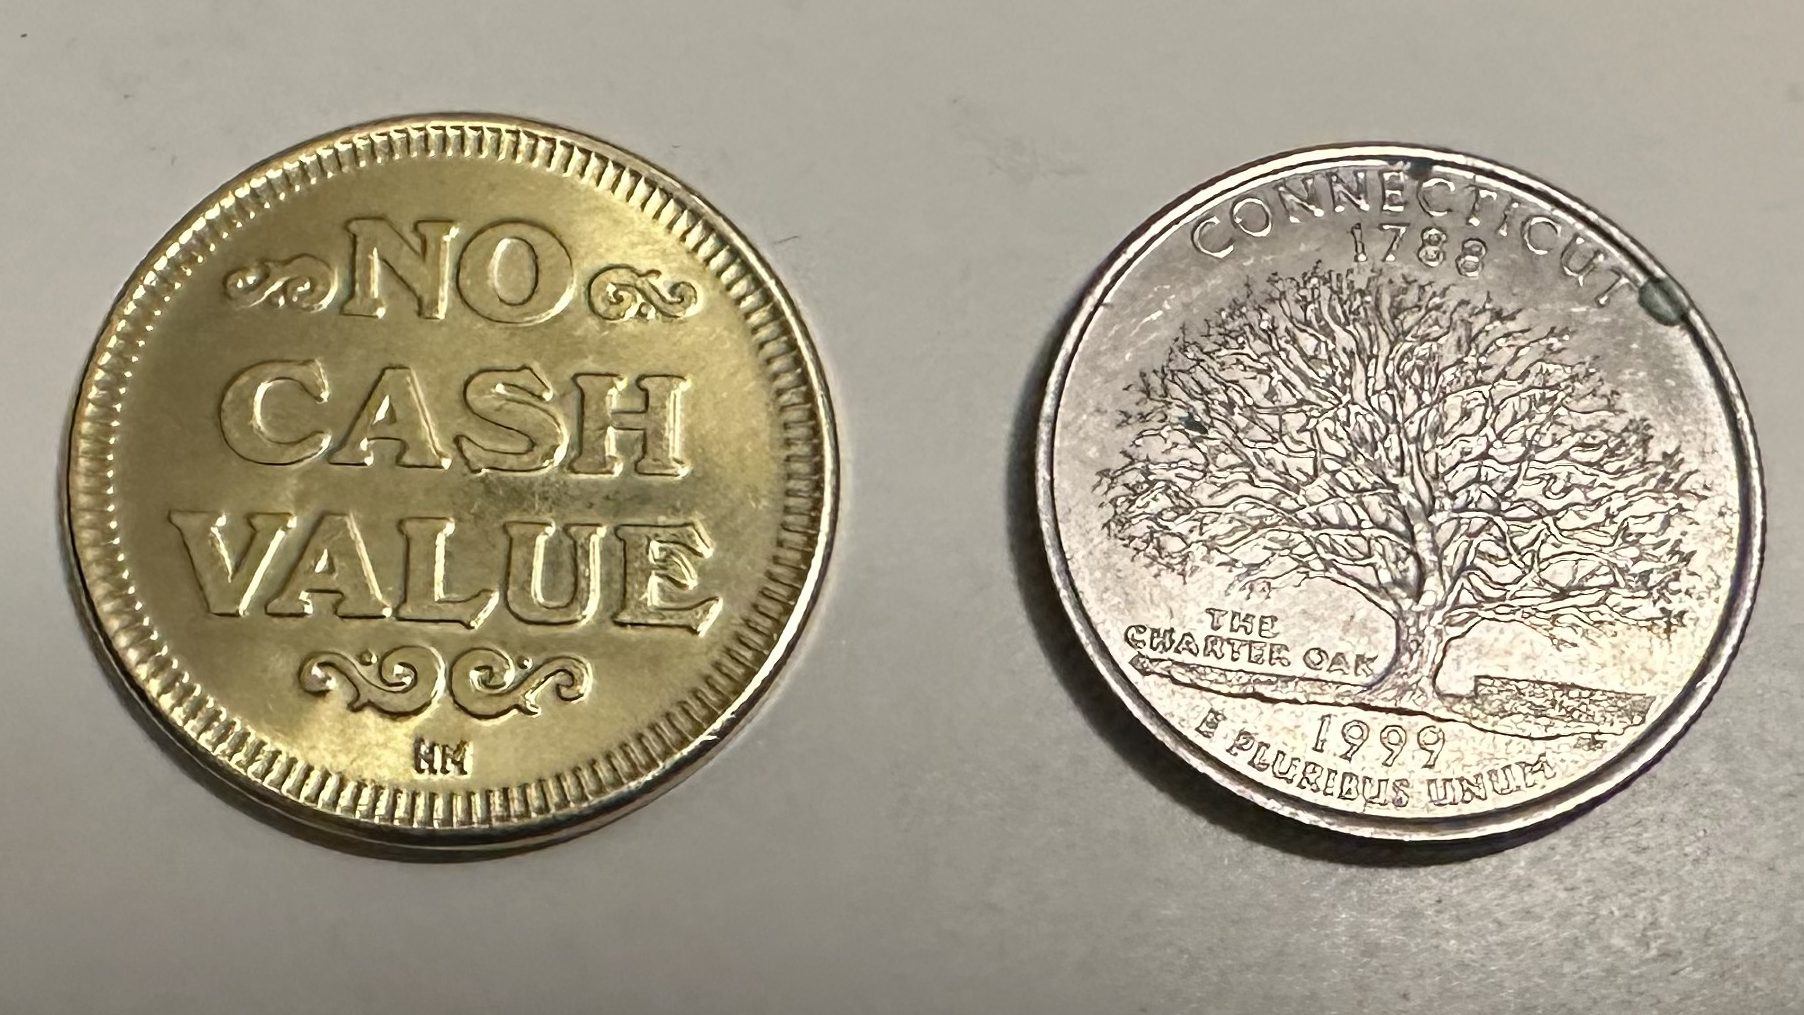
Here are is the bag of tokens that arrived and how they compare to a quarter.
Maybe one day, I’ll get custom tokens.
Why Not Custom Tokens
I did look into custom tokens for my machine, but there were two issues that prevented me from proceeding.
- I wasn’t sure what to put on the token for artwork. A LEGO® brick was a thought, but I wanted more time to think about the choice and maybe something would come to me as I naturally progress on building this machine.
- The second reason is the biggest reason, cost. When looking into custom tokens, I found that this would cost me around $5,000. So I’ll look into this again further down the road when I want to make tweaks.
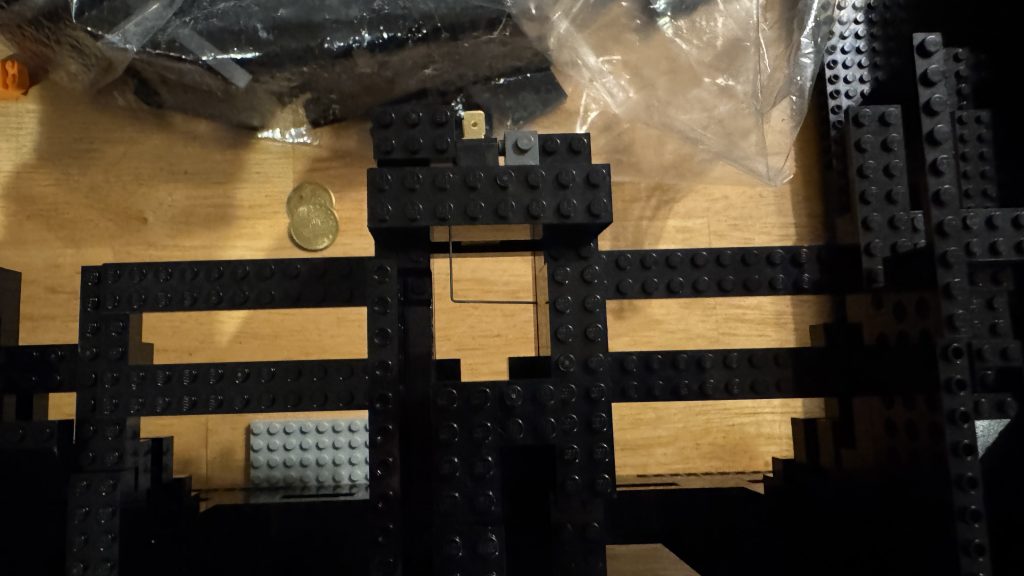
Before I start recreating the coin mech above out of brick and make it to accept these tokens, I need to determine how I’m going to mount the reject buttons.
Step 2 – Reject Buttons
I toyed around making reject buttons out of brick, but a couple of things stopped me from doing this, a custom label, and transparency for adding LEDs later. While I may visit this again at a later time, for now I’m going to proceed with attempting to mount these buttons that I ordered with brick.
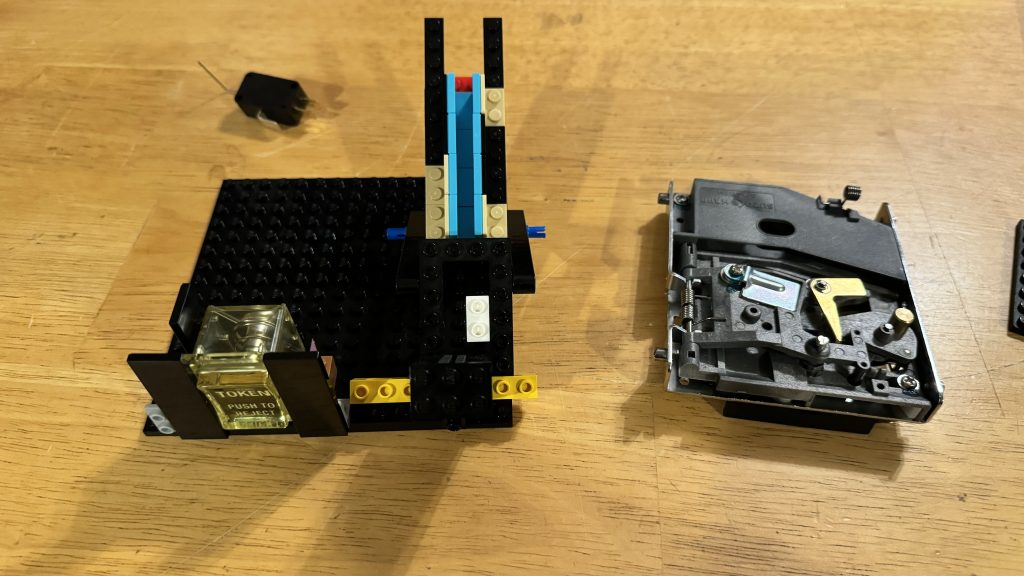
To start, I attempt to build a chassis, of sorts, for the reject button to sit in.
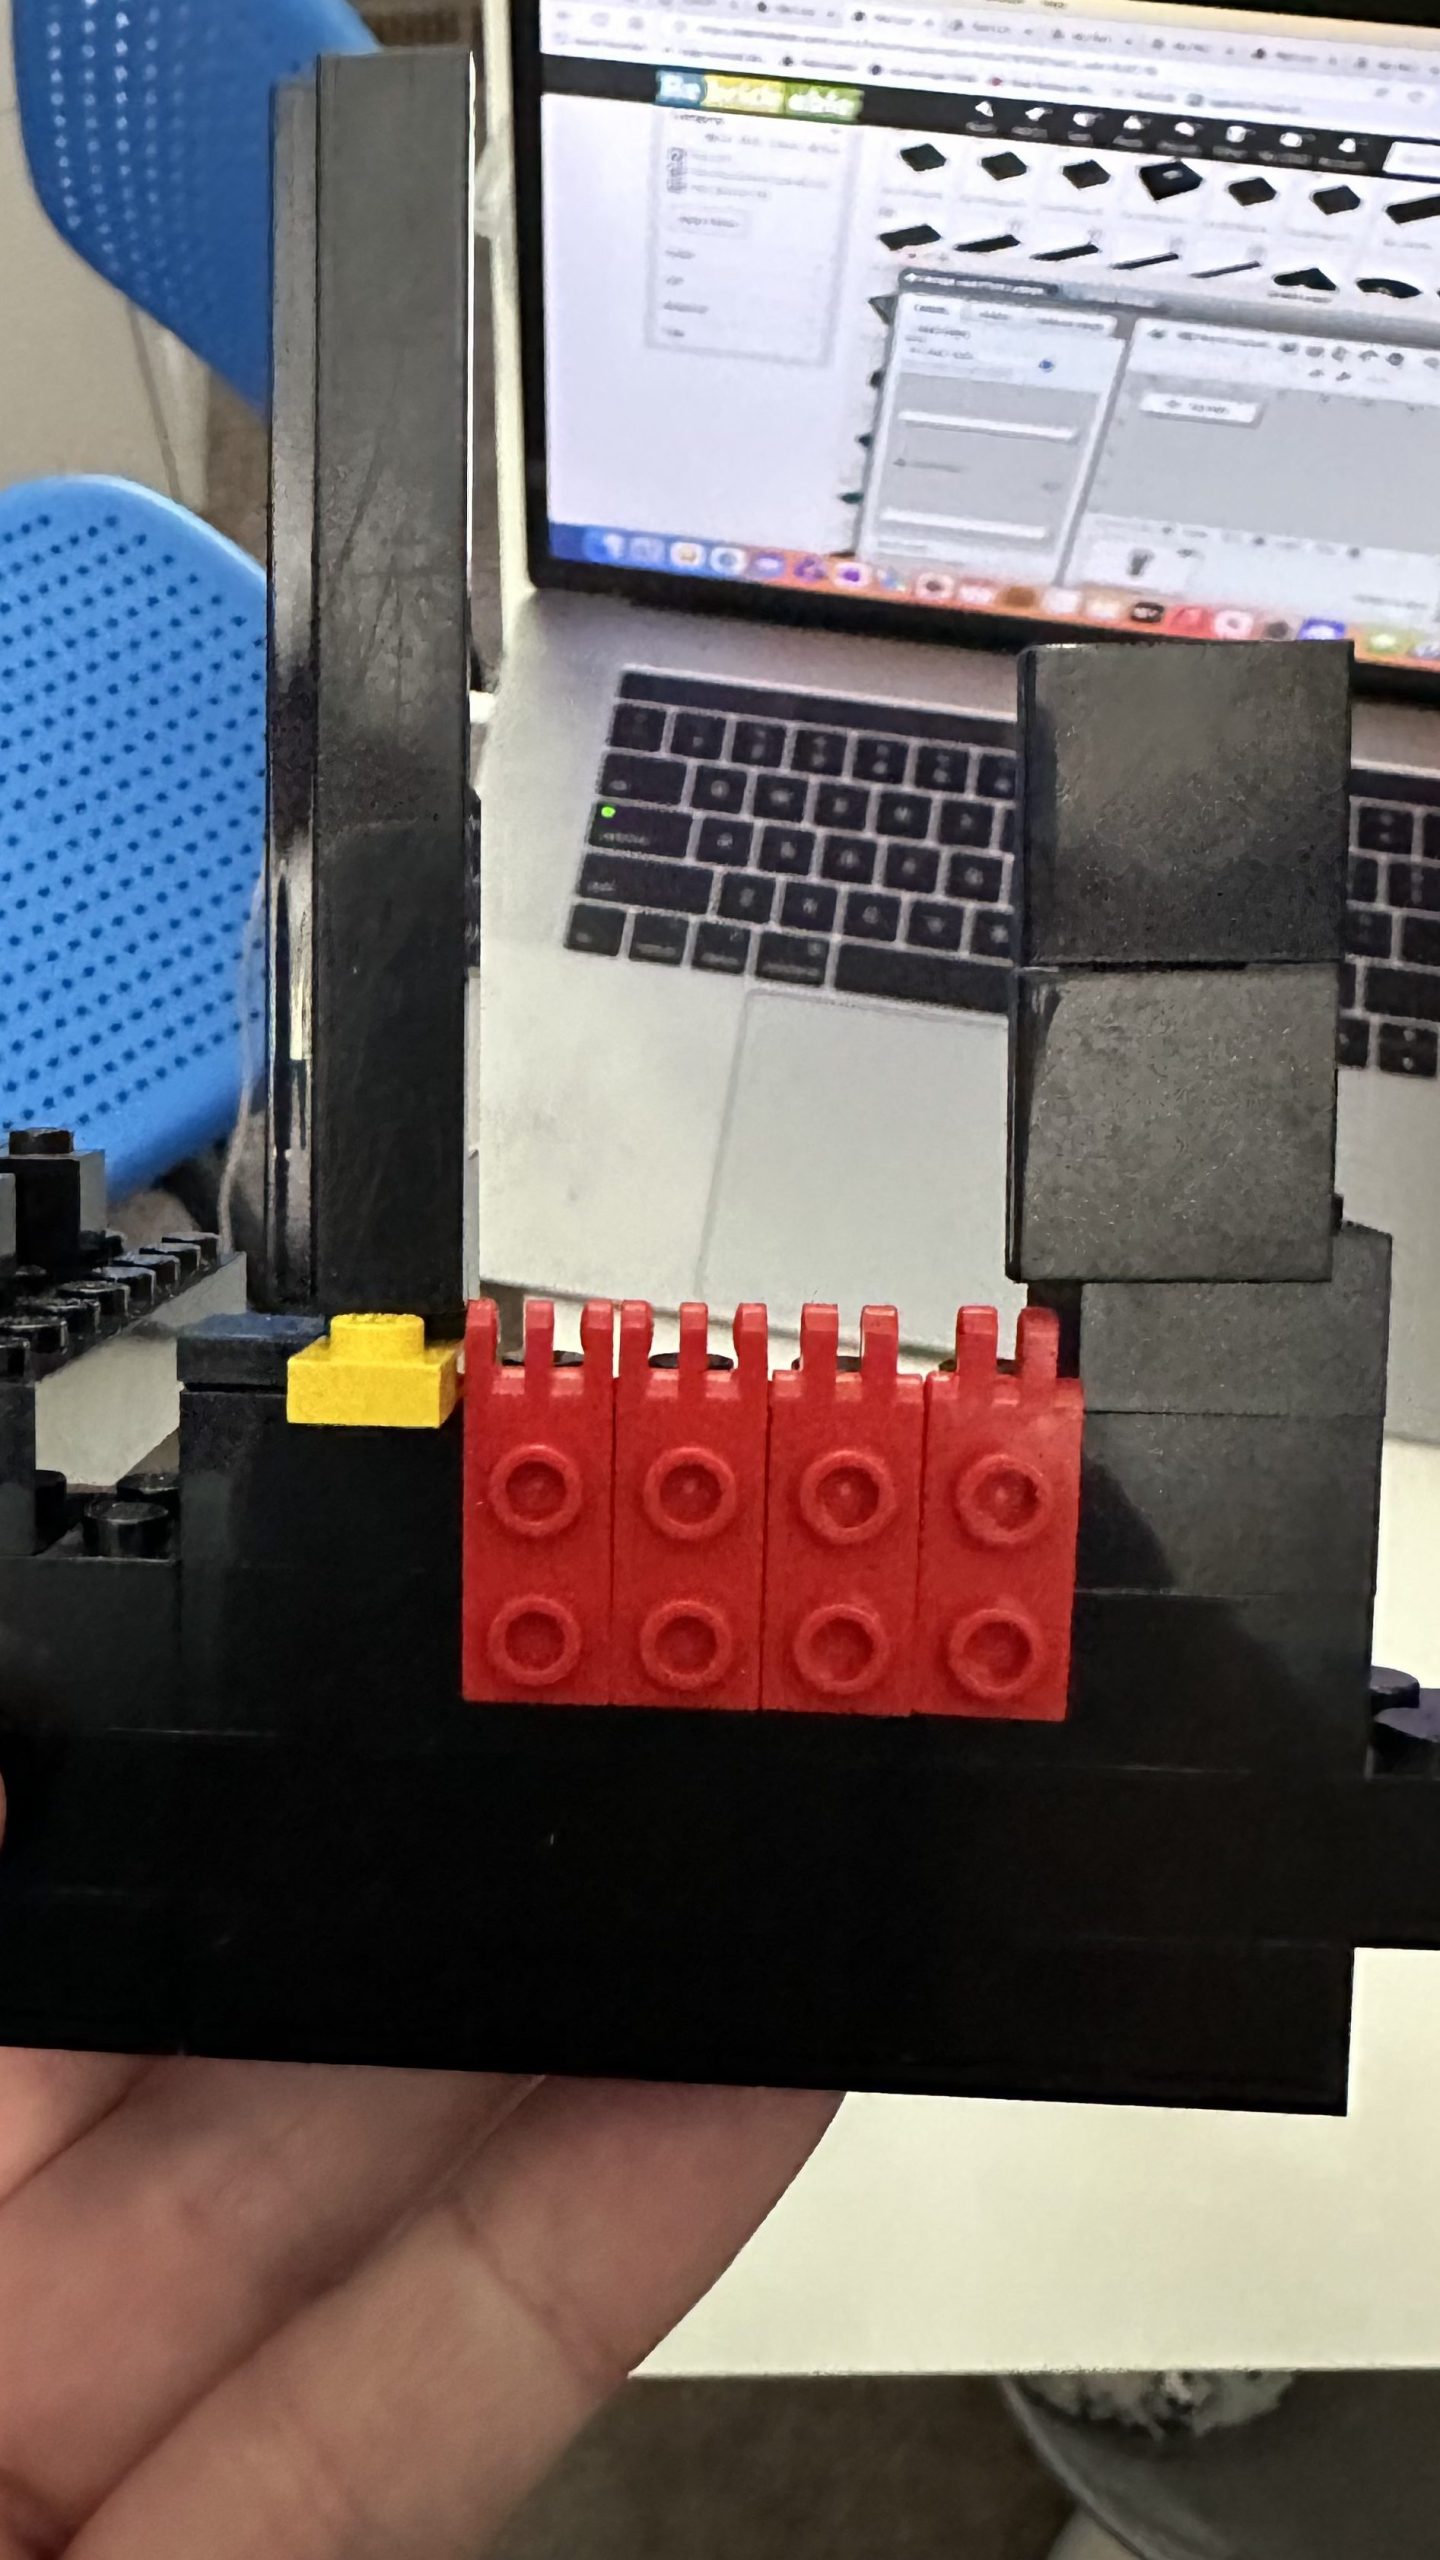
I thought the ridges of the hinges could hold the button so that when pushed, the button doesn’t fall in.
The coin slot sat way far off to the left, as you can see in the photo above with the tiles thinly placed facing one another.
Also, why yellow buttons? Because they don’t make clear buttons and yellow appears to be a color that easily show colors changes from LEDs behind it. Again, this is for later in the process if I choose to put LEDs behind the buttons to allow them to change colors based on the game that’s selected.
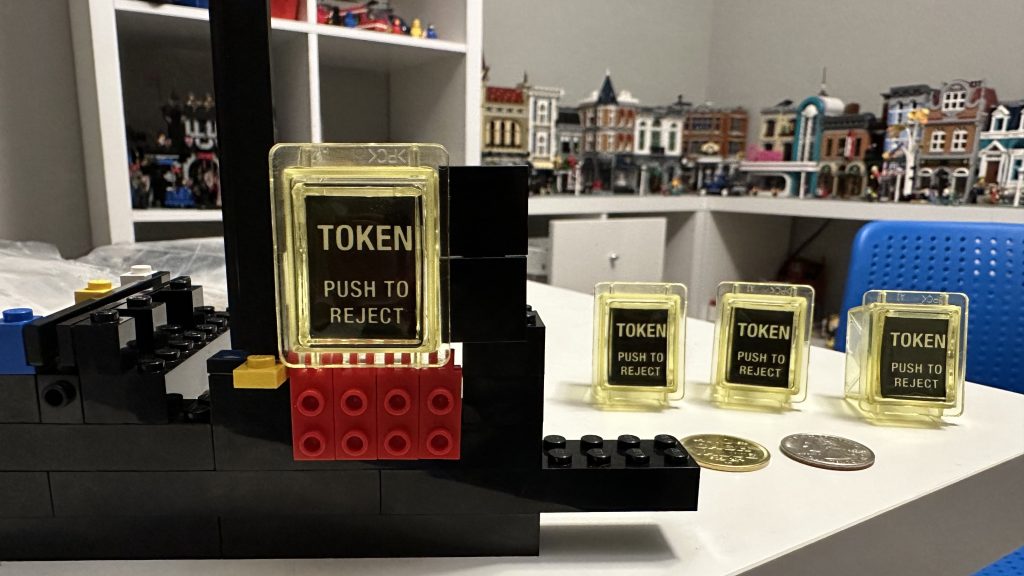
However, before moving on, let’s get those 25¢ stickers out of there and replace them with token stickers!
There’s so much to solve here.
- The lip of the reject button sits outside the brick. So while it may not push into the cabinet, it will pop out.
- The coin chute is too far to the left of the button—and doesn’t work.
- How do I replicate this design three more times?
- Can I insert coin into the chute, and have it grant a credit to the computer?
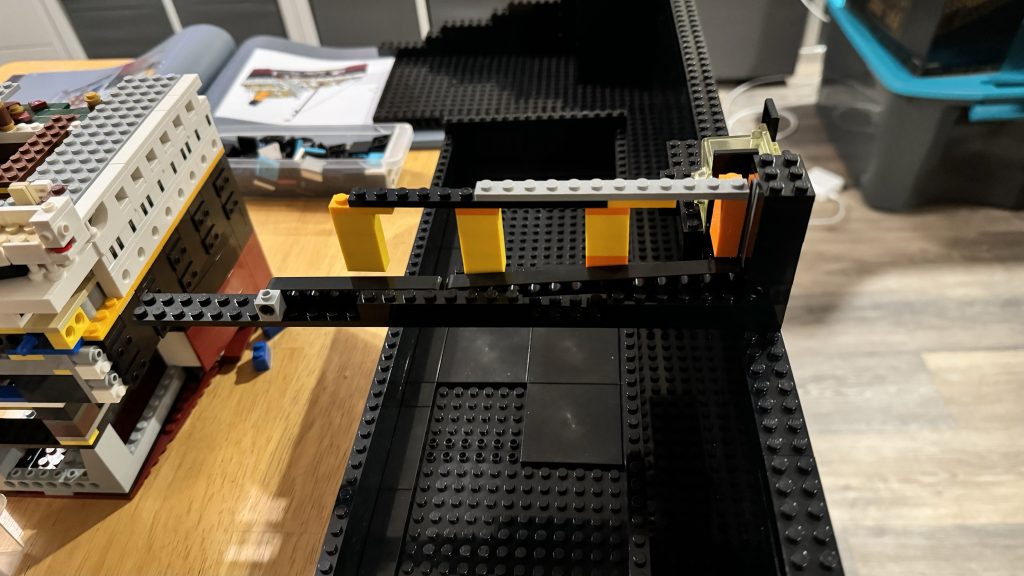
After many iterations of trial and error with different brick elements, I finally land on something that I’m happy to proceed with.
Building the Coin Chutes – and Making them Function
Behind the contraption I made, you can see the little black box with metal prongs sticking out of it, that’s the switch that will feed the credit to the computer. With the goal in mind, I need to insert coin into a chute and do one of two things. Accept the coin and drop it on a lever attached to the switch and into the coin bin below. This will sends a signal to the comptuer providing a credit. Or, if it’s not a proper coin, then reject the item and give it back to the player.
Now that I have this new design made for the chute and the reject button, I have to modify it more to accomplish my goal. This was a serious challenge!
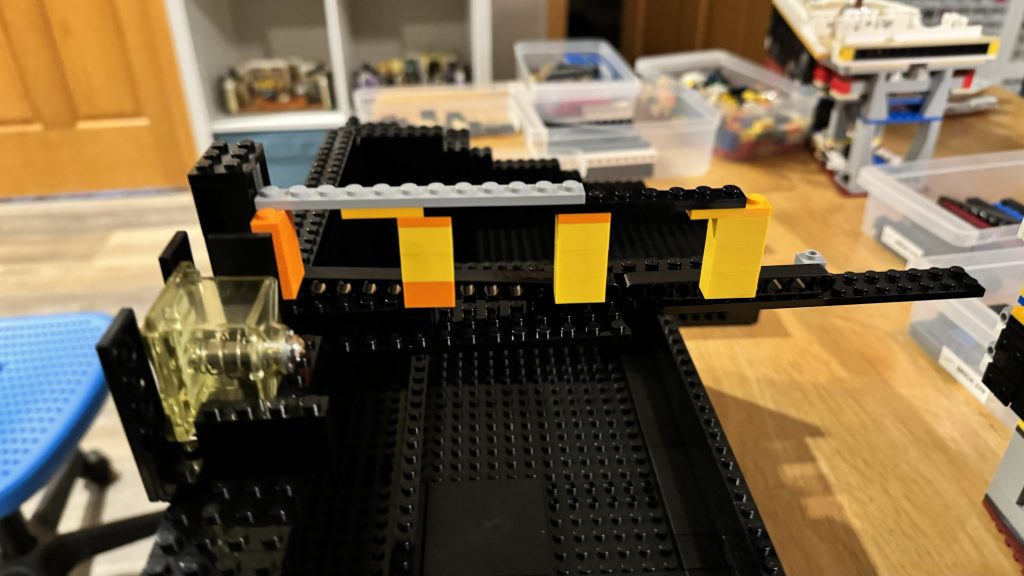
Let Gravity Do the Work
Building a chute is easy—making it work well is the hard part. I initially focused on separating coins by weight, which led nowhere. The key was size.
Once I considered coin size, I designed a ramp with varying sized openings along the side. The smallest opening at the top fits dimes, followed by slightly larger openings for pennies and nickels. Coins that don’t fit any opening roll to the end and drop into the bin below. The chute ended up being just the right length that aligns with the coin bin.
I made the token slot just large enough to insert the token, so anything larger is rejected.
This worked, but has some flaws. One being that the insert coins wouldn’t always fall through their designated opening. This was easily resolved by placing Slope 30° 1 x 2 x 2/3 pieces along the bottom of the chute. This provided coins with just enough of an angle to make them always slide toward the openings.
A huge shout-out to my wife here for helping me solve this delimma. Without her, I wouldn’t have come up with this solution.
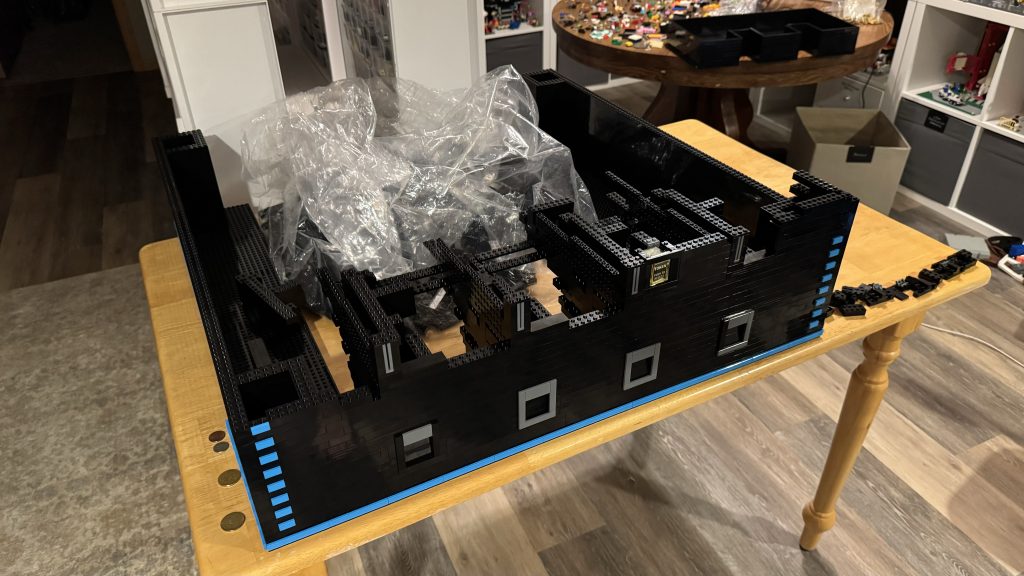
Prototype Complete – Completing the Build
The final step is to wrap the coin chute into a component-like brick bulid and then replicate it three more times. Afterward, integrate these LEGO® built coin chute components into the front side of the arcade box.
But one thing is missing, the switch that provides the credit. All I have to do here is mount the switch right below where the coin will drop. Also while ensuring that the coin drops over the lever attached to that switch.
With a little bit of work, it’s integrated into the coin chute.
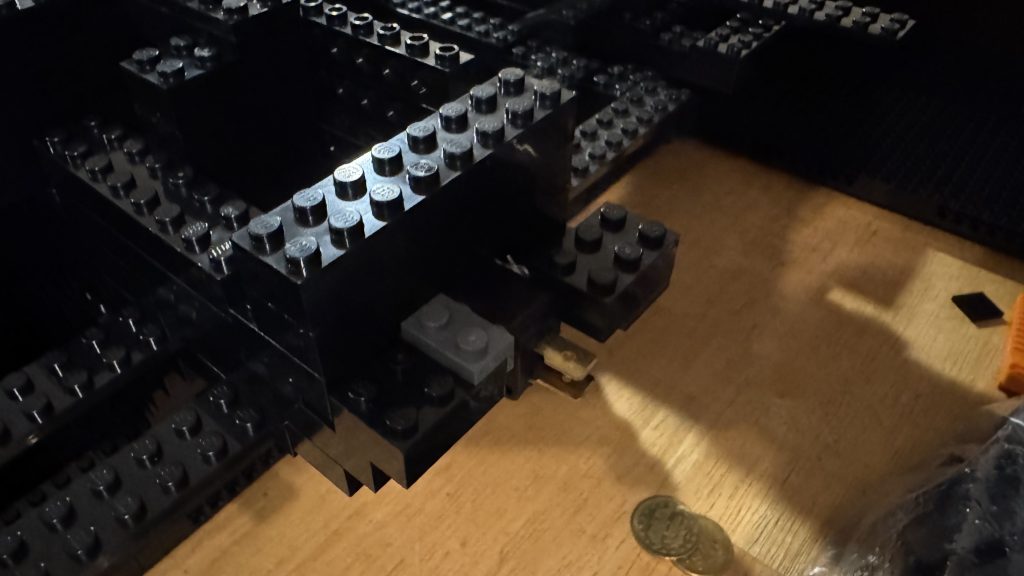

The reject bins below are simply sloped brick that push any rejected coins down to the reject door. Using Modified 1 x 2 plates with Pin Hole on Top, I was able to make door flaps. So they actually work just like the real thing.
Taking Shape – Insert Coin to Play
As a fun celebration of completing the coin chutes, I put the pieces together.
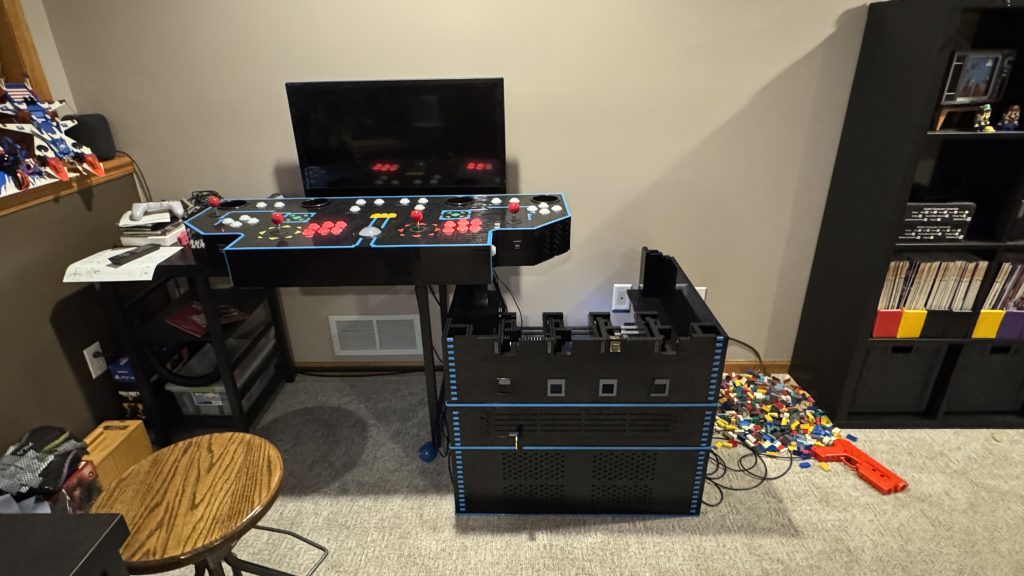
I’m ready, give me a token!