
Level Up: Making the LEGO Arcade Better
Upgrading an arcade cabinet is no small feat—especially when it’s built from LEGO® bricks. In this level up post, I’ll walk through four major enhancements that leveled up the build: adding light guns, building in a storage bin, updating the coin bin door, and giving the control panel a much-needed upgrade. Each tweak brought more function, fun, and nostalgia to this brick-built machine.
Pew, Pew – Light Guns Added
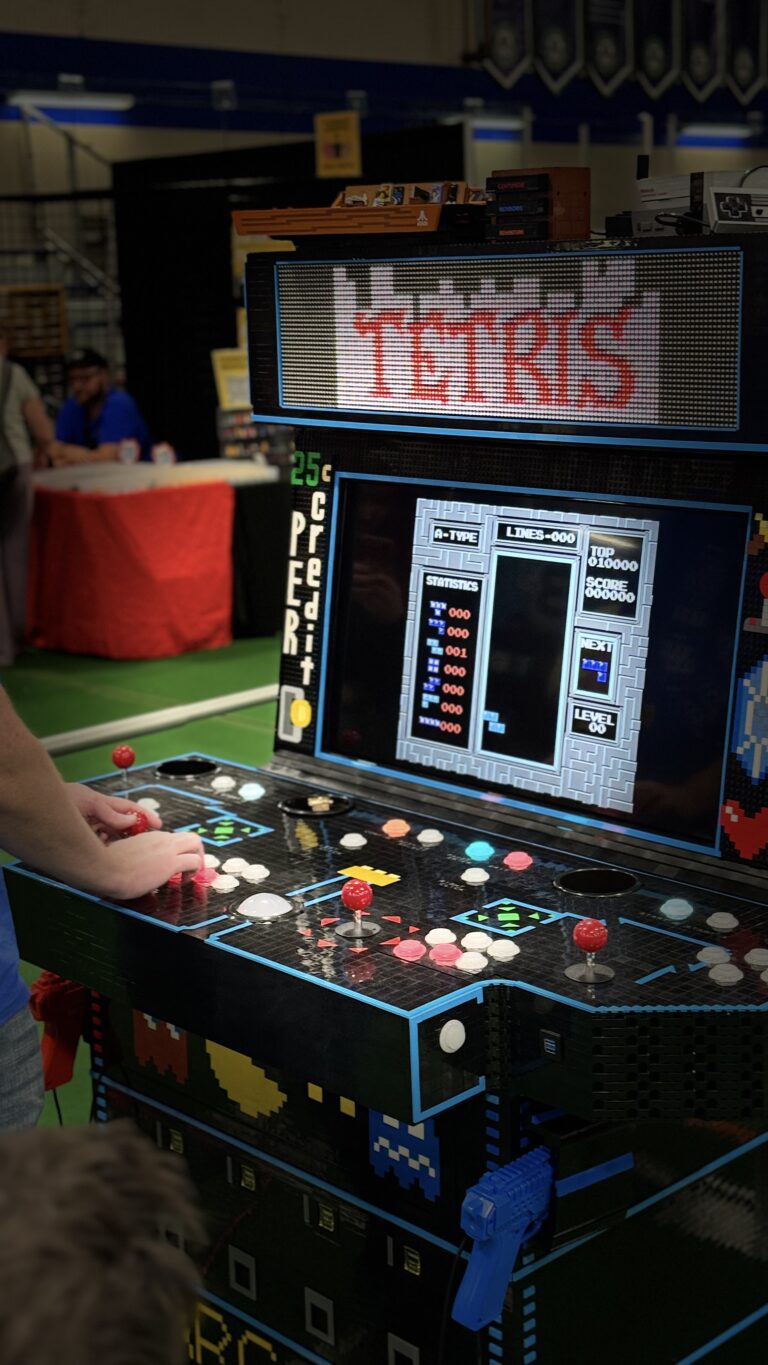
What’s an arcade cabinet without light guns for those shooting games?
I present to you, the Sinden Lightgun®!
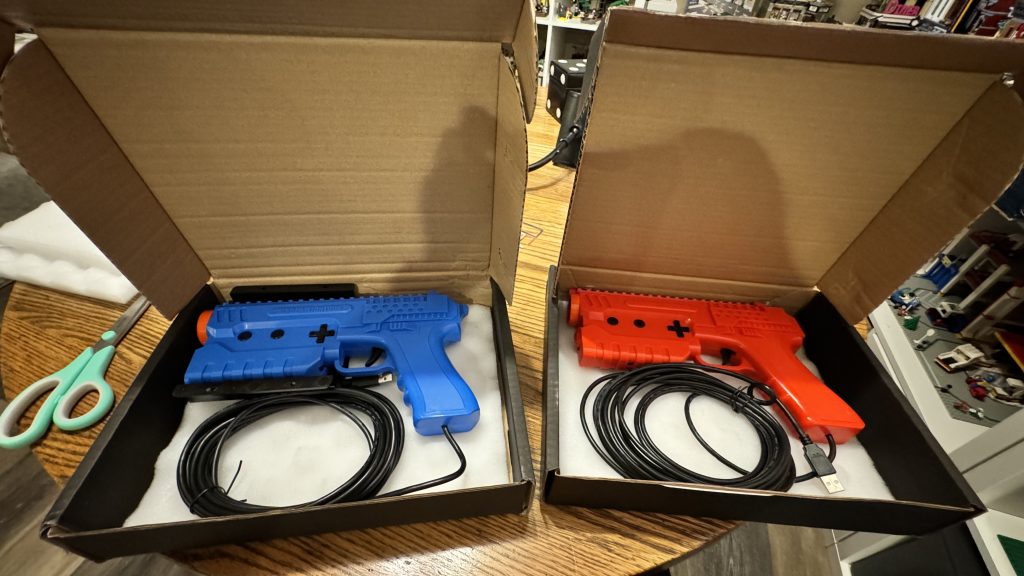
You may have seen one of these laying on the ground next to the arcade cabinet at the end of the last post.
The Sinden Lightgun® is a modern lightgun designed to work with contemporary displays, including LCD, LED, and OLED TVs or monitors, which traditional lightguns like those for the NES or Sega Saturn cannot.
A plan from the start, this was an easy add for the arcade. But, I will need to make gun holsters for these out of LEGO brick® at some point.
Level Up! Adding Storage and Building Up
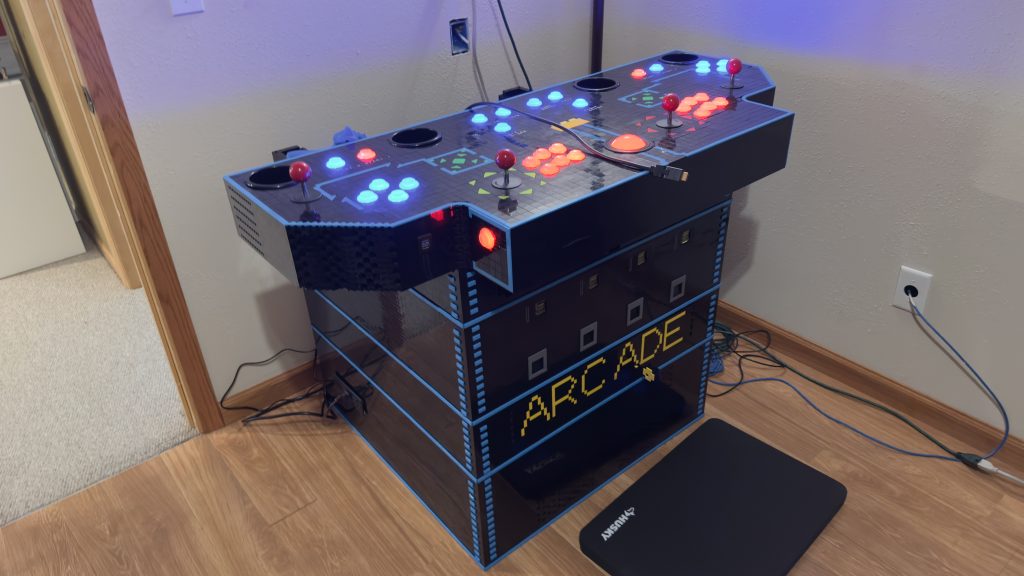
My next task is to build the base up so the control panel sits at the proper height for playing. The control panel on the original 4-player Gauntlet arcade cabinets from the 1980s was typically mounted at a height of approximately 36 inches from the floor to the top surface of the control panel. This height was standard for many arcade machines of the era, designed for comfortable standing play by adults and older children.
So I begin work to build another layer to sit on top of the coin chute section of the arcade.
Currently, I have no photos of this section in build phase. I considered adding a drawer or door to the front, but ultimately decided against it. So this ended up being just a hollow section designed to prop up the control panel to its proper height. While also serving as a functional space for storing things like game controllers and cables.
Level Up! Fixing Coin Bin Functionality Issues
When first making the coin bin storage section, I very simply created a long door that spans the entire width of the cabinet. This is a fine solution on it’s own, but that door is heavy and hangs. Adding that lock to the end of it, really added the weight! Which isn’t so much of an issue on it’s own, I felt like the hinges could handle the stress.
However, upon placing the other cabinet sections on top of it, weight became an issue. Especially the control panel–which is a good 20.42 pounds (9.26 kg). The problem with the weight on the coin bin is that the door no longer opens. There’s too much force pushing down on the door to easily pull the door open.
So I’ll need to level up worthy redesign the door!
My wife tackled this challenge and I think she did a wonderful job finally bringing in more color! First, she redesigned the look of the door, getting rid of that Technic brick.
Her idea here was to split the door in half, thus reducing the amount of weight each door has to bear and allowing them to swing open freely without interference from the load above.
How do you like the lettering? Here’s the completed door attached to its section.
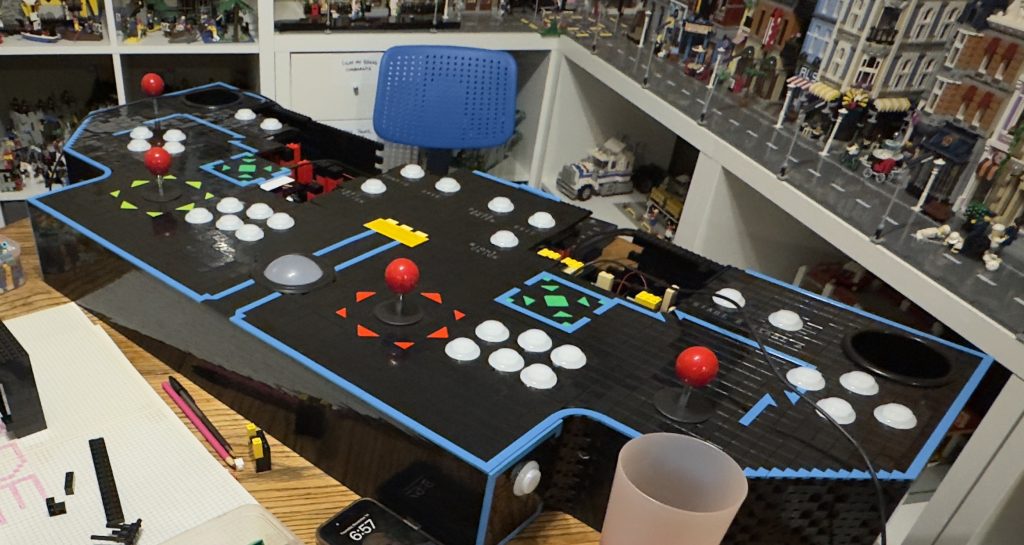
Level Up! Control Panel Redesign
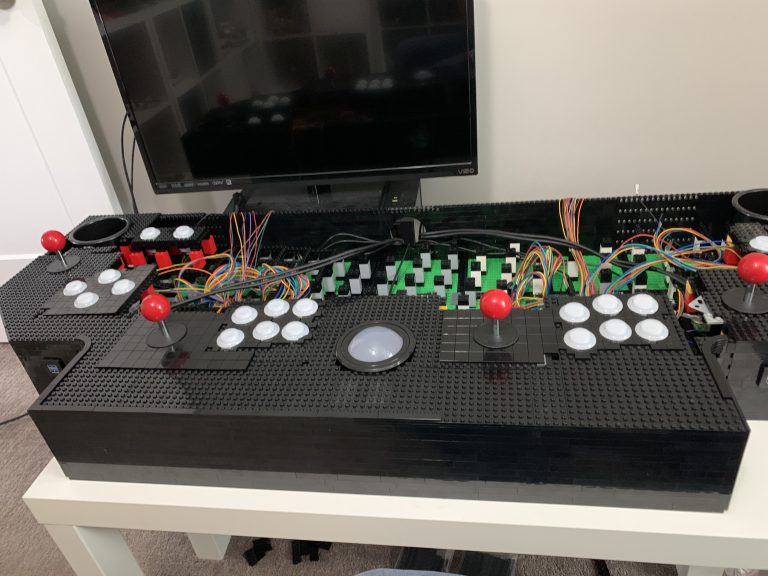
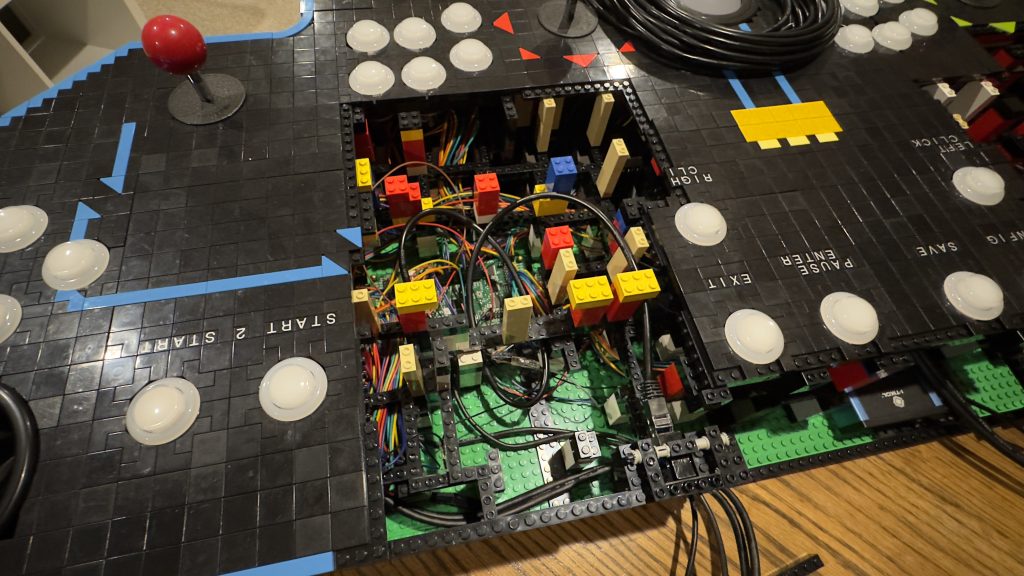
Now that I have a few sections of the cabinet complete and am able to assemble it, I start to run into new issues. One of those issues is there are just way too many cables coming out of the control panel that I have to feed around all coin mechs, coin bin, and to the computer below.
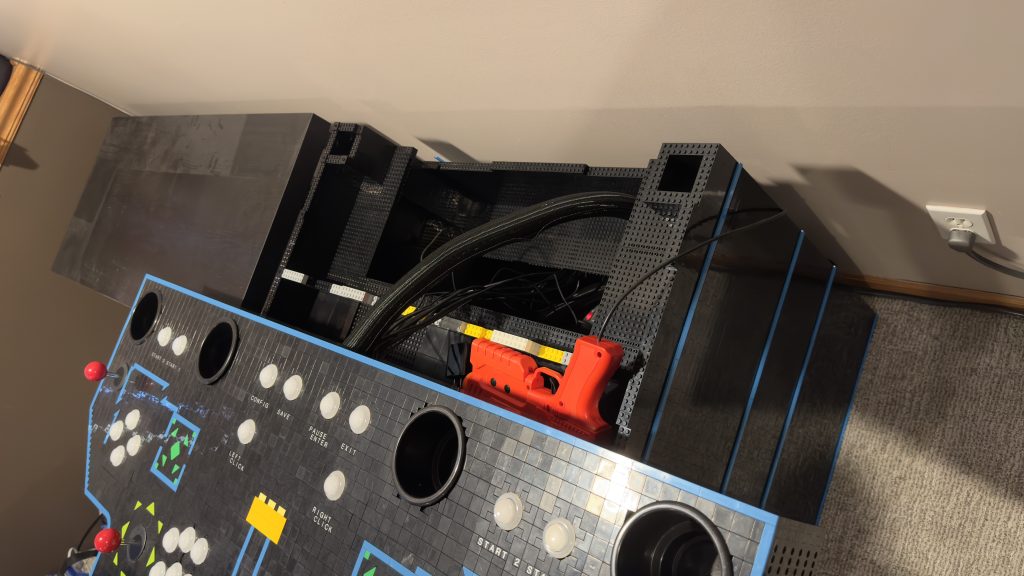
To start, I remove the control panel and then the dismantle the back.
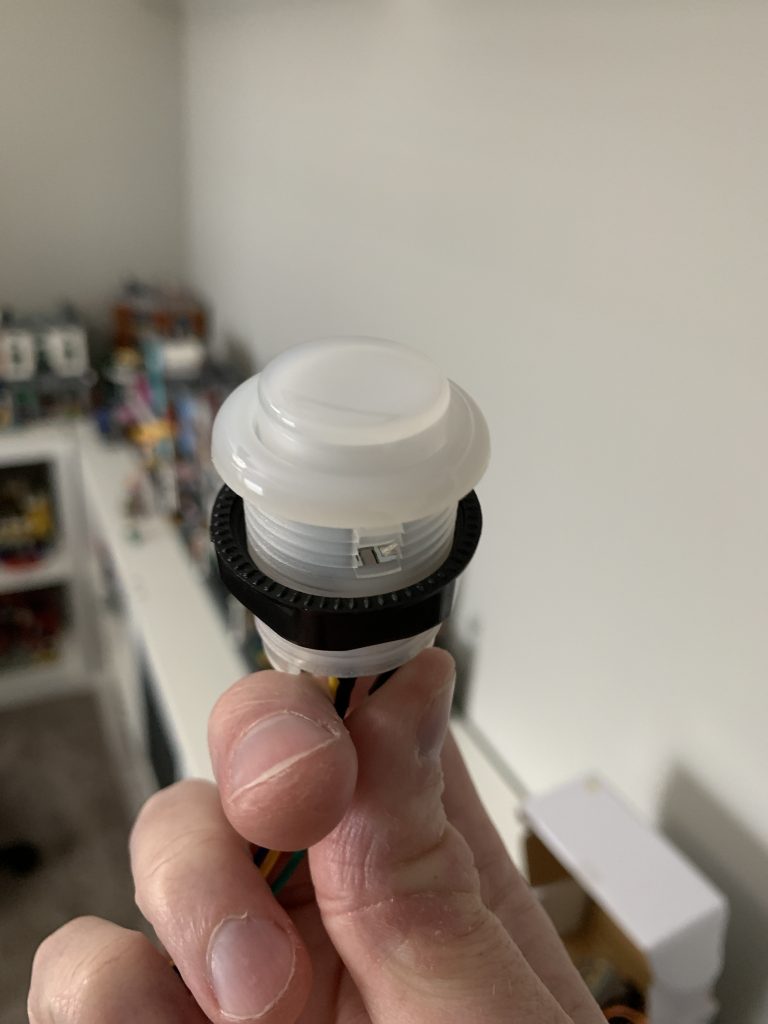
Coin Mech Wiring
Once I could see inside, I begin to contemplate my options. My first focus is replacing the wires connecting the coin slots to the computer. These wires are normally spade crimp terminals, and if I’ll be dismantling and reassembling the arcade in its various sections when I move it, I want these connections to be easier to connect and disconnect.
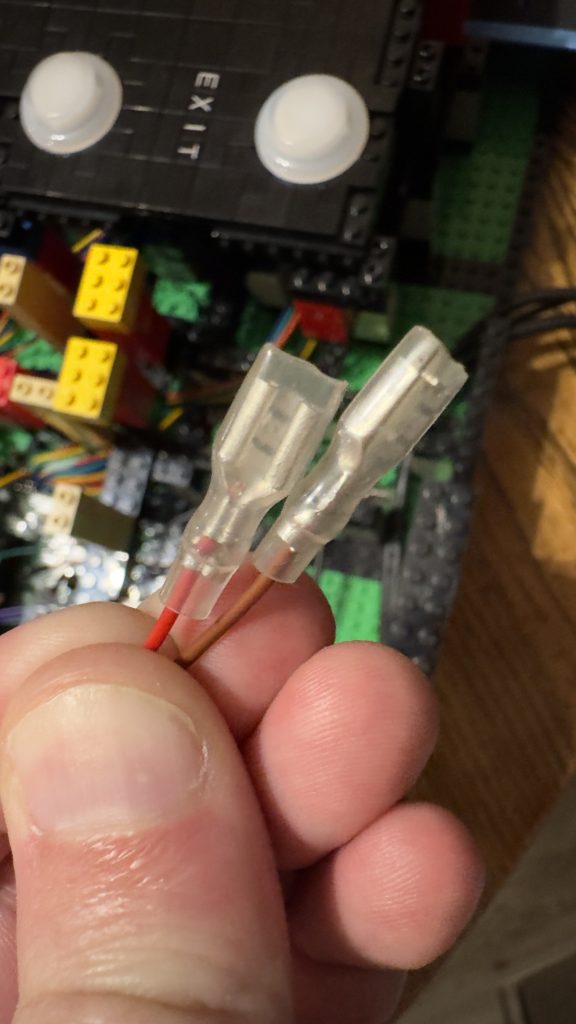
First, I consider converting these wires to USB-C, but that might be overkill. I also consider jumpers like those used on motherboards, but they’re too small for me. Then I consider ethernet–easy to wire, and easy to connect / disconnect and knowing a little bit about ethernet cabling helps. See, CAT5 cables are limited to 100 Mbps, because only 4 out of the 8 wires are used. The other 4 remain dormant and are only used in a CAT5e environment which can provide 1000 Mbps.
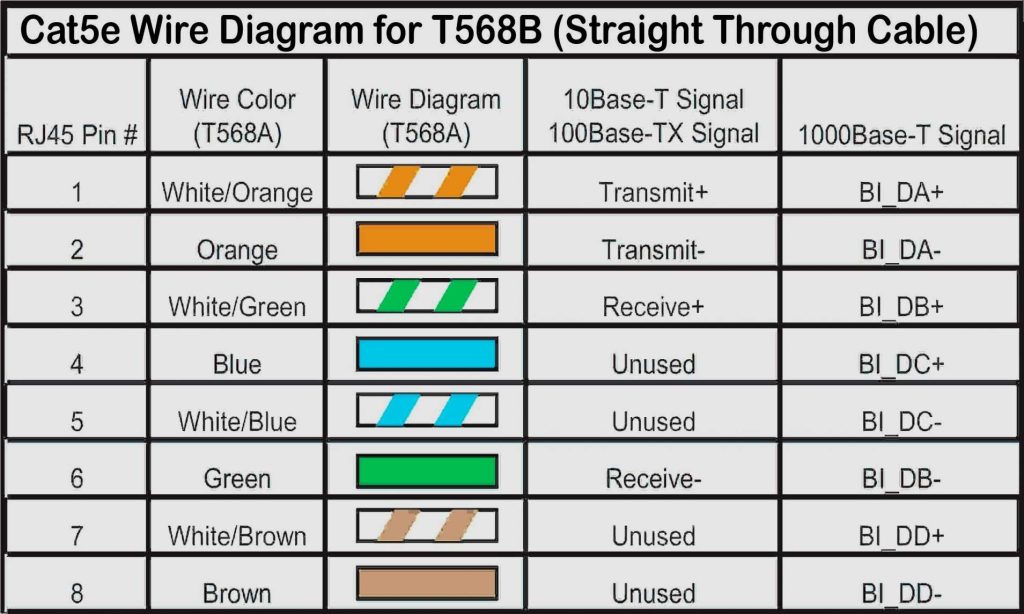
So if I use 1 cable for 2 coin slots, of which each coin slot requires 2 wires, I can use the “unused” wires on the ethernet cables (blue, blue striped, brown, and brown striped) for the coin token signals to the computer and keep the remaining 4 ethernet wires in the event I ever add something to the control panel which requires actual Ethernet connevitity (thinking displays here).
So I order some keystone jacks and begin to figure out how to hold these into the back of the control panel using only LEGO® brick.
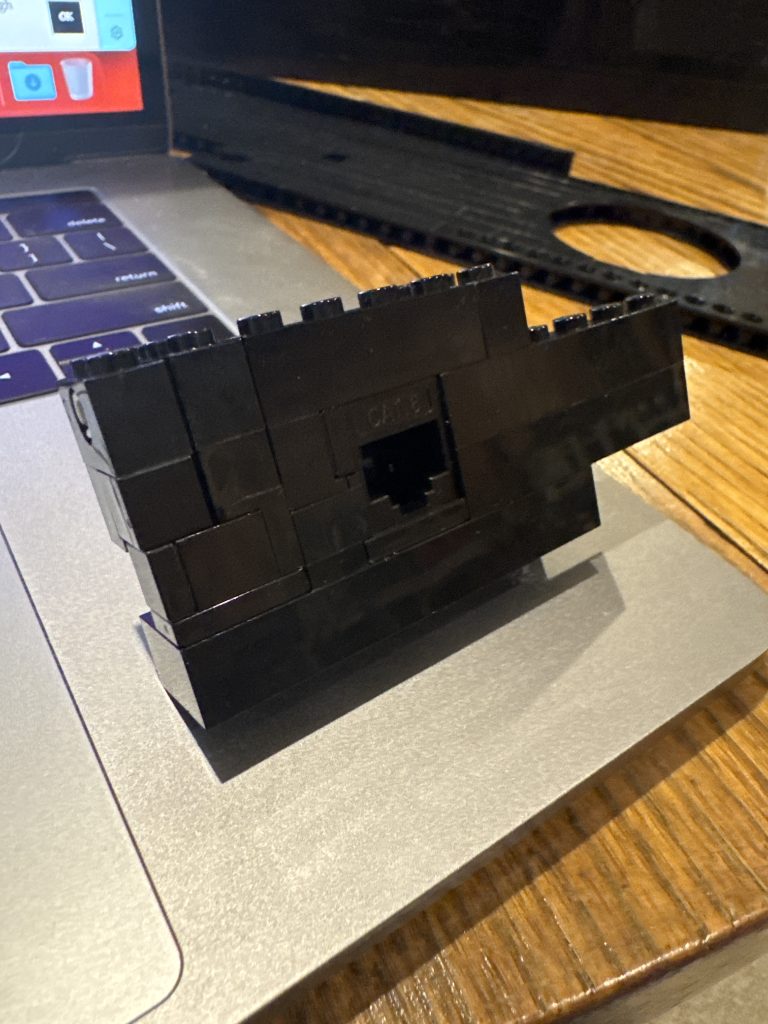
After a lot of trial and error, I finally get a good working module built out of brick that holds the keystone jack in place pretty well. I also have a bunch of USB connections going to the control panel, I convert these cables to female USB-C ports as well and build little modules for those connectors out of brick too.
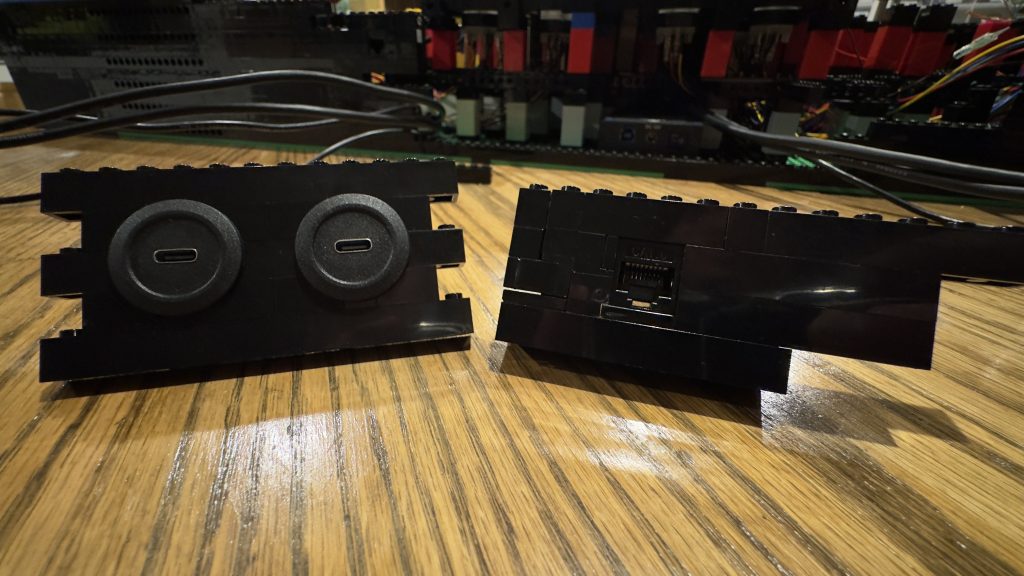
Now that the modules are built, I work to insert them into the control panel.
Testing the connections to the arcade computer.
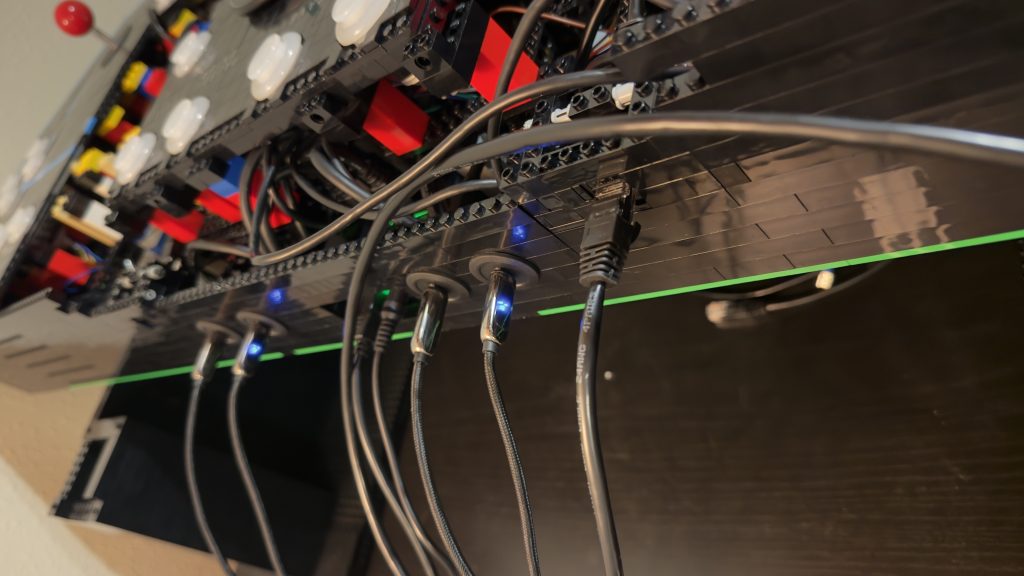
Tada! Look ‘ma, no cables!
Now that the cables no longer run out the back of the control panel, this will be much easier to handle when transporting the arcade in the future.
After finishing the upgrade to the control panel, it’s time to reassemble all of the parts and prepare for the next part, the arcade display.
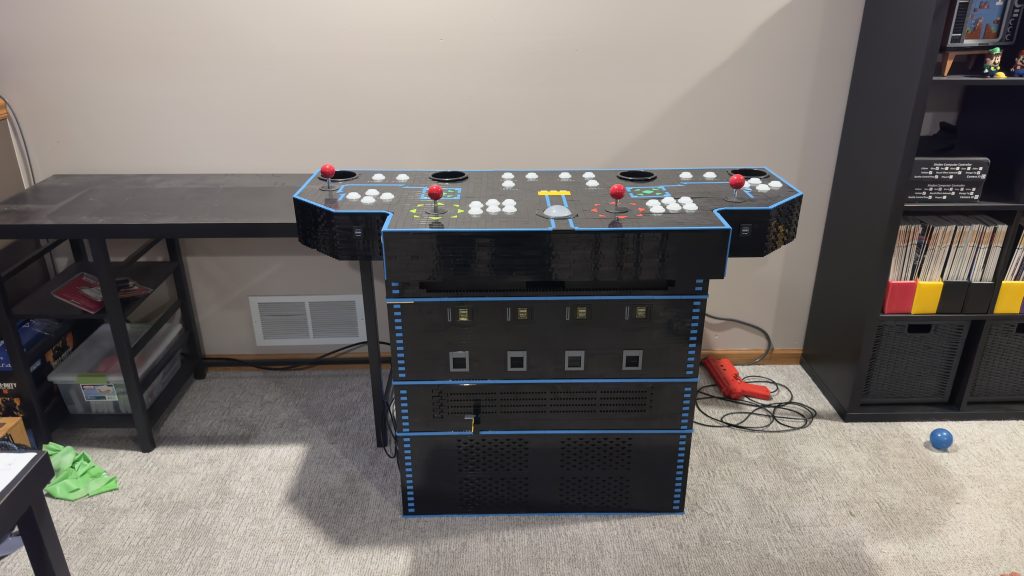
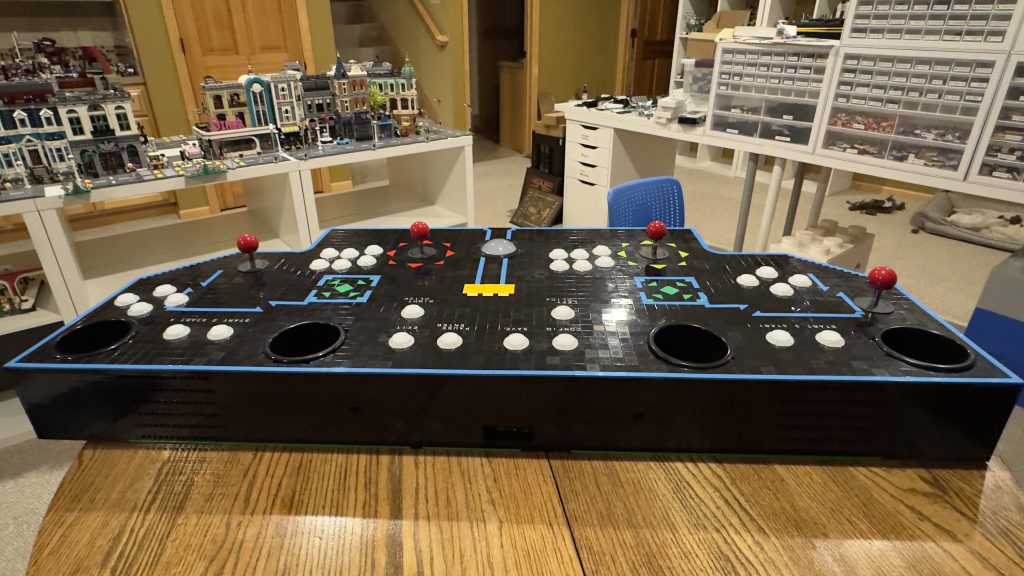
The current look?