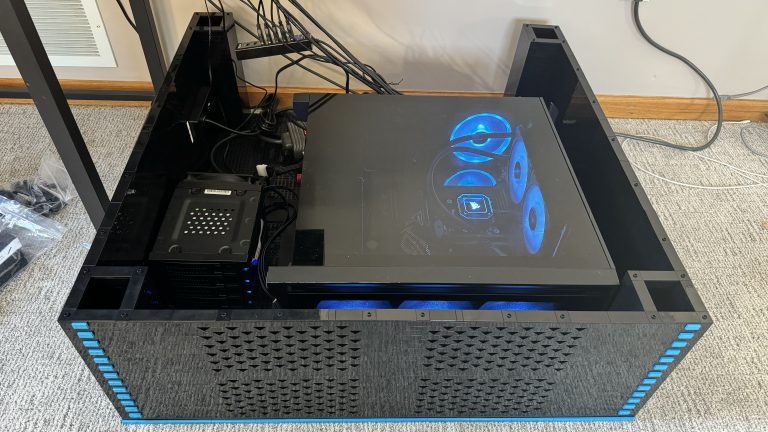
The Base – Little Adds, Big Upgrades
Instead of just throwing a bunch of 2×8 brick around the perimeter of the base around the computer, I want to do more. Little adds, big upgrades.
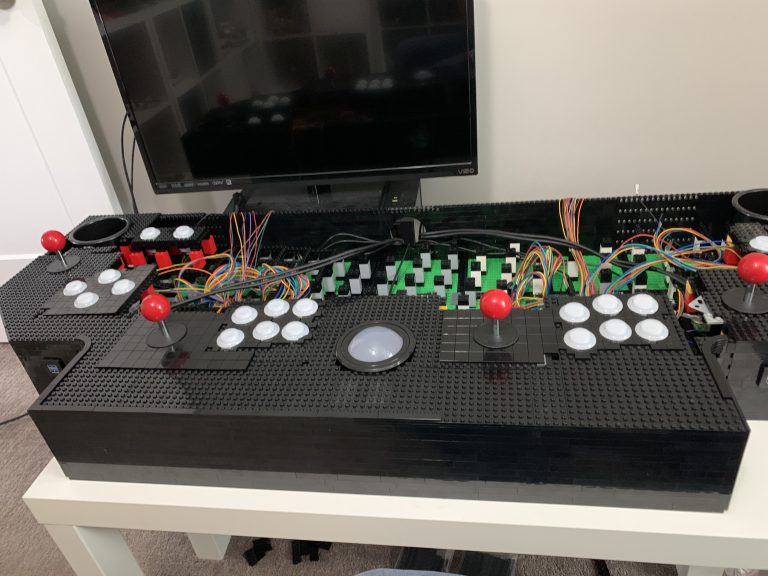
The finish line is ahead and now it’s time to work upwards, towards the back of the control panel. Most of the challenges are finally behind me.

Players 1 and 2 are wired up, now it’s time for the final expansion. New challengers, players 3 and 4 join the party. Controls, button mapping, and more wires!
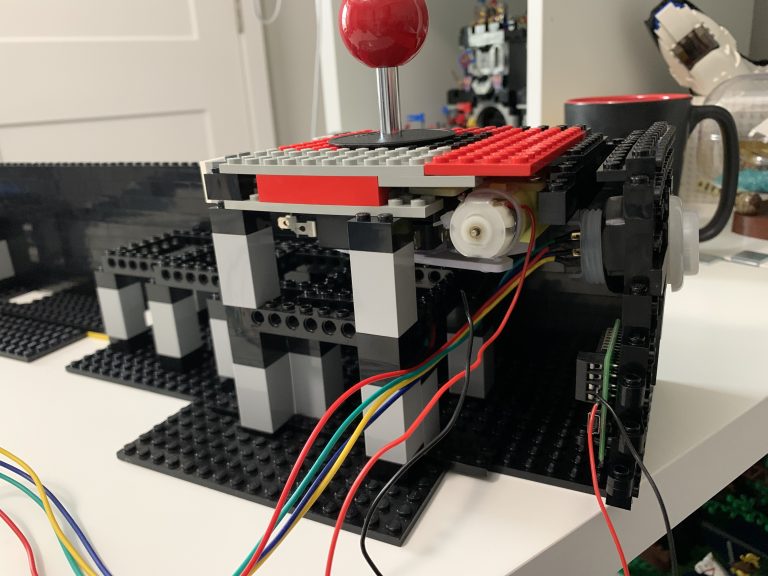
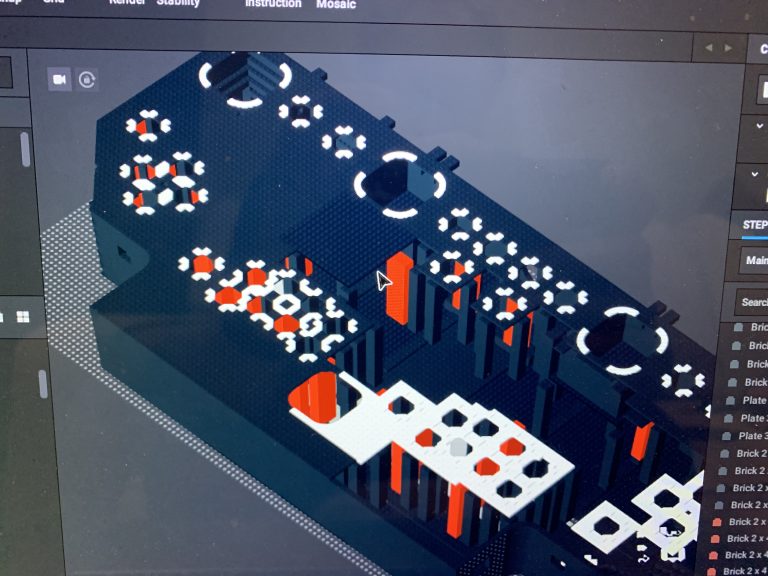
This will cover the installation of the first joystick. I also install the first circuit board, using only LEGO® brick, not screws. This controls the directional movement allowed by the joystick.
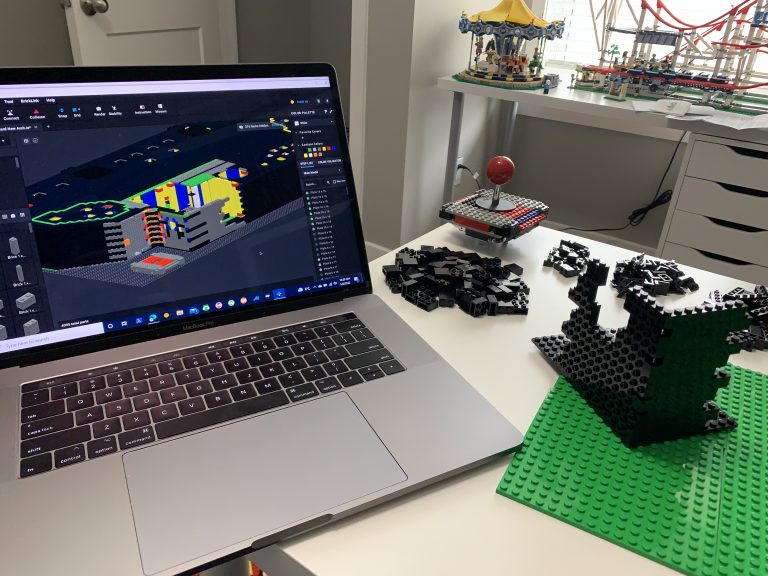
Beginning the build is going to consist of a lot of LEGO® brick! So, I won’t go much into exactly what I order, as I’ll be ordering bits and pieces throughout this process. Instead, I’ll provide key points along the way as I attempt to build this massive structure.

The time has come to order and test the question, can we mount arcade controls into LEGO® bricks WITHOUT modifying the bricks? Likely it’s possible, but really what this will tell me is what difficulties I’ll end up potentially facing and if I need to rethink my strategy about the LEGO and controls.
Starting a project like this from a blank canvas might not seem very difficult, but where would one actually even start? Do I start just randomly sticking pieces together and see what works? But how do I know what pieces I need in the first place? Should I buy the hardware first? Oh yeah, then there’s the computer and software to get together too!
So this is still more of an introduction to the whole thing and sadly there really is much to show here in terms of picture or video. This is more about the early process of my thinking through things, seeing if what I was wanting to do was even plausible. I mean it is LEGO® brick right? Anything is possible! So, I’m going to try to keep this very “summary” oriented.