Better Storage with Gun Holsters
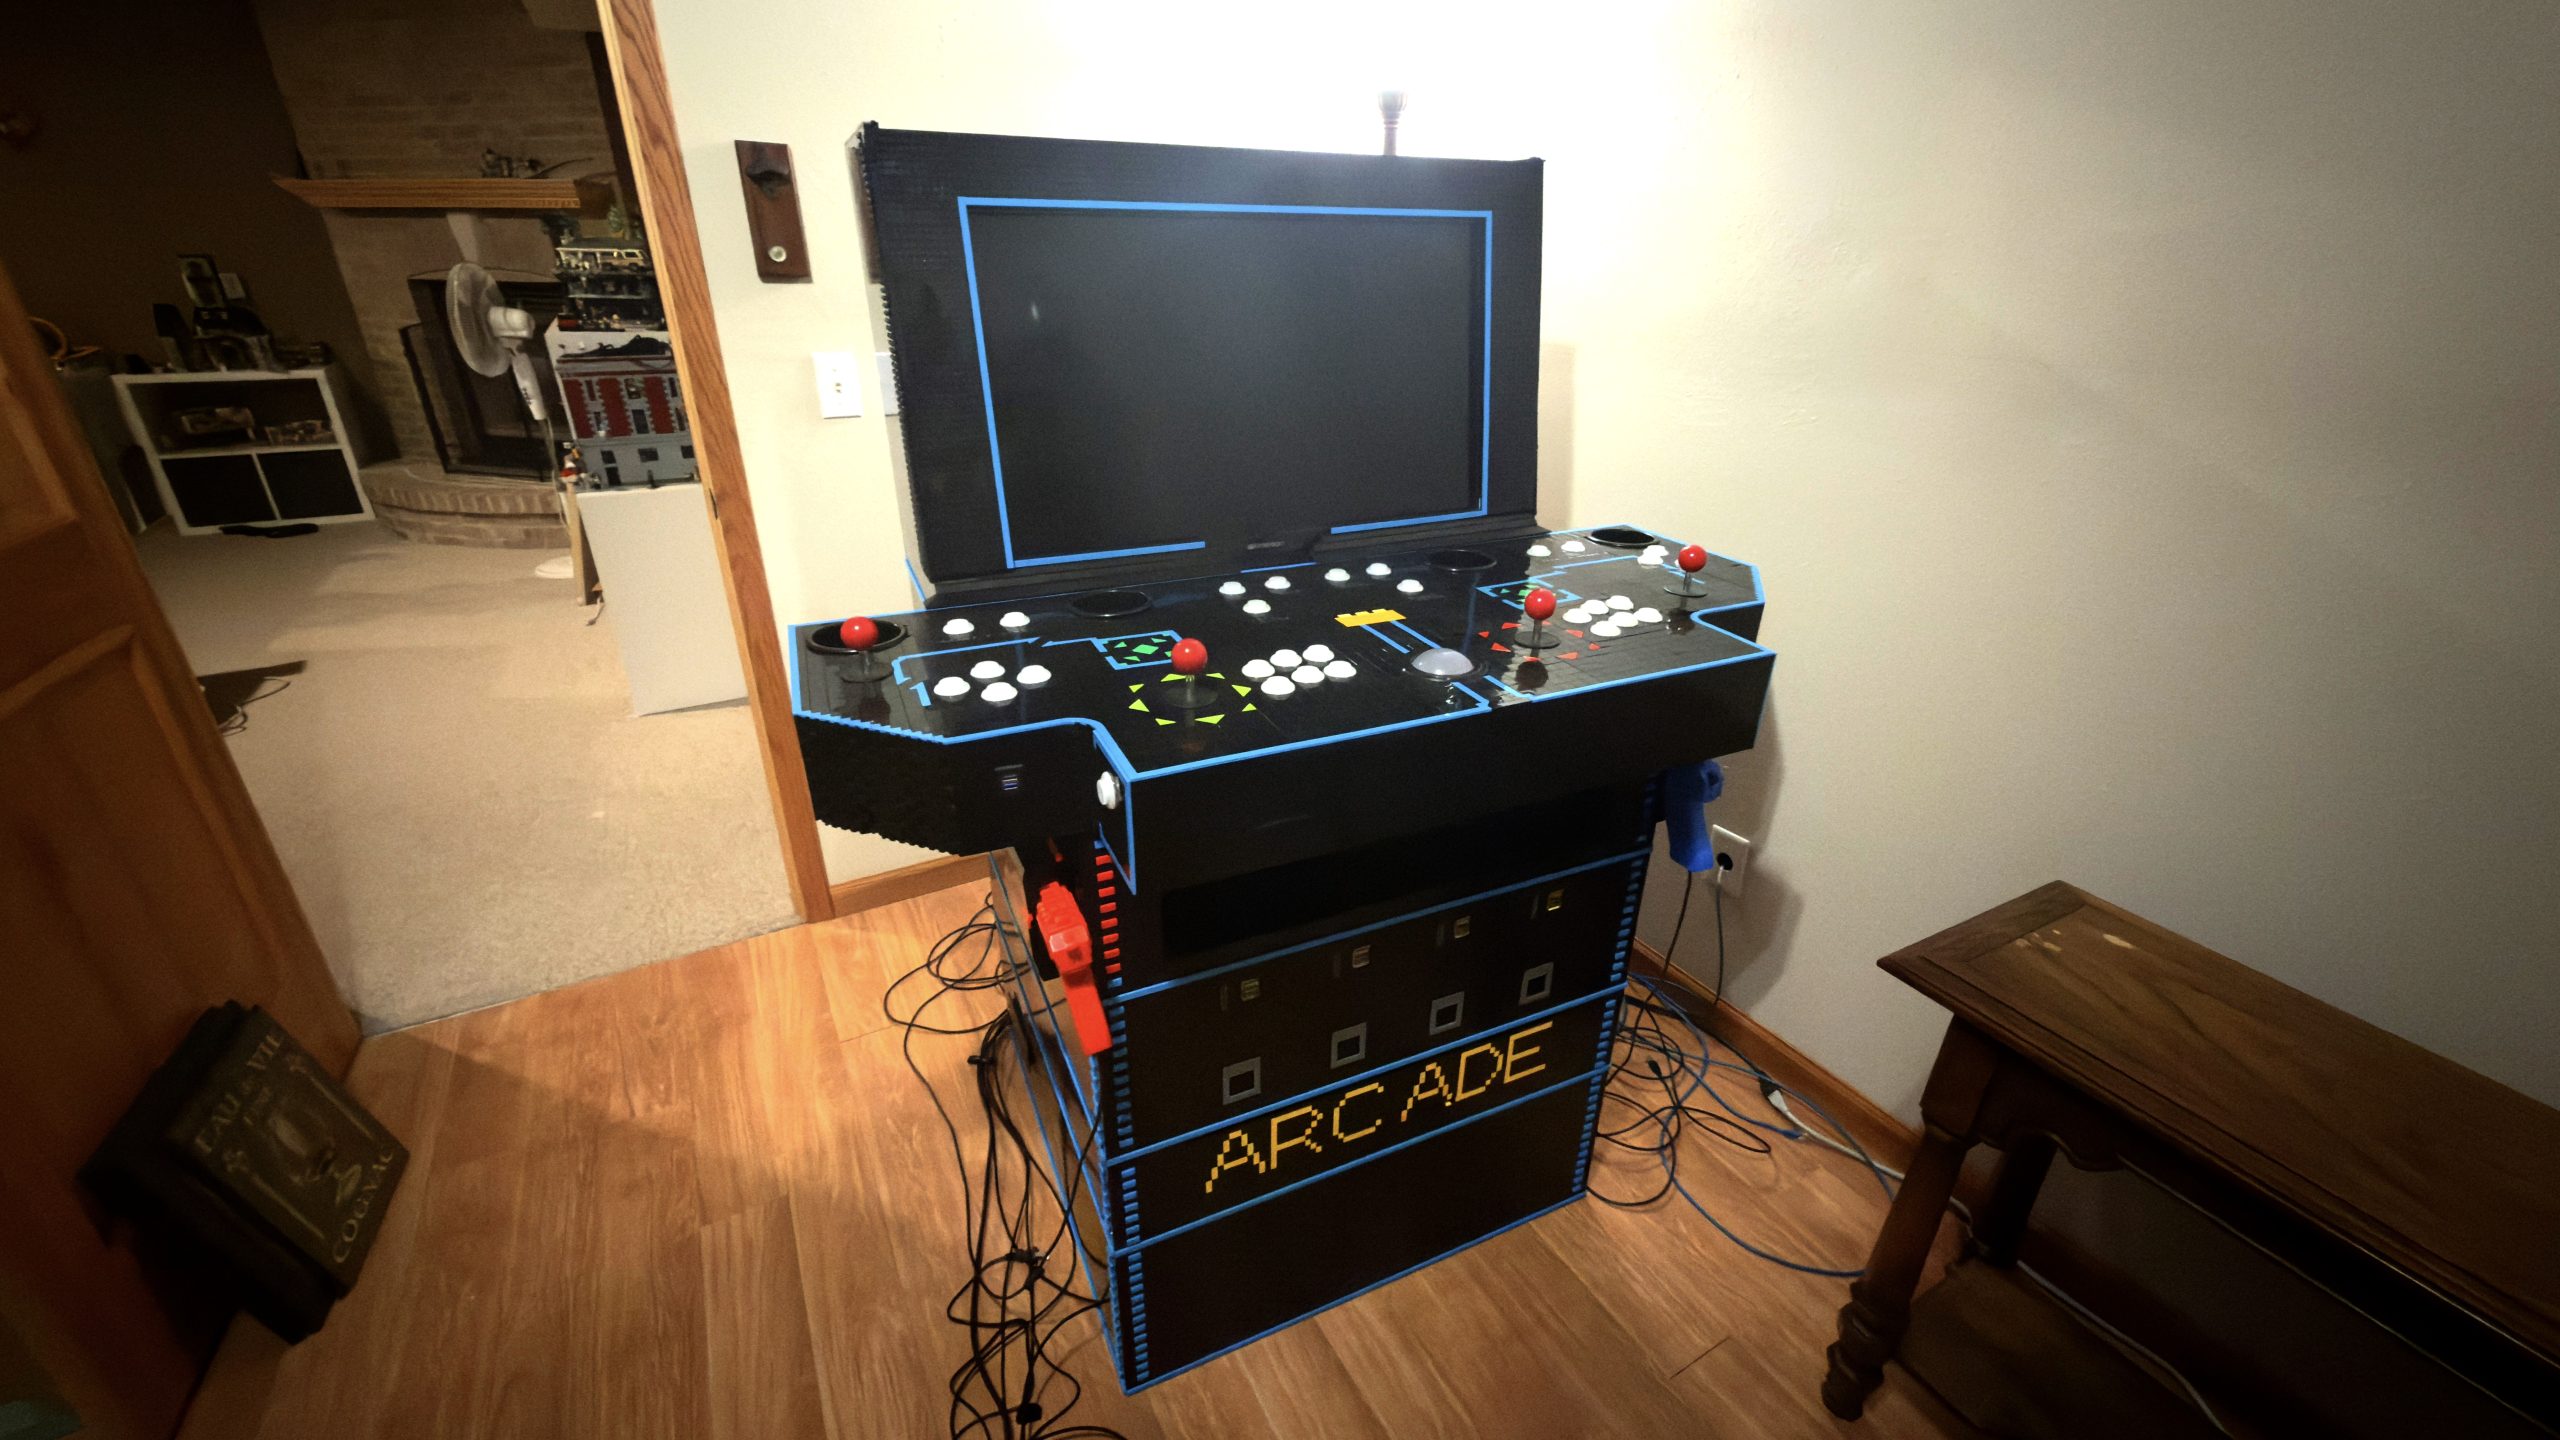
Next up: raise the control panel to proper arcade height, add gun holsters, and build a front storage door for better storage with gun holsters.
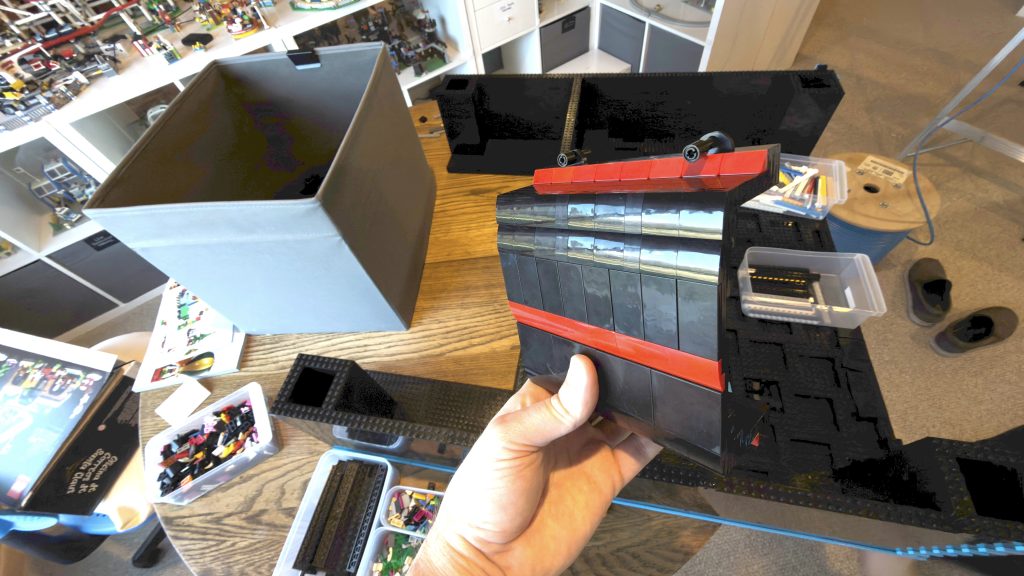
Pockets for the Guns
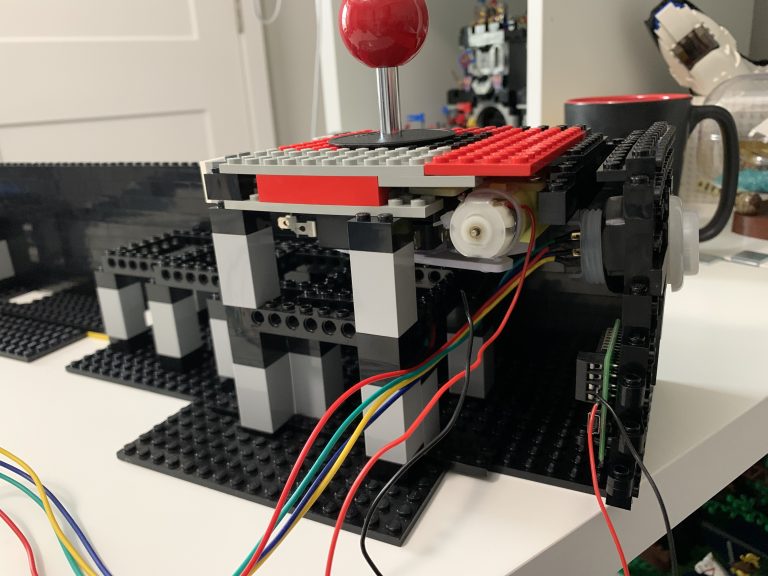
When I recieved the Sinden Lightguns®, they came with these thin plastic brackets that were designed to be affixed to the side of an arcade cabinet with screws. The guns would then fit nicely into these brackets when stored away, but why not make this out of LEGO® too?
So we saw it as an opportunity to build with more brick. My wife built a replica out of bricks and even added some color!

Building these brackets aren’t too difficult; however, affixing them to the side of a cabinet using only LEGO® brick has challenges. So to keep the guns from falling out, we’ll mount them at an angle.
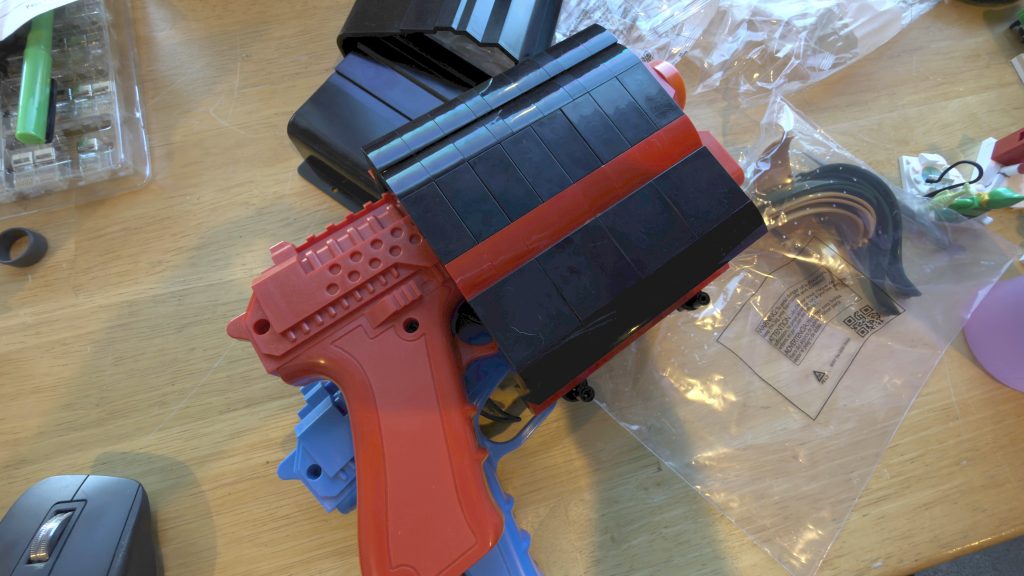
Adding Technic pins to hold the holster to the arcade cabinet as well as at an angle seems to work well here.
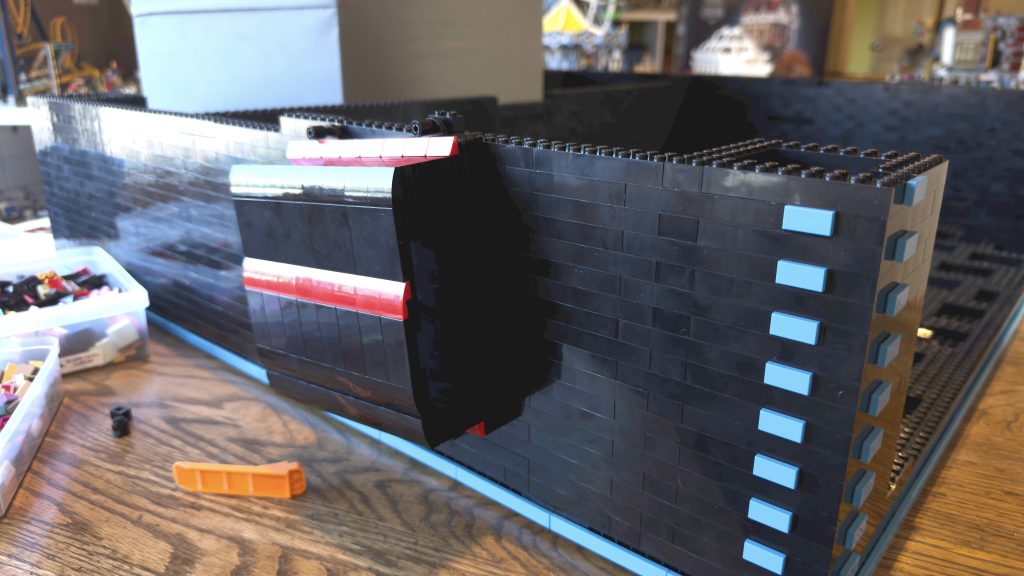
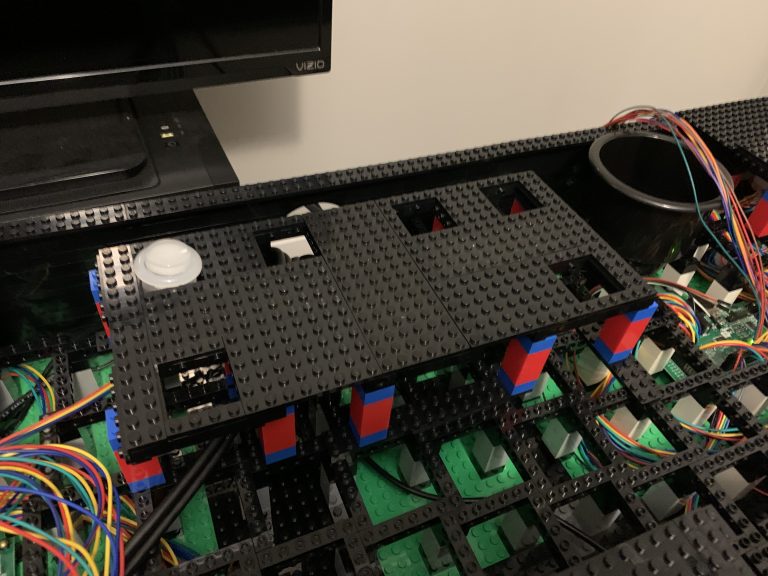
After adding the holsters to the side of the storage section also required that we make the section taller. This fixes two of the issues we need to resolve, height and the holsters.
Better Storage with Gun Holsters
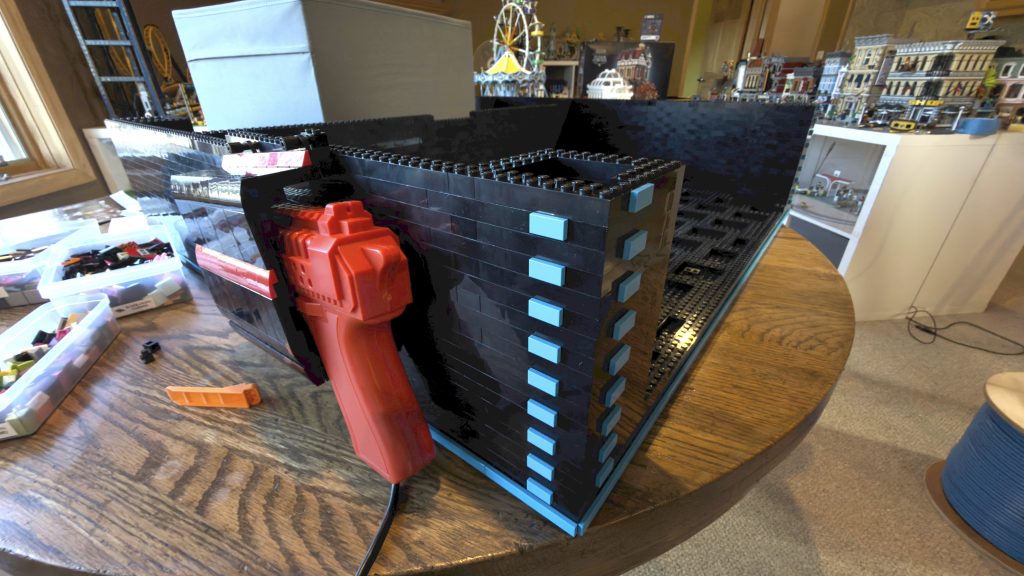
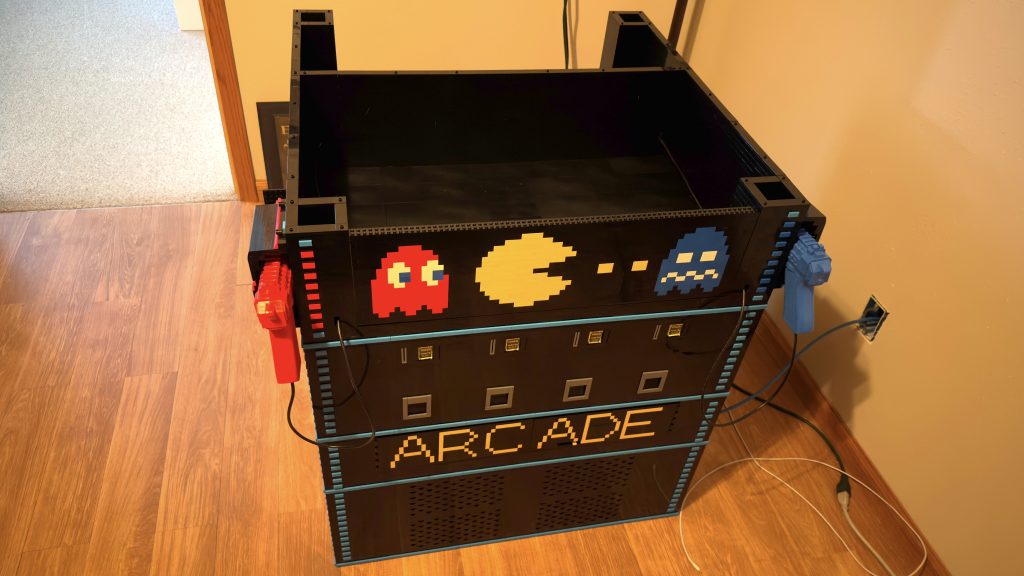
Our first attempt with placing the gun holsters to the side we felt were back a bit too far. So we’re moving them closer to the front and and making a couple of other tweaks that should add some fun color to the whole cabinet.
We place it back onto the cabinet and take a step back to see how it looks – much better!

Adding a Door
Next, we want to add a door to the front of the storage bin. My wife wanted to have some fun with this one and add more color. So she immediately went to work on drawing out some patterns and recreating an icon of the arcade age.
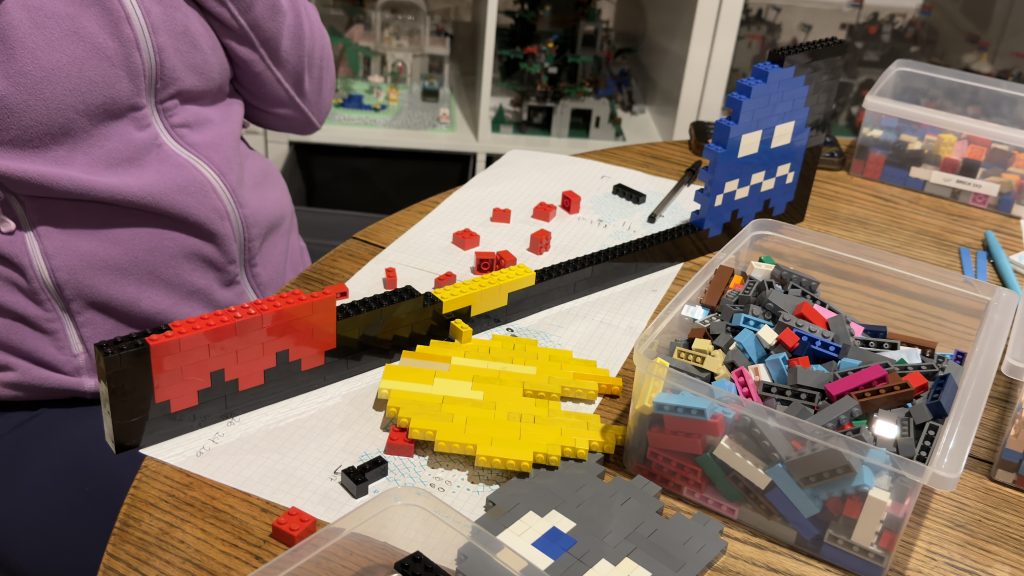
So with a little bit of work, she presents the finished door.
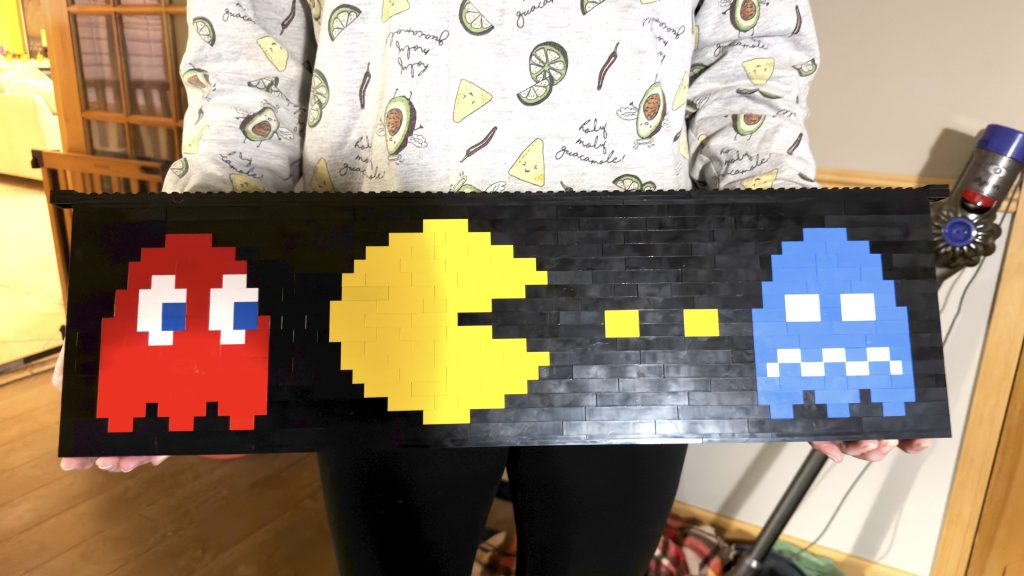
And the final product attached to the cabinet.
The finish line is right around the corner and the next task will be building the marquee for the top of the cabinet. The marquee isn’t so large so there won’t be much more to build with brick. However, programming will become the next focus once the marquee is finished. Programming for the marquee, programming of the light guns and working on fixing other operatibility issues.
The next blog article should be coming very shortly and will mostly focus on the marquee. Afterwhich, programming, finishing touches, and then stats for the big questions such as “how many bricks?” and “what’s it weigh?”.
It’s very exciting to have this almost complete!