
The Base – Little Adds, Big Upgrades
Instead of just throwing a bunch of 2×8 brick around the perimeter of the base around the computer, I want to do more. Little adds, big upgrades.
External Power Supply
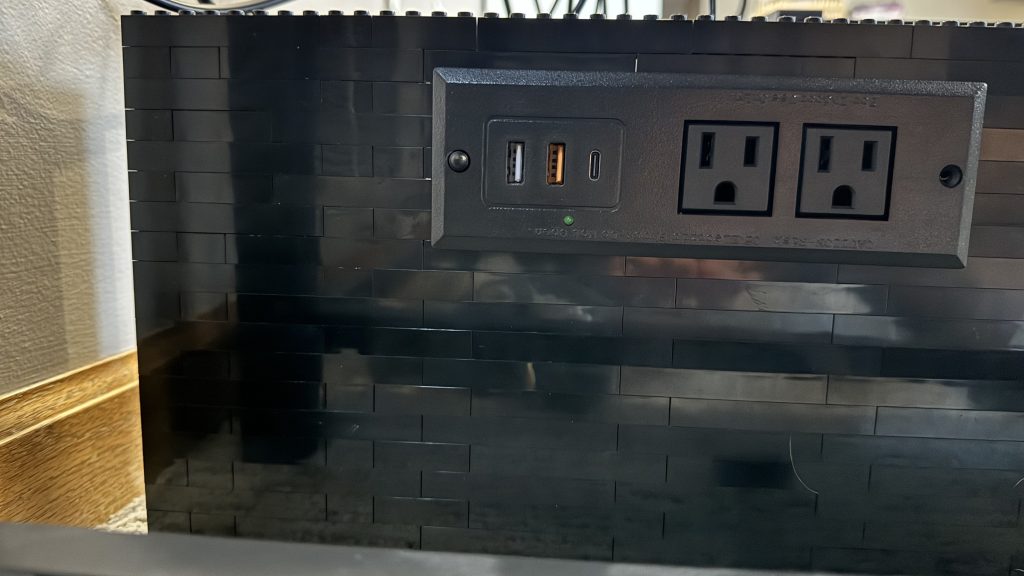
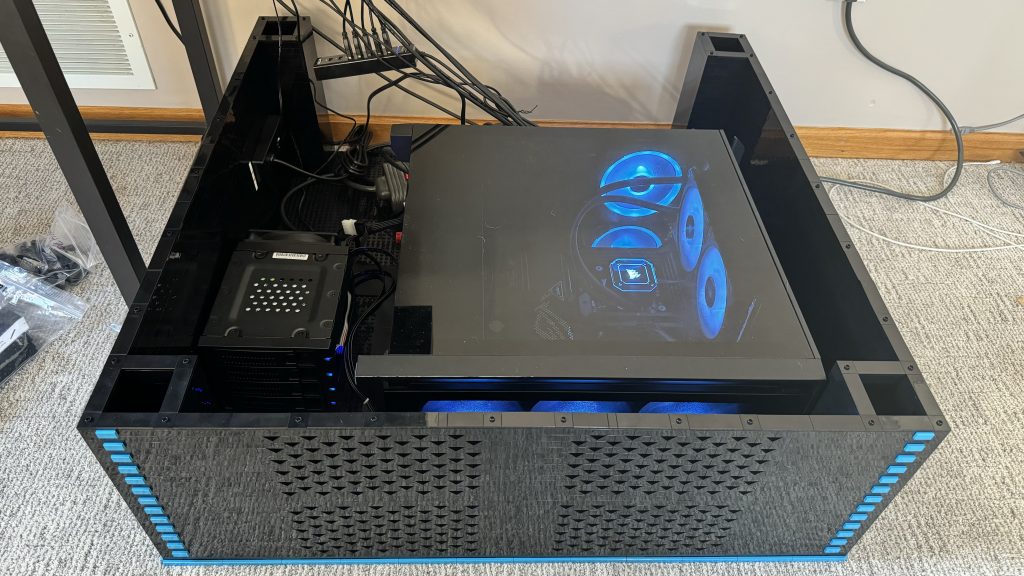
The first thing I decide to add to the base was something for functionality. I’m hope to bring this to shows, and when you’re at a show, there’s always a struggle to find power. So, I figure bring power to the arcade and then supply an additional 2 power outlets and 3 USB charge ports off the side. This way others can plug into it for their own displays. Or I can plug into it for my own displays. Beside that, if someone needs a quick charge for their phone, plug it into one of the ports will be much quicker than a slow wireless charge on top of the control panel.
First, I build a space for the power supply to sit. Next, stack 2×8 brick around it to hold it in place. Finally, to hold it tightly in there, I had to do a little bit of SNOT technique.
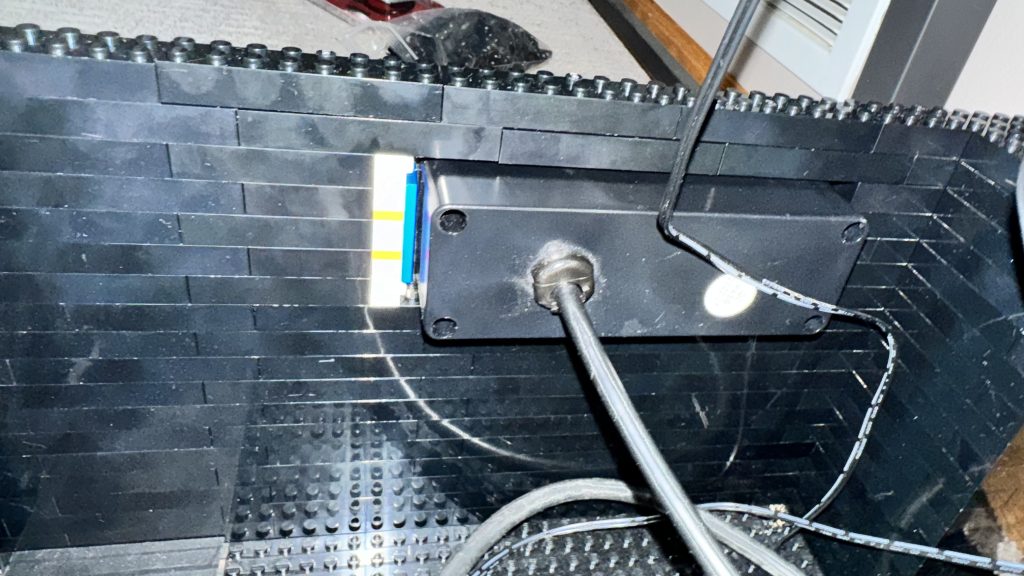
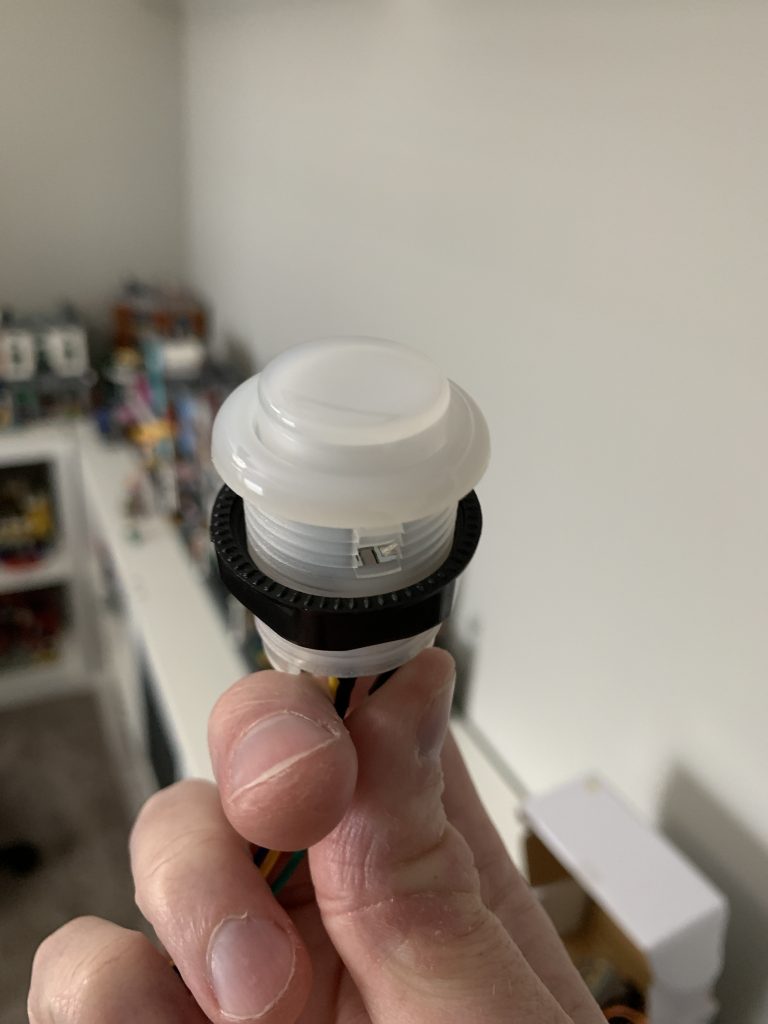
I strategically placed some 1×1 brick with 1 stud on side. Then using the Microphone piece, secured the power supply in its place.
Ventilation and Design
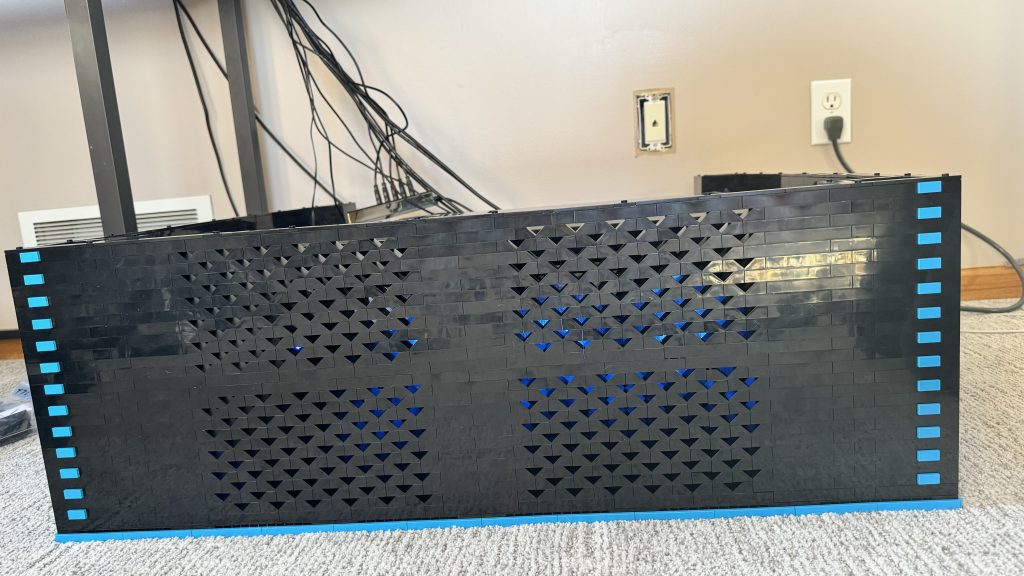
Design – That Wicked 80’s Flare Again
I’m trying to build this while adhering to some sort of theme. A theme that hopefully not only represents the 80’s, but that I can also accomplish with pieces LEGO® today makes. For the control panel, I really wanted vibrant neon colors that were commonly used in the 80s. Magentas, neon pinks, electric blues, acid yellows were all fun bright colors used in the 80’s and I wanted to capture this the best I could with LEGO®. However, when trying to incorporate these colors into the control panel, I quickly discovered that LEGO® just didn’t make a lot of pieces in the colors I needed.
Dark azure was a color that really struck me as a nice bright and vivid color, and at the time a lot of LEGO® elements made in this color. So I used alot of this around the parimeter of the control panel. From there, I made tried to go for a Tron look. I cover a lot of this in my Wicked 80’s Flare – The Top Complete blog post.
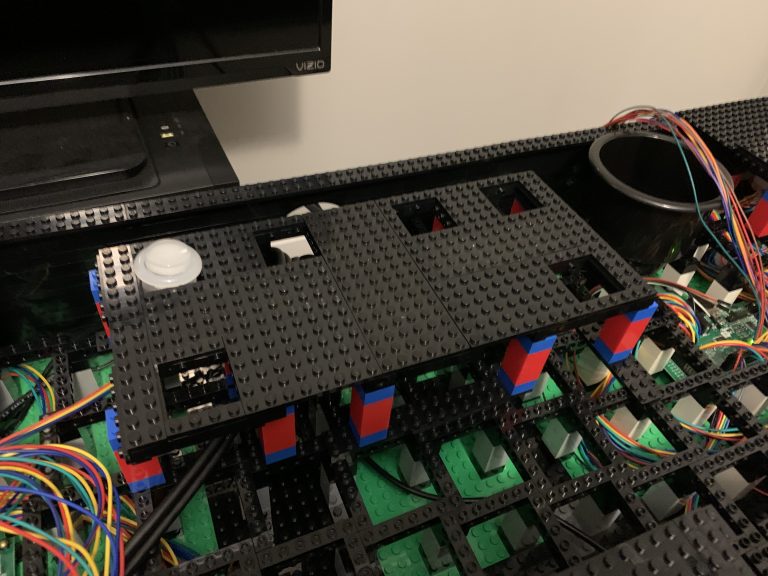
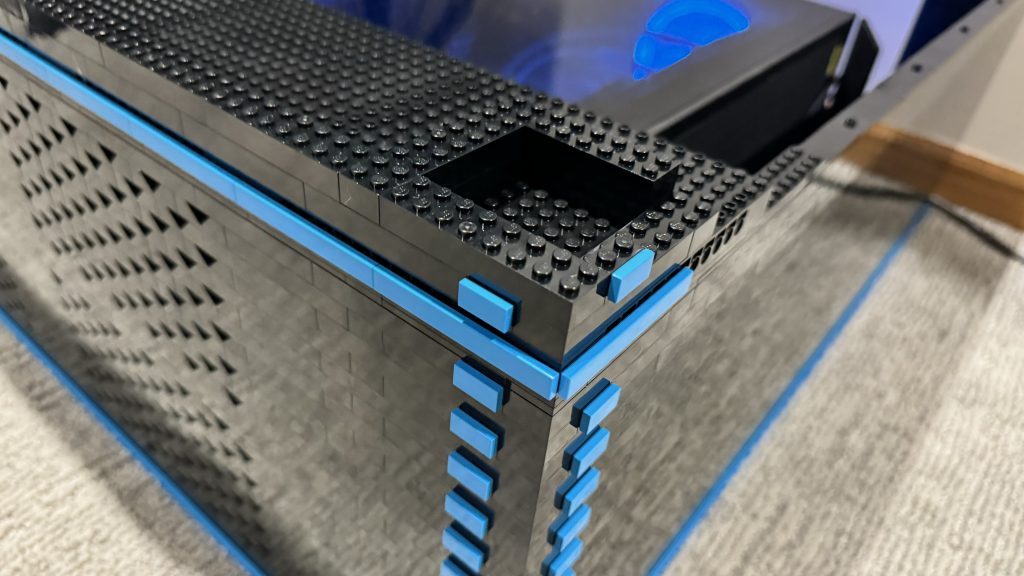
Next, I want to extend this design into the base. I decide to cover the Technic holes on the side of the 16×16 brick with 1/2 Technic Pin. Then I slap 1×8 dark azure tiles around the perimeter of the base, like I did the control panel.
Ventilation
From here, I build up. After thinking about airflow for the computer, I decide to incorporate a sort of ventilation system in the front of the base. I wanted something clever, not just cheap out and use Technic. So after playing around with a few different ideas, I tried to stack 2×2 45º slopes next to each other in an alternating pattern.

When using the slopes like I did, they made this very cool arrow pattern. And at first, I thought building a PC that all lit up and stuff was silly. Back in my blog post Building of the Computer for the Arcade, I briefly touch on not really needing all the frills of LED lighting as the computer would be inside the cabinet.
Well, I stand corrected. Once the vent was complete, I quickly hop into the computer configuration and changed the LED lights to glow a nice “dark azure” blue!
Little Adds, Big Upgrades
Prememptively starting the next cabinet section, you might see my plan with the design. The dark azure tile perimeter will represent each detachable section. This way, when disassembling the arcade for transport, I can easily determine where the sections seperate.

The Base – Little Adds, Big Upgrades
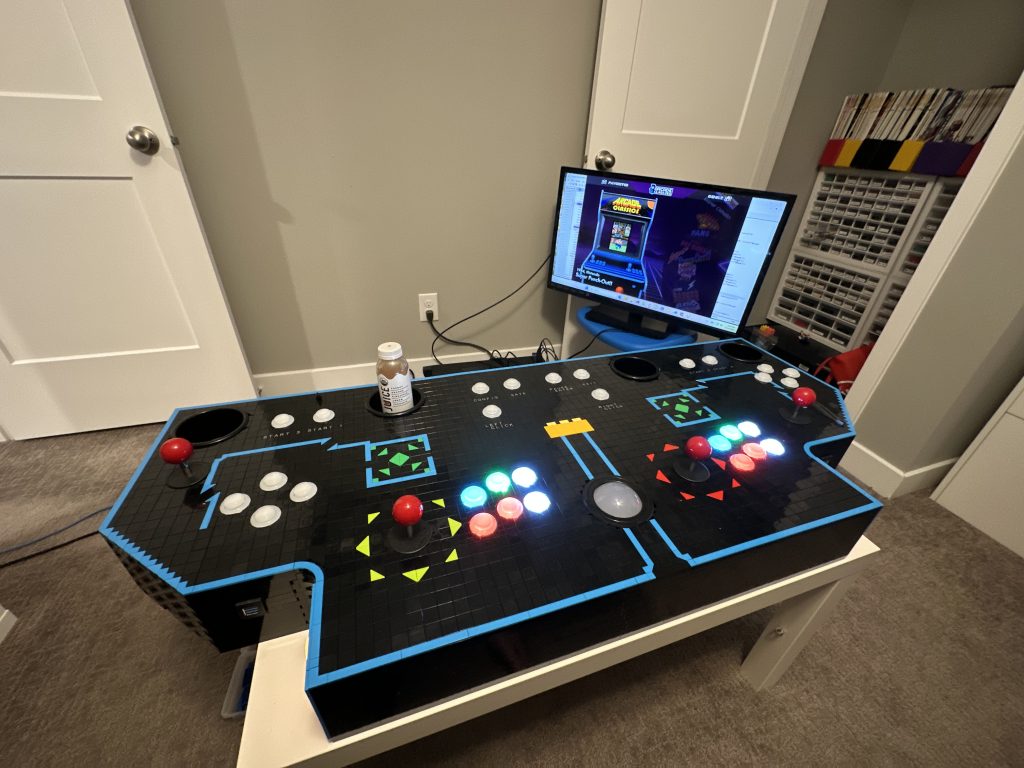
Behold, the Arcade base!
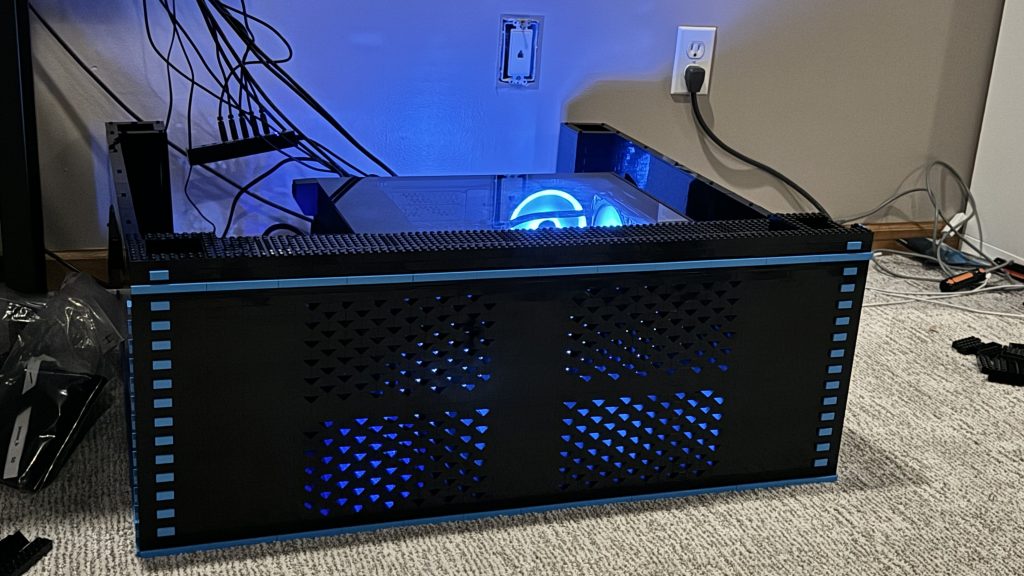
I’m very pleased with the turnout here. And while the path wasn’t really clear as I was progressing, it became clearer as I approached the finish line. It’s difficult to make a box not just a box. And while I have other ideas floating around in my head, I think those might be best for the next tiers of the arcade cabinet to come.